
RitFit field notes
A bike already supplies thousands of repeated knee and hip extensions. A useful home strength corner should therefore add controlled loading, deliberate range choices and movements that are easy to progress without pretending to be another indoor ride.
Start with the room, not the exercise list
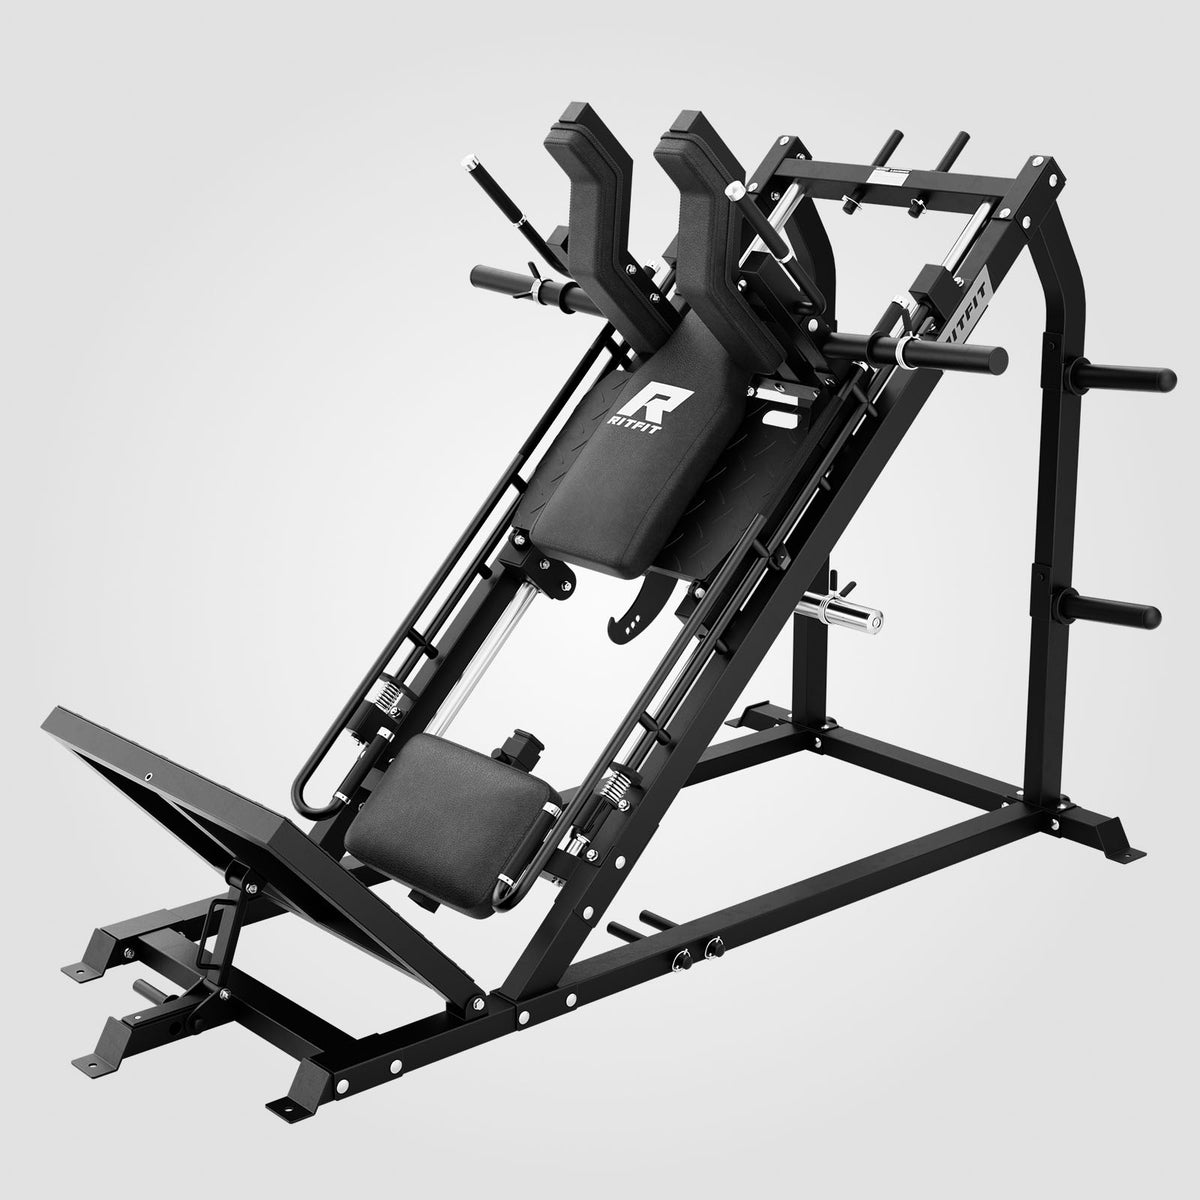
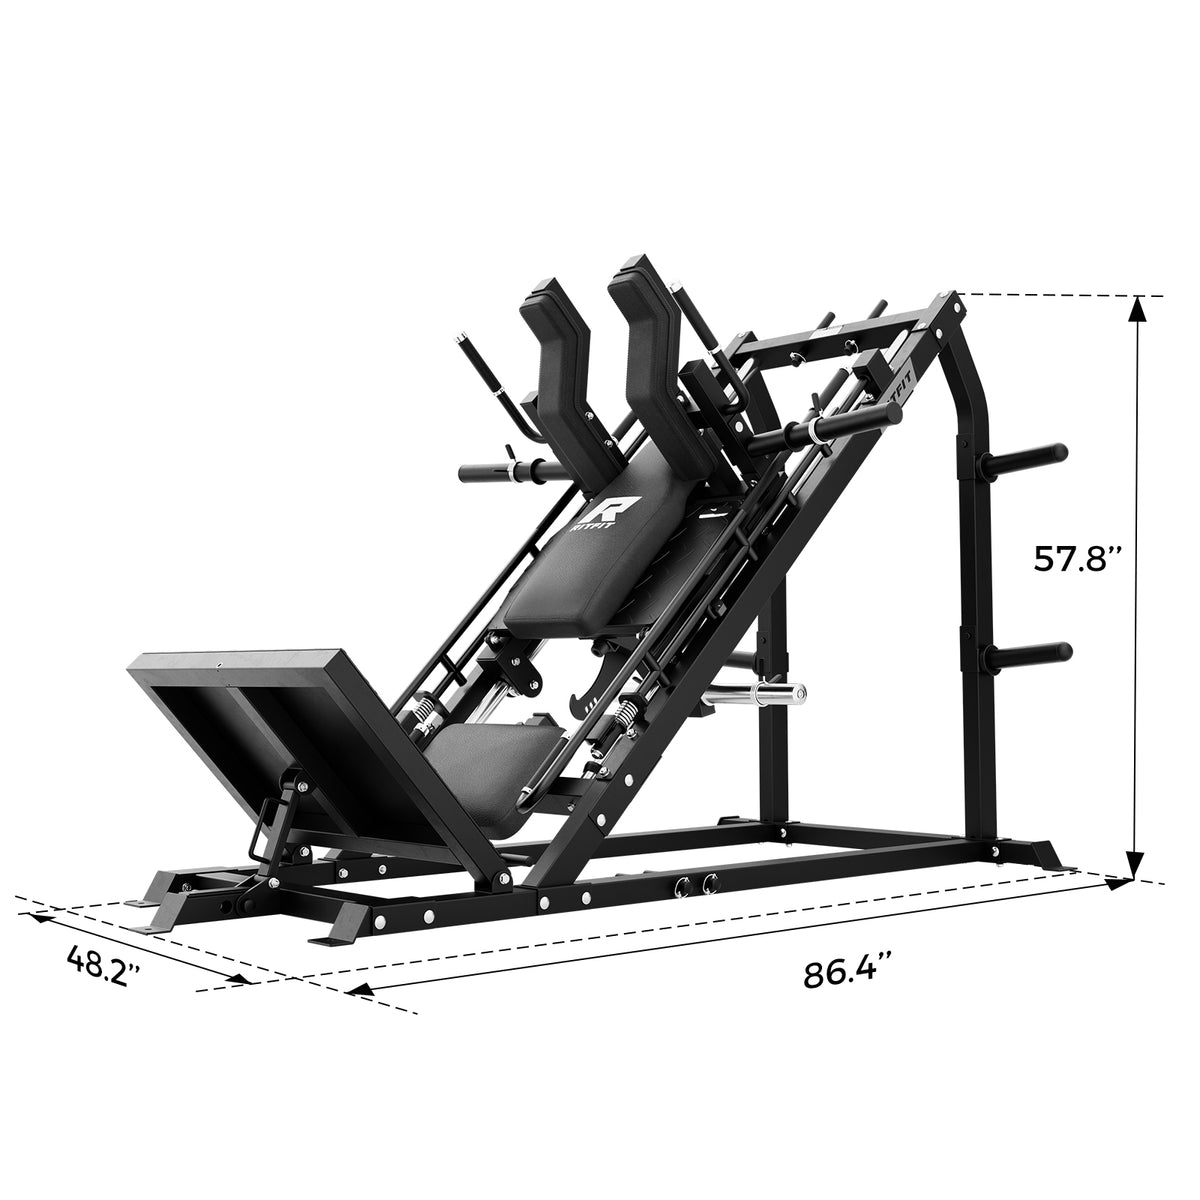
The RitFit listing puts the GAZELLE PRO at 86.4 inches long, 48.2 inches wide and 57.8 inches high, with a stated footprint of 28.93 square feet. Those numbers describe the machine, not the working area. A rider also needs a clear approach to the sled, room to load plates, and a route that does not force a wet bike or a laundry basket past protruding weight horns. Mark the outline with painter’s tape, then add a human-sized lane on the side you expect to use most.
Do the test with the garage door shut and the car, workbench and bike stand in their usual positions. Check the lowest ceiling point, wall sockets and anything that swings. A machine can fit on paper yet become annoying if the plate tree blocks a cabinet or the backrest adjustment faces a wall. The useful measurement is the space you can leave permanently, not the space available after moving three other things.
What the three stations actually add
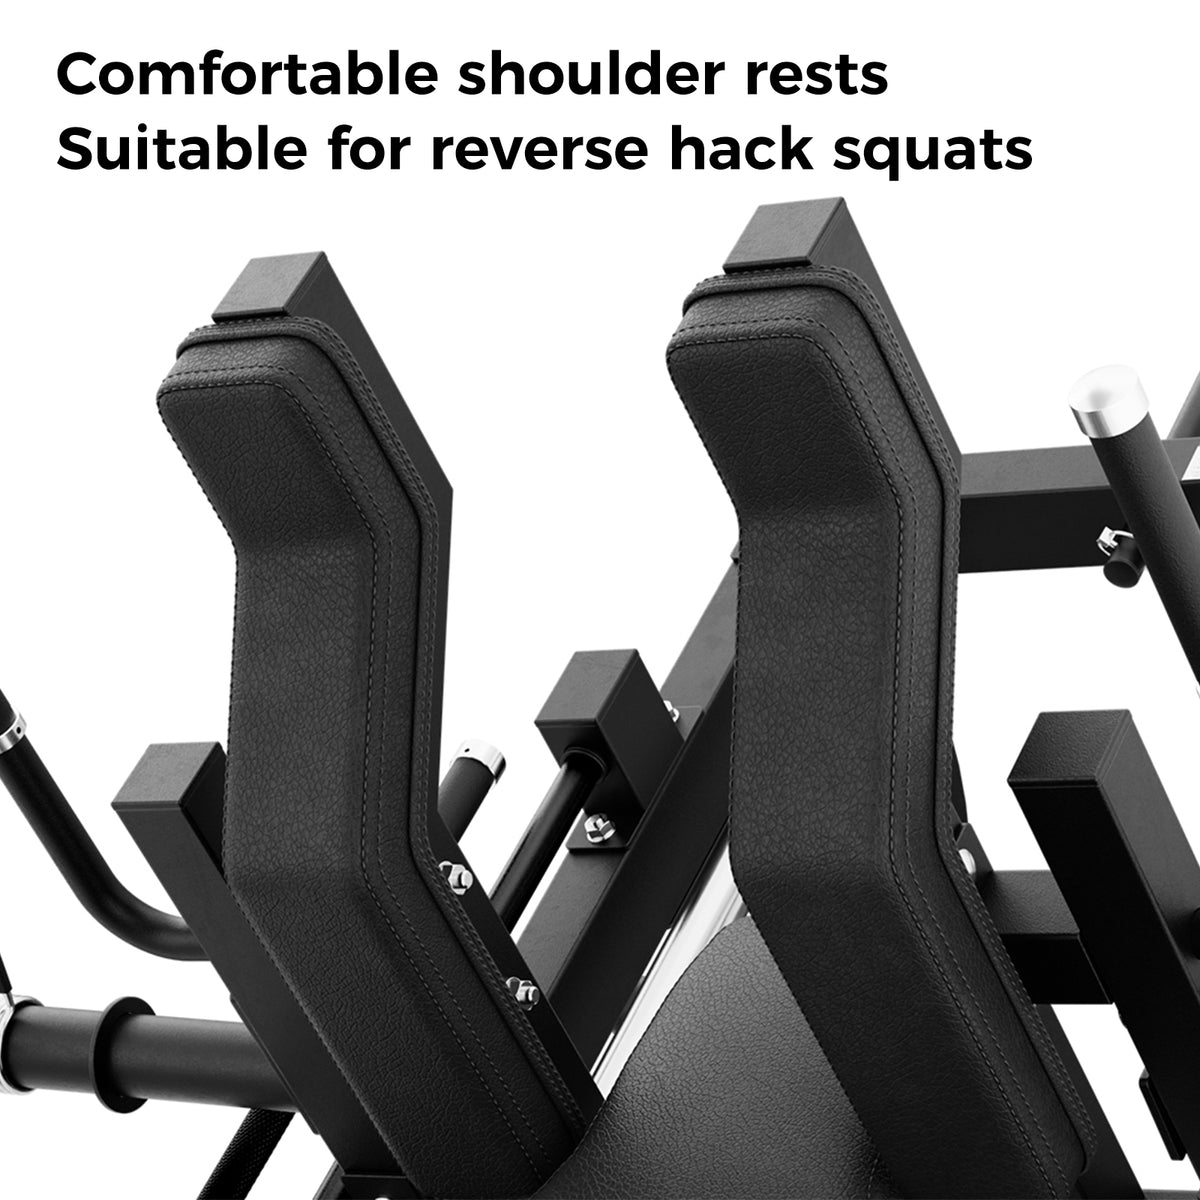
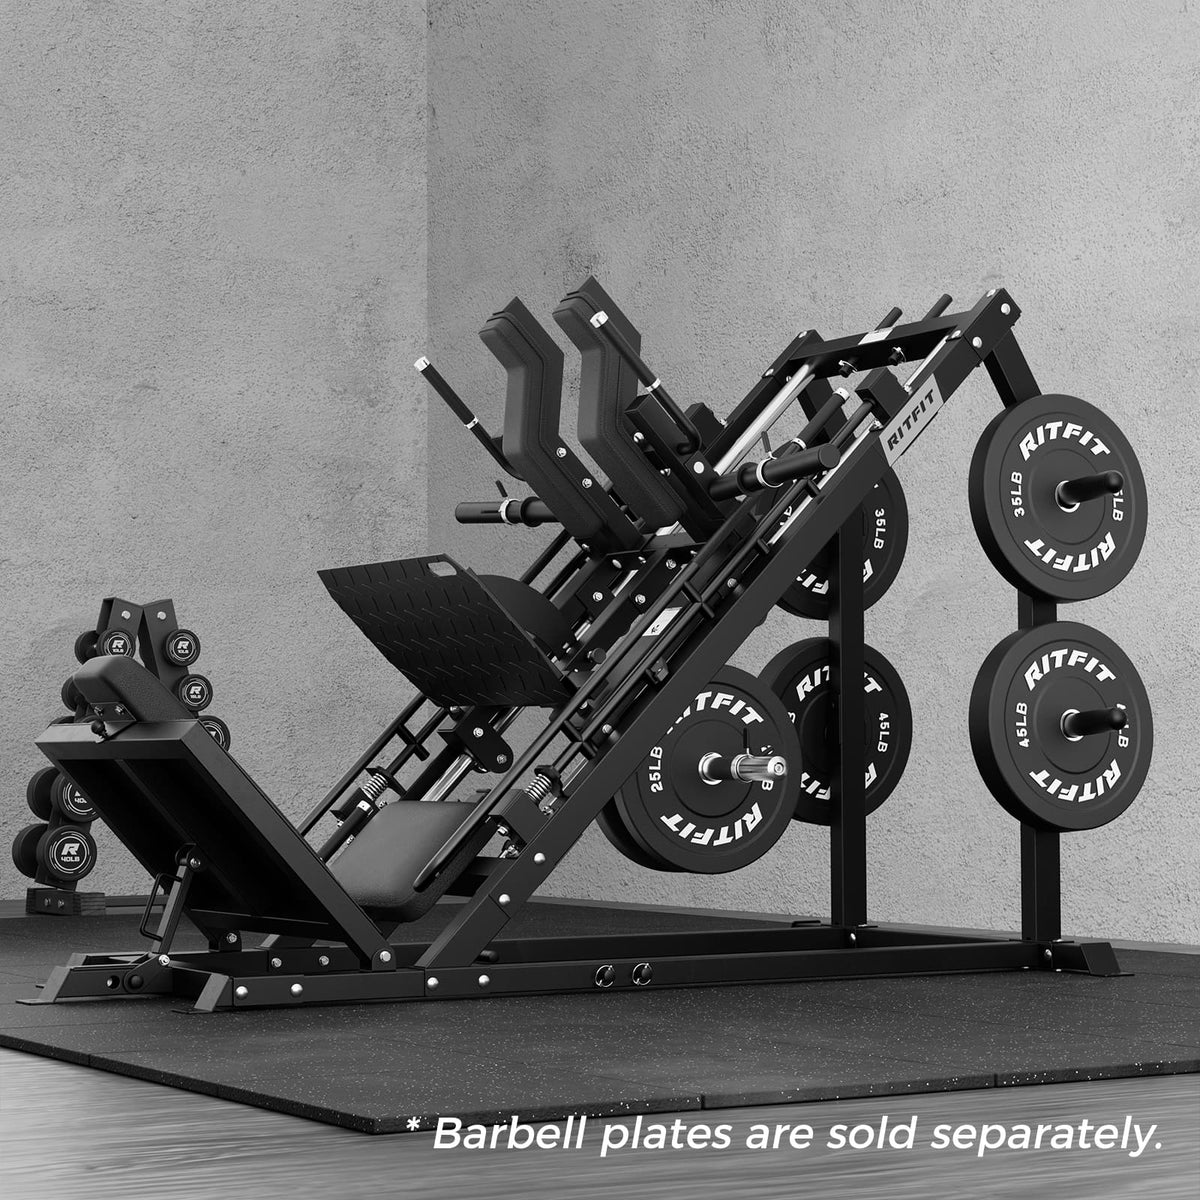
GAZELLE PRO combines a leg press, hack squat and calf raise setup. That sounds like three machines, but the better way to read it is three loading positions around one guided sled. The leg press lets the torso stay supported while the feet work against a broad platform. The hack squat changes body position and how the load is carried. The calf raise uses the same structure for a shorter ankle movement. None is a substitute for riding skill, and none needs to imitate a pedal stroke to be useful.
For cyclists, the attraction is repeatability. Foot placement, back support and the travel path can be set before the first working set, then recorded. That makes the station suitable for a modest progression plan. It also makes differences between sessions easier to interpret: a change in load or range is clearer than a circuit of improvised exercises performed in a different order every week.
Read the merchant numbers as limits, not targets
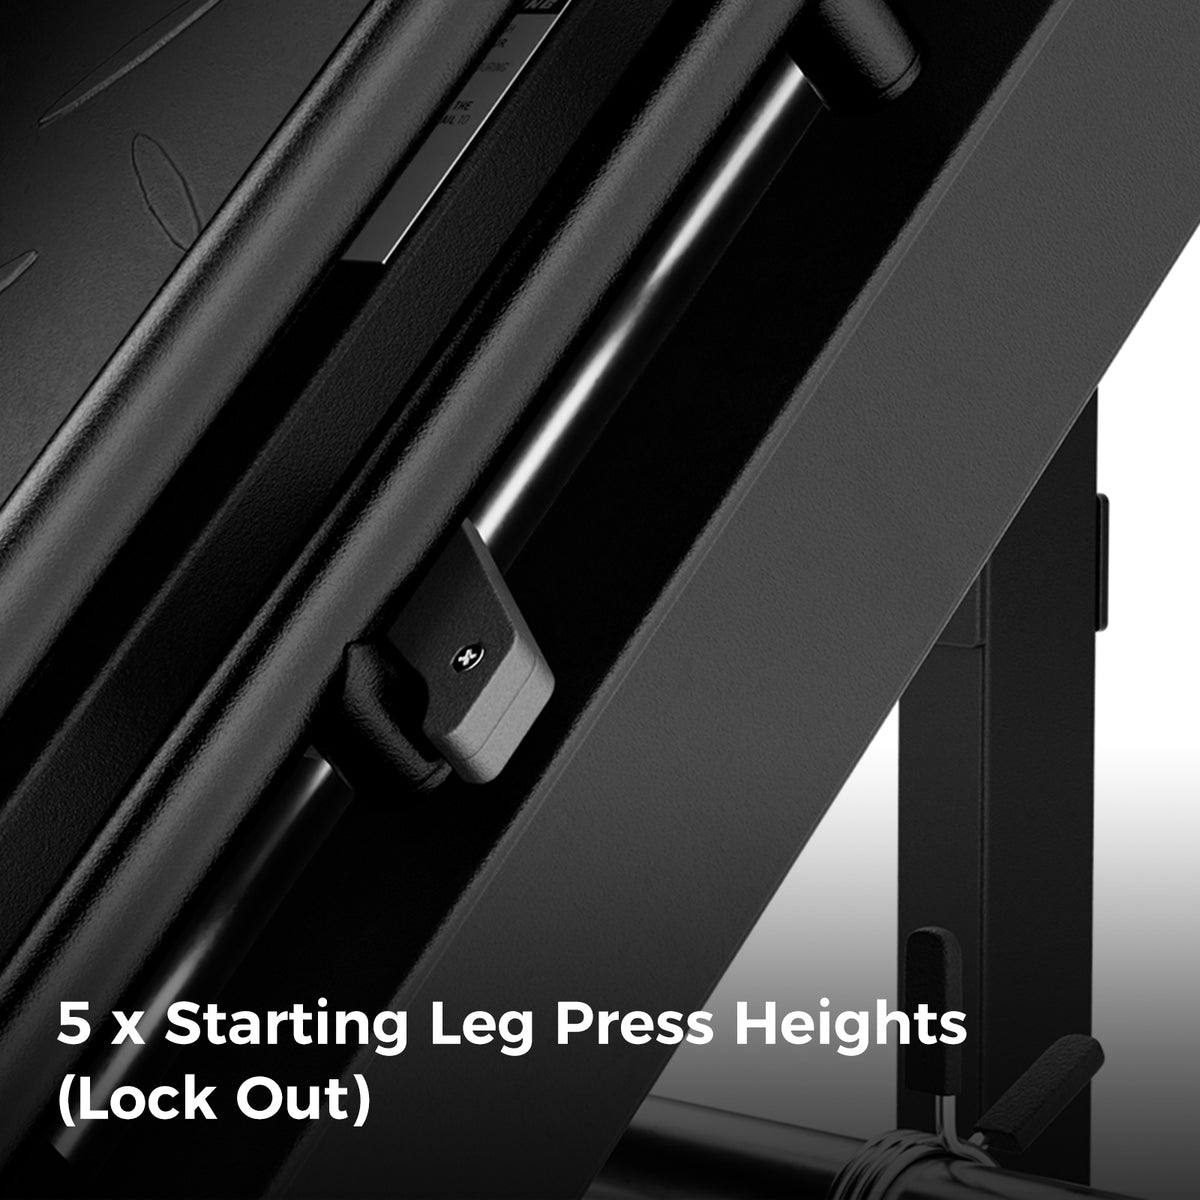
RitFit describes a reinforced steel frame, a dual linear-bearing system and safety locks. Its product page also lists load ratings. Those figures are equipment specifications, not suggested starting points and not a promise about what any individual should lift. A sensible setup begins with the empty movement, the adjustment sequence and the lock positions. Only then does plate loading enter the discussion.
Before buying, download the current manual and compare the plate type, collar needs and assembly clearances with what you already own. Ask where the sled rests between sets and whether every intended user can reach the stops from the working position. If a movement or range is unfamiliar, a qualified coach can help establish technique. The machine provides a path; it does not make decisions about readiness, volume or recovery.
Delivery day needs its own plan
A 334.3-pound assembled product, as currently listed by RitFit, is not a parcel to discover at the doorstep. Confirm the box count and package dimensions on the current product page before dispatch, then decide where the carrier can leave them. Protect finished floors, clear a staging area and keep small hardware away from children, pets and open garage thresholds. Two people make the heavy and awkward stages less improvised.
Sort parts by assembly step rather than spreading every component across the room. Keep fasteners finger-tight until the frame is aligned, unless the manual says otherwise, and verify that moving parts travel freely before loading plates. Photograph cable or stop positions if the manual’s drawings are dense. The aim is not speed. It is to finish with a square frame, reachable adjustments and no mystery washers left beside the toolbox.
Place it inside the ride week
The most useful strength session is the one that leaves space for the rides that matter. Put demanding lower-body work where it can be followed by an easier day, rather than automatically placing it after the hardest ride because the legs are already tired. A rider preparing for a Saturday club run might use the station early in the week, keep Thursday light and approach the weekend without trying to prove anything on Friday night.
Start with fewer movements than the machine permits. One primary sled position, a calf variation and a small amount of supporting work are enough to learn the adjustments. Record sets, load, range setting and a plain-language note about how the next ride felt. That notebook is more valuable than copying a high-volume gym template. After several weeks, it shows whether the station supports the riding schedule or simply competes with it.
Use settings as repeatable coordinates
Shared home equipment often fails at the boring detail: nobody remembers where the back pad, foot position or safety stop was last time. Give each user a short setup card. Note the colour or number of each adjustment point, the plate combination and the order used to enter and leave the machine. A phone photo can confirm foot placement, but a written setting is quicker when the session begins.
Repeatability does not mean locking into one range forever. It means changing one variable intentionally. If the foot position changes, keep the load conservative while learning it. If the range changes, record that rather than treating the session as directly comparable with the previous one. This disciplined approach suits riders who already understand tyre pressure, saddle height and gearing: small setup differences matter, and useful conclusions require a stable reference.
Keep the bike corner and strength corner from fighting
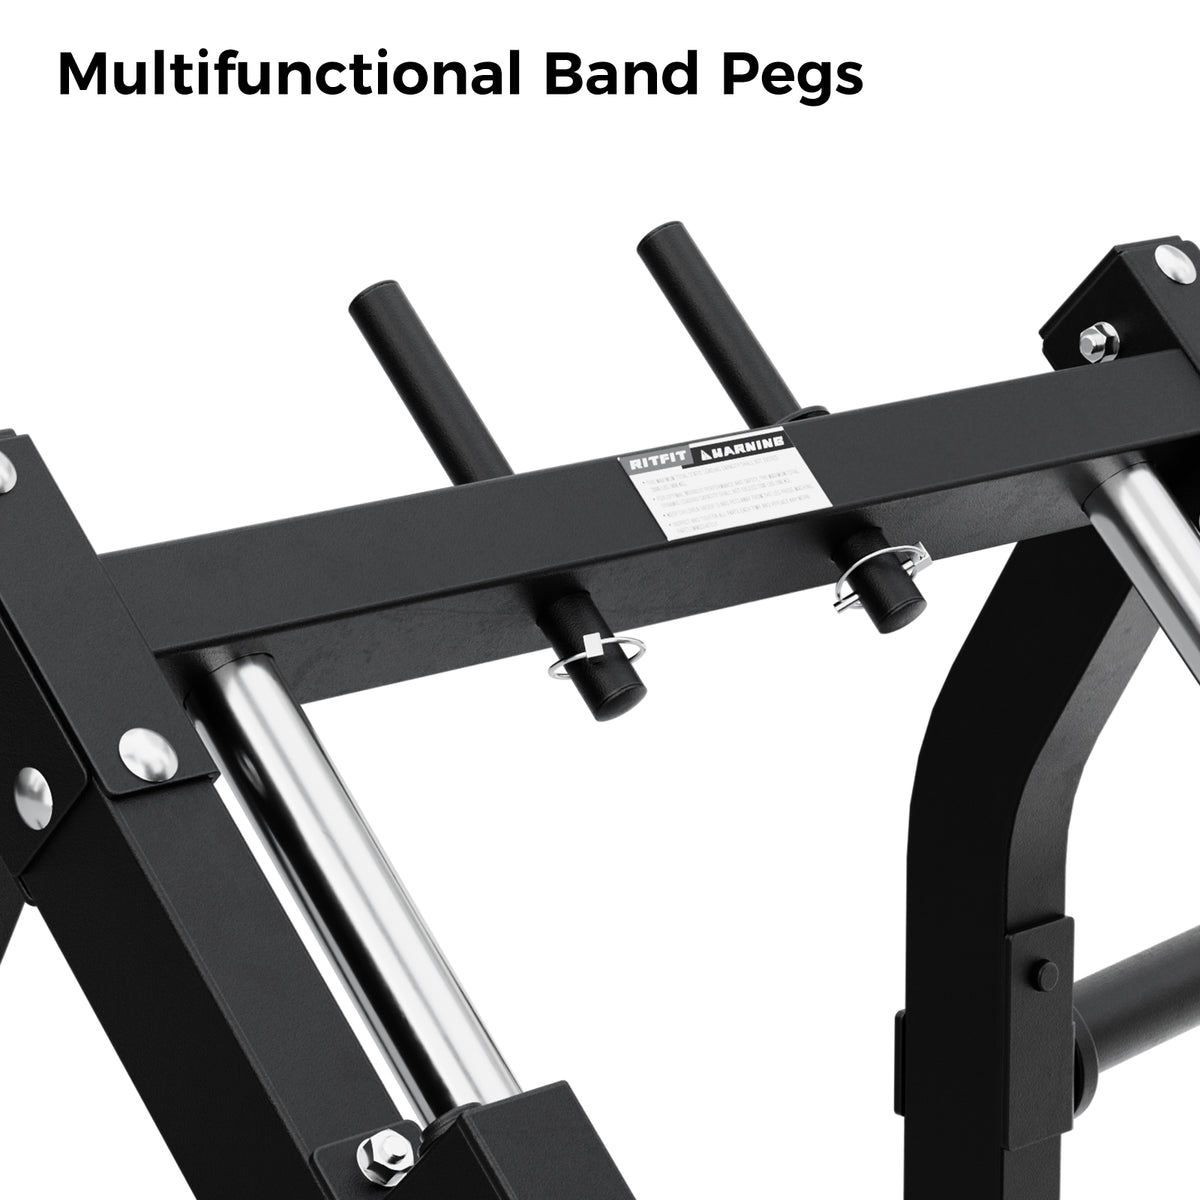
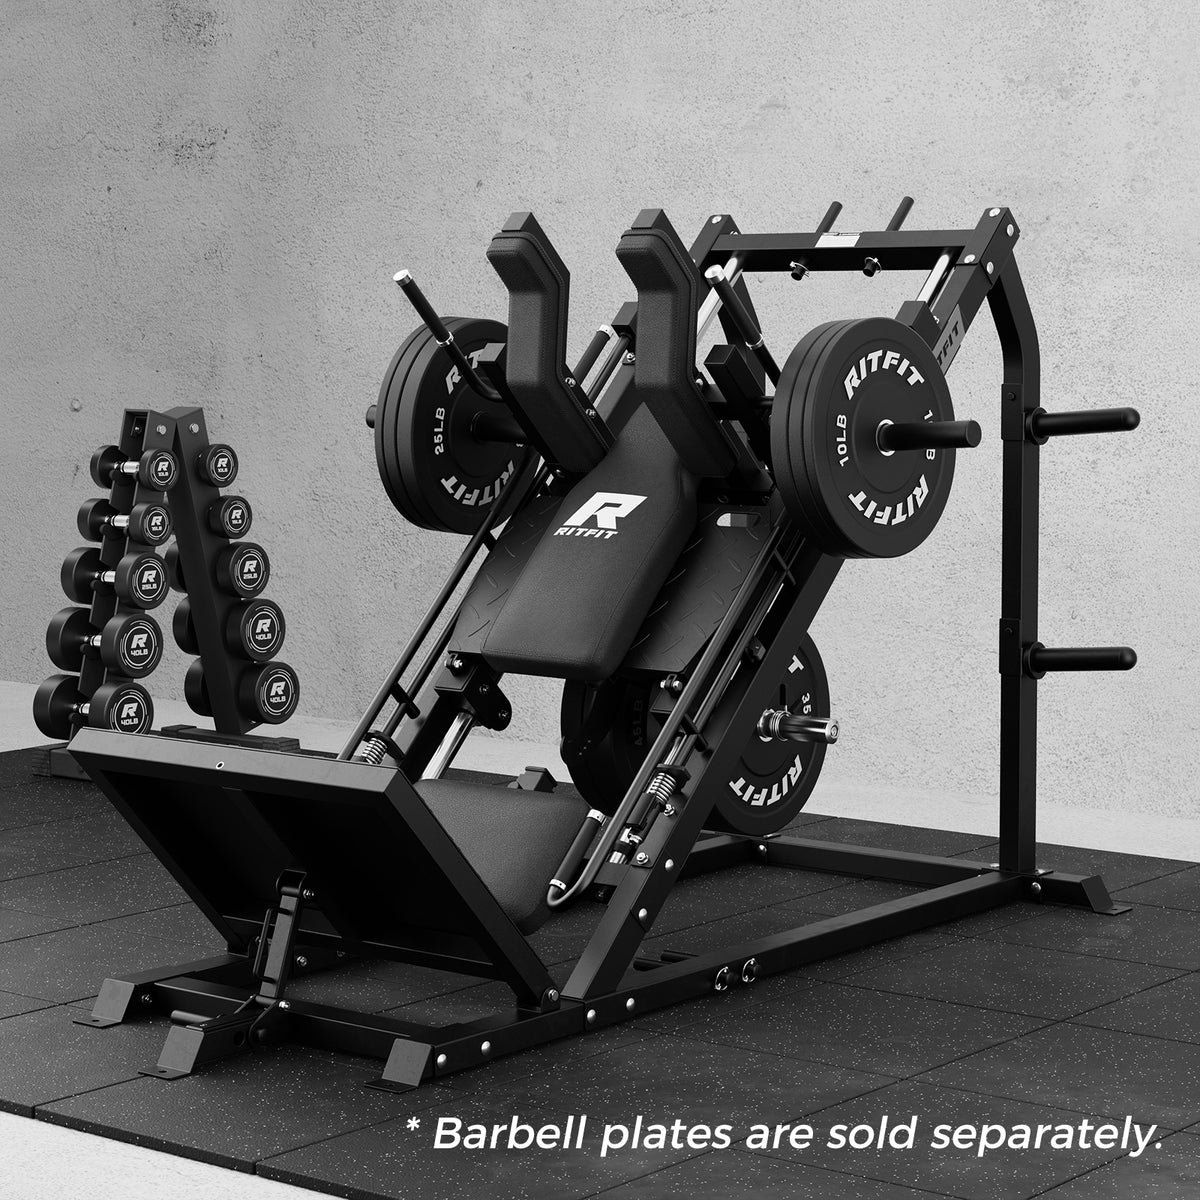
Home gyms accumulate the same clutter as workshops. Plates migrate, resistance bands hang from handles and a helmet lands on the nearest pad. Define a parking place for every accessory before the first session. Keep lubricants, cleaners and wet kit away from upholstery and moving rails. If the room also stores bicycles, leave a clean path to the exit so a rushed ride does not involve leaning a bike against the sled.
A small maintenance routine is enough: inspect visible hardware, wipe contact surfaces, clear grit from the floor and follow the manufacturer’s guidance for moving parts. Do not invent a lubricant schedule or spray products near bearings without checking the manual. The value of a dedicated station is that it is ready when the session starts. A five-minute reset preserves that advantage.
Decide whether specialisation is worth it
This is not a compact purchase. It makes most sense for a rider who has a permanent training area, already values structured strength work and wants guided lower-body options used by more than one person or across much of the year. It makes less sense when the room must change purpose every evening, when plates are not part of the existing setup, or when two weekly rides already consume every available training window.
Compare the station with the honest alternative, not an imaginary commercial gym. The alternative may be a rack and bench already owned, a coached session elsewhere, or a smaller machine that covers one priority. Price, delivery, returns and warranty terms can change, so use the merchant page for current details. The right answer is the one that fits the room and the calendar at the same time.
A restrained first-month outline
Week one is for assembly checks, unloaded travel and learning the stops. Week two is for two conservative sessions separated by several days, with the same settings each time. Week three can add a small amount of load or one additional set, not both by default. Week four is a review: look at notes from rides, the ease of setup and whether any part of the room has become difficult to use.
That month will not answer every training question, but it will reveal the practical ones. Does the household use the machine? Can it be adjusted without a long ritual? Are plates stored safely? Does the planned strength day remain compatible with the weekend ride? Equipment earns its place through repeated, unremarkable use. A dramatic first session proves very little.
The purchase check
Re-measure the taped footprint, confirm the delivery route and read the current assembly manual. Check plate compatibility, ceiling clearance, return conditions and the warranty language that applies to your location. Decide who will help with the build and where packaging will go. Finally, write the first two weeks of the ride calendar before placing the order. If the machine has both a physical home and a realistic time slot, the decision is grounded.
RitFit’s current page is the source for live specifications, colours, stock and terms. Treat this dossier as a way to ask better questions, not as a substitute for the manual or individual coaching. The strongest home setup is usually the least mysterious one: measured room, recorded settings, modest progression and a bike that can still roll out of the door without an obstacle course.
