
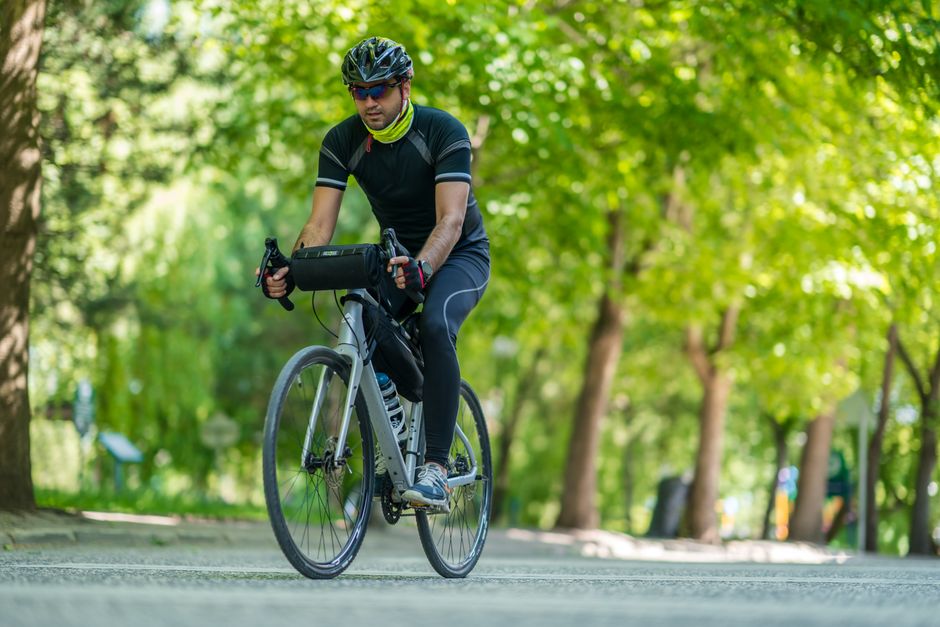
You are 20 miles from home when cold rain starts, the trail turns to sharp flint, and your rear tire begins to hiss. A tubeless gravel setup can seal a small puncture while you ride, but only if the rim tape, valve, tire bead, sealant, and pressure all work together. This guide sets out a practical setup for wet autumn riding, with clear limits and buying advice. This is not legal advice — consult a licensed attorney.
Why Tubeless Tires Make Sense on Wet Gravel
Lower pressure gives the tire more control
A tubeless gravel tire removes the inner tube, so pinch flats become far less likely. That change matters on wet gravel because water reduces grip and loose stones move under the tire. A tire that runs too hard skips across the surface. A tire with the right pressure deforms around small stones, keeps more rubber in contact with the ground, and gives the rider better braking control.
The underlying problem is not simply punctures. It is the loss of a stable contact patch when a narrow, overinflated tire meets uneven ground. Tubeless tires let you reduce pressure without creating the tube pinch that can cut or snake-bite an inner tube against the rim. They also let liquid sealant close many holes before the rider notices a loss of air.
Sealant is useful, but it is not a repair system for every failure
Sealant usually handles small thorn and wire punctures. It may not seal a long sidewall cut, a torn bead, a damaged valve core, or a tire that has rolled off the rim. Cold weather can also slow the liquid, while dried sealant leaves the casing unprotected. Check the fluid before every wet-season block of riding and refresh it on the schedule printed by the manufacturer.
Wet conditions create another concern: debris sticks to the tire and can hide a cut. After a ride, spin each wheel and inspect the tread, sidewalls, valve area, and rim edge. A setup that sealed one puncture today can fail tomorrow if a sharp object remains lodged in the casing.
The best autumn setup balances grip, protection, and serviceability
For most mixed gravel riders, a 40–45 mm tubeless-ready tire, fresh sealant, correctly installed tape, and a pressure that matches rider weight provide the strongest balance. Extremely light racing tires save weight but offer less sidewall protection. Very wide tires add comfort but may not fit the frame or fork. Courts have generally found that specific facts matter more than broad claims; the same practical rule applies here. Judge the complete wheel system, not a single marketing label.
How to Set Tubeless Gravel Tire Pressure Before Rain
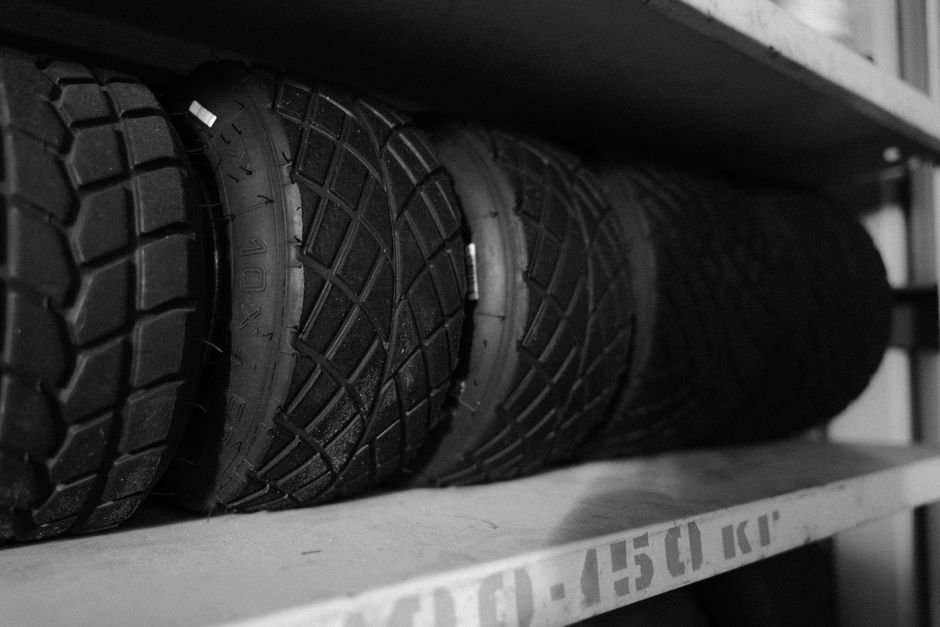
Start with the bicycle, rider, luggage, and clothing as one combined load. Measure total weight, divide it between the wheels, and use the tire maker’s approved range as the boundary. The figures below are starting points for a 700c tire on a tubeless-ready rim, not universal prescriptions. Reduce pressure in small steps and stop when steering feels vague, the rim takes impacts, or the tire moves on the rim.
| Rider and gear weight | 40 mm tire, front/rear | 45 mm tire, front/rear | Wet gravel adjustment |
|---|---|---|---|
| 65–75 kg | 35 / 38 psi | 31 / 34 psi | Start 2 psi lower |
| 76–90 kg | 40 / 44 psi | 35 / 39 psi | Start 2–3 psi lower |
| 91–105 kg | 46 / 50 psi | 41 / 45 psi | Start 2 psi lower |
| 106–120 kg | 52 / 57 psi | 47 / 52 psi | Keep the rim protected |
Why the rear tire needs more pressure
The rear wheel carries more of the rider’s mass, so it normally needs 3–5 psi more than the front. A loaded bike may need another 2–4 psi at the rear. A rider who weighs 82 kg and carries 6 kg of bags should not use the same pressure as an unloaded 82 kg rider. The added load raises the risk of rim strikes and tire movement.
How to test the setup on a short route
- Inflate both tires before the ride and record the pressure with the same gauge each time.
- Ride a 20-minute loop that includes smooth road, washboard, loose corners, and one short descent.
- Lower the front by 1–2 psi if the bike chatters over wet stones; lower the rear only if it still avoids rim impacts.
- Raise pressure if the tire squirm feels obvious during hard cornering or if the rim shows impact marks.
The strongest verdict is simple: lower pressure helps wet-gravel grip, but a pressure that causes tire squirm or rim strikes is too low. Do not chase comfort past the point where the wheel loses precision.
Which Tubeless Gravel Products Are Worth Buying?
Product choice matters after the basic setup is correct. A premium tire cannot compensate for damaged tape, an unsuitable rim, or neglected sealant. Prices below are typical U.S. street prices in 2026 and can change by size and retailer.
| Product | Typical price | Useful specification | Best use |
|---|---|---|---|
| Pirelli Cinturato Gravel M 700x45c | About $80 | Tubeless-ready, mixed-surface tread, reinforced casing | Wet and rough mixed gravel |
| Specialized Pathfinder Pro 2BR 700x42c | About $55 | Fast center strip, textured shoulder tread | Road-heavy gravel routes |
| Maxxis Rambler EXO/TR 700x45c | About $65 | Open tread, EXO sidewall protection, tubeless-ready | Loose and muddy forest roads |
| Orange Seal Endurance 8 oz | About $12 | Longer service interval than standard formula | Riders who check sealant less often |
The best tire for wet autumn mixed surfaces
For wet roads that turn into broken gravel, the Pirelli Cinturato Gravel M 700x45c is the strongest pick. Its mixed tread gives more shoulder bite than a slick center-focused tire, while its reinforced casing suits sharp stone. It costs more than the Pathfinder Pro, but the extra protection earns that price for riders who regularly leave pavement.
The best faster option for road-heavy routes
Choose the Specialized Pathfinder Pro 2BR 700x42c when most of the route is pavement, hardpack, or dry compact gravel. Its center strip rolls quickly, and the textured edges add control on ordinary turns. It is not my choice for persistent mud or loose descents. For those conditions, the Maxxis Rambler EXO/TR 700x45c wins because its open tread clears soft material more effectively.
The sealant and service choice
Orange Seal Endurance 8 oz is the practical choice for a rider who wants longer service intervals. Use the quantity listed for the tire size, and check the liquid by removing the valve core or unseating a small section of bead. A longer-life formula still dries out, so it does not remove the need for inspection.
Five Tubeless Mistakes That Cause Autumn Ride Failures
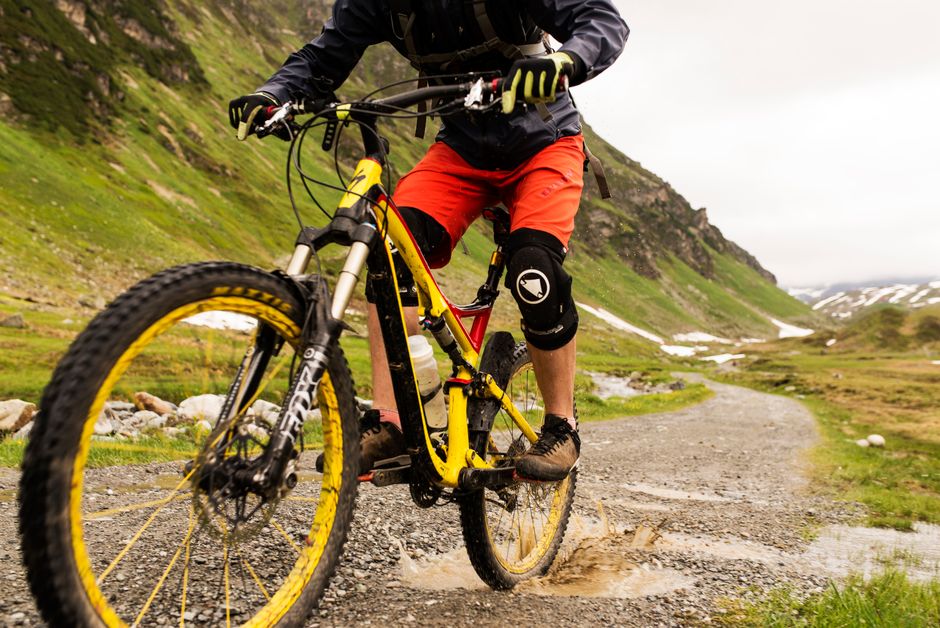
Most roadside tubeless failures trace back to installation or maintenance, not bad luck. The following mistakes deserve a check before the first long wet ride.
- Using the wrong rim tape width. Tape should cover the spoke holes and sit firmly in the rim channel without climbing the bead hook. Tape that is too narrow can leak through a spoke hole. Tape that is too wide can prevent the tire bead from locking correctly.
- Installing a tire that is not tubeless-ready. A standard clincher may not hold air safely without a tube. Confirm both the tire and rim carry the manufacturer’s tubeless designation.
- Skipping the overnight leak test. Inflate the tire, add sealant, rotate the wheel through several positions, and leave it overnight. A pressure drop exposes a valve leak, poor tape seal, or bead problem before a remote ride.
- Carrying no backup tube. Sealant cannot repair every cut. Pack a tube large enough for the tire, tire levers that fit the rim, a pump or inflator, and a plug tool. A tire boot can help with a casing split.
- Riding below the safe pressure limit. Lower pressure improves comfort only until the tire starts to fold, burp air, or strike the rim. Raise pressure for heavy luggage, rocky descents, or a rider whose weight sits near the upper range of the tire system.
Do not buy a delicate race tire simply because it weighs less. If your autumn route includes sharp flint, wet roots, and long sections without cell coverage, casing protection and easy roadside repair have more value than a small weight saving. Do not buy a tubeless system at all if you dislike regular checks and would rather fit an inner tube in five minutes before each ride. A conventional tube setup remains a sensible alternative for short routes, low annual mileage, or wheels that are not tubeless-ready.
What Is the Best Setup for Your Wet Autumn Rides?
For most gravel riders
Use a 40–45 mm tubeless-ready tire, fresh sealant, correctly sized rim tape, and a pressure that begins about 2 psi below your dry-gravel setting. The Pirelli Cinturato Gravel M is the best all-round tire here because it gives wet-surface control without becoming a mud-only tire.
For fast routes with frequent pavement
Pick the Specialized Pathfinder Pro 2BR and keep the pressure closer to the middle of its approved range. It is faster on hard surfaces, but it gives away grip in deep loose material.
For rough, loose, and muddy tracks
Pick the Maxxis Rambler EXO/TR 700x45c, carry a plug kit and tube, and inspect the sealant before every long ride. That is the clearest choice for riders who value traction and casing protection over road speed.
The single most important takeaway is this: a reliable wet-autumn tubeless setup comes from matching tire casing, rim tape, sealant, and pressure to the route before the rain begins.
