

What a home bike fit can actually fix
A home fit can remove the three most common sources of cycling discomfort: a saddle that sits too high or low, handlebars that force an excessive reach, and cleats that twist the feet away from a natural position. It cannot diagnose every knee, hip, back, or nerve problem. The clearest starting verdict is simple: use a home fit to find a repeatable baseline, then stop adjusting when pain becomes sharp, one-sided, or persistent.
The goal is even pressure, not a perfect-looking pose
Bike fit exists because the bicycle holds your body in a fixed relationship to the pedals, saddle, and bars. A small error repeats thousands of times during a ride. A saddle that is 8 mm too high can make you rock from side to side. A reach that is 20 mm too long can lock the elbows and load the neck. A cleat that points the knee inward can create pressure at the front or outside of the joint.
Look for stable hips, relaxed shoulders, slightly bent elbows, and feet that track without conscious correction. Do not chase a textbook angle. A rider with limited hip mobility may need a higher handlebar than a flexible racer. A rider recovering from an injury may need a shorter reach even when the frame size is technically correct.
What the first check should reveal
Record your current saddle height, saddle setback, stem length, bar height, cleat position, crank length, and shoe model before moving anything. Take side and front video while riding at a steady pace for two minutes. The strongest home-fit evidence is repeatable: the same symptom appears after the same riding time, on the same side, under similar effort.
If discomfort disappears after one small adjustment, keep the change and test it on two more rides. Change one variable at a time. That rule produces a usable answer and prevents a chain of guesses.
How to set saddle height without guessing
The best home saddle-height method combines a measurement with a riding check. A formula gives you a starting point; your hips and knees decide whether the number works. Start with the bicycle upright, the crank arm aligned with the seat tube, and the pedal axle at the bottom of the stroke.
Use the heel method for a first setting
- Put on the cycling shoes you normally ride in. Cleat stack height changes the effective distance from your foot to the pedal.
- Place your heel on the pedal and turn the crank backward slowly.
- Raise or lower the saddle until your leg reaches full extension at the bottom without your pelvis tilting.
- Clip in or place the ball of the foot over the pedal axle. Your knee should now retain a small bend, usually about 25 to 35 degrees at the bottom of the stroke.
- Mark the seatpost and measure from the center of the bottom bracket to the top-middle of the saddle. Write down the number in millimeters.
The heel method is not a final answer. It only removes the worst errors quickly. A rider who reaches for the pedal by pointing the toes may need to lower the saddle. A rider whose hips rock side to side usually needs to lower it or check leg-length differences.
Use riding symptoms to make the final call
A saddle set too high often produces hip rocking, hamstring tightness, pain behind the knee, or a feeling that the foot cannot stay planted. A saddle set too low often creates pressure at the front of the knee, a cramped hip angle, and heavy quad fatigue. Move in 3 to 5 mm steps. Ride for at least 20 minutes before judging the change, because the first few pedal strokes can feel unfamiliar.
Verdict: choose the lowest saddle height that lets you pedal smoothly without front-of-knee pressure or pelvic rocking. That setting gives up a little theoretical leg extension but usually provides better control and comfort across real rides.
Cleat position: the three-point check
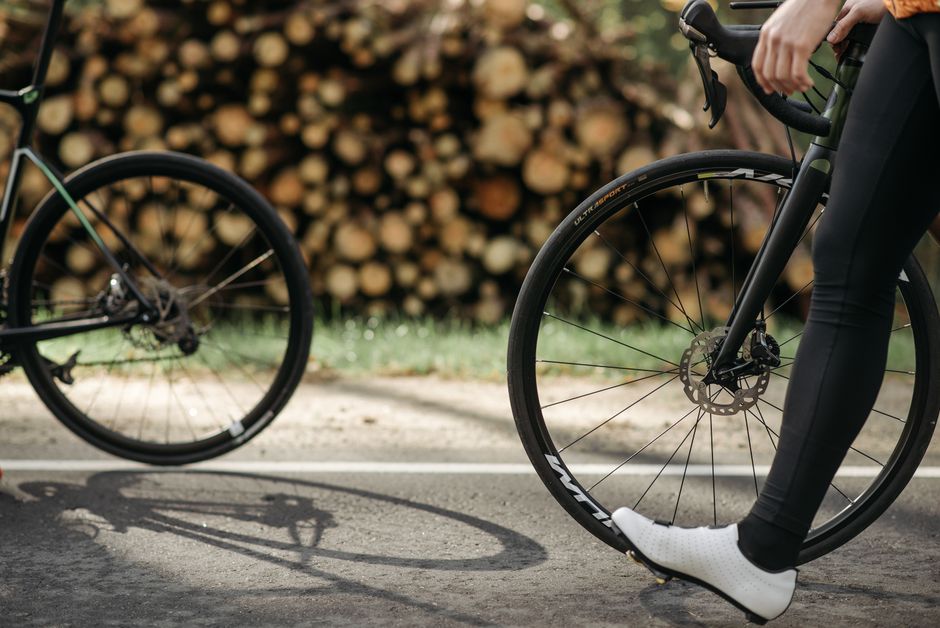
Cleats deserve a slow adjustment because a small rotation changes the path of the foot, knee, and hip together. Set both cleats to the same fore-aft position first, then adjust rotation. Do not copy another rider’s angle. Feet are rarely identical.
Should the cleat sit far forward or far back?
Start with the cleat slightly rearward rather than at the extreme front of the shoe slot. A rearward cleat reduces ankle movement and can make long rides feel calmer. A forward cleat can suit riders who want a more aggressive sprinting feel, but it increases the lever arm between the pedal and the ankle. Make changes in 2 to 3 mm steps.
With Shimano SPD-SL SM-SH11 yellow cleats, the designed float is about 6 degrees, so the foot can move slightly without forcing the knee to follow a fixed angle. LOOK Kéo Grip cleats are available in different float options, including 0, 4.5, and 9 degrees. More float is not a cure for every knee issue, but zero-float cleats demand more precise alignment.
How do you know the rotation is wrong?
Watch the knee from the front while pedaling at low and moderate effort. The kneecap should track roughly over the second and third toes without repeated inward collapse or outward drift. If the heel swings inward, rotate the cleat slightly outward. If the heel swings outward, rotate it slightly inward. Mark the original position with a pencil before changing anything.
Stop if you feel a sharp joint pain, tingling, or loss of foot control. Cleat adjustments should improve tracking, not force the knee into a rigid line. Verdict: keep the cleat angle that allows a quiet, natural knee path with no conscious effort.
Which home-fit tools are worth using?
Use tools that improve repeatability, not gadgets that create false precision. A phone camera, a tape measure, a small level, masking tape, and a notebook solve most home-fit problems. The table below shows where common equipment adds value.
| Tool or component | Useful specification | Best use | Consumer verdict |
|---|---|---|---|
| Phone video | Side and front clips at 60 frames per second when available | Checking hip rocking, knee tracking, and elbow bend | Best first tool because it shows movement rather than guessing from a parked bike |
| Wahoo KICKR CORE | Rated up to 1,800 watts, with approximately plus or minus 2% power accuracy | Repeating the same cadence and effort indoors | Useful for riders who already own a trainer; unnecessary for a basic fit |
| Shimano SPD-SL SM-SH11 | Yellow cleat with about 6 degrees of float | Testing a road-pedal setup with some foot movement | Safer starting point than a zero-float cleat for many riders |
| Specialized Power saddle | Common widths include 143, 155, and 168 mm, depending on model | Comparing saddle width and support | Choose by sit-bone support and width, not by appearance |
When numbers help and when they mislead
Measurements matter when you repeat them from the same reference points. They mislead when you compare different saddles, shoes, pedals, or crank lengths without recording those variables. Saddle height measured to the top of a thick comfort saddle is not directly comparable with a measurement to a thin racing saddle.
The home-fit budget should stay modest
Do not buy a motion-capture system to solve a problem that a 5 mm adjustment and two rides can answer. A professional fit becomes better value when the bike has unusual geometry, the rider has a known injury, or home changes have failed. Verdict: spend first on accurate notes and video; spend on hardware only when it answers a question you cannot answer by observation.
When to stop adjusting and book a professional fit
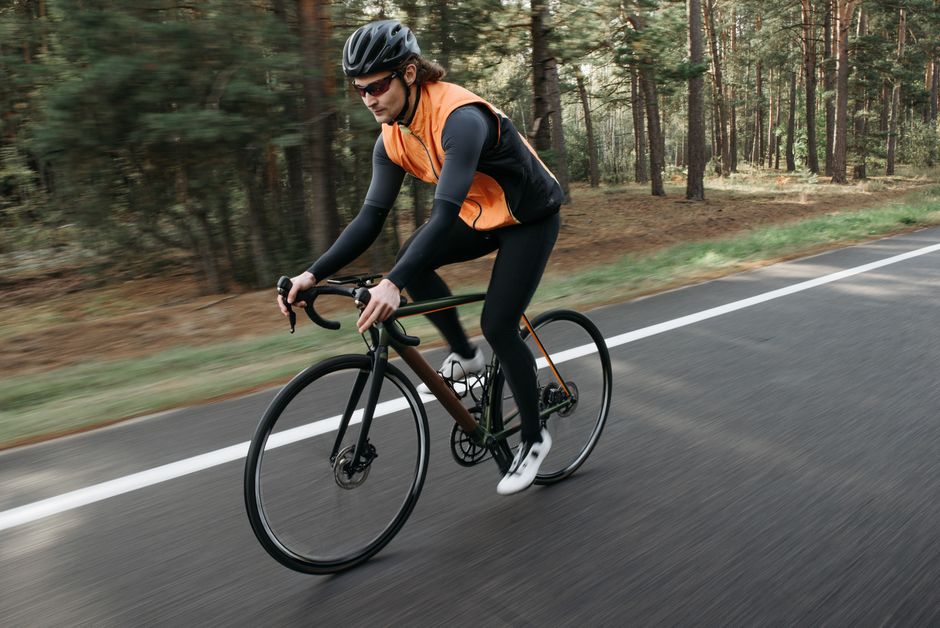
A professional fit is the right choice when pain persists after small, controlled changes. Home fitting works best for a stable bicycle and a healthy rider who needs a starting position. It is the wrong tool for numbness that lasts after the ride, swelling, sharp knee pain, unexplained weakness, or symptoms that appear on only one side. Those signs call for medical assessment before more bike changes.
Know what a home fit excludes
A home check does not measure leg-length difference accurately, assess mobility limits, diagnose a tendon problem, or prove that a frame fits. It also does not replace a check of headset play, loose cleats, worn bearings, damaged rails, or incorrect torque. Mechanical faults can mimic fit problems. A loose cleat can feel like a rotation error; a worn saddle can make a correct position feel unstable.
Keep the consumer-protection lens separate from the bike setup
If you insure an expensive bicycle, treat insurance as a separate decision. AM Best ratings describe an insurer’s financial strength, while J.D. Power scores describe parts of the customer experience. Neither rating confirms that a bike fit is safe. Coverage exclusions may include racing, commercial use, unattended theft, or gradual wear, so read the policy wording. Premiums vary by state and individual factors, and state-specific insurance requirements differ. Get multiple quotes before choosing cover, just as you would compare fit options before paying for a full assessment.
For a final riding decision, use this short comparison:
| Situation | Best next step |
|---|---|
| Minor discomfort with no sharp pain | Change one fit variable by 3 to 5 mm and test two rides |
| Hip rocking or front-knee pressure | Recheck saddle height before changing reach or cleats |
| Foot twisting or knee drift | Review cleat float, rotation, and shoe position |
| Persistent, sharp, or one-sided pain | Stop experimenting and seek medical or professional fit advice |
