

Are you trying to store a full-size bike in a small apartment without blocking the hallway, marking the wall, or breaking the lease? The strongest answer for most owners is a vertical wall rack mounted into a stud or masonry, because it uses roughly the bike’s footprint and lets you roll the bike into place instead of lifting the whole frame. A floor stand wins for renters who cannot drill, but it gives up valuable floor area and can tip when a handlebar catches a coat or door. A ceiling hoist saves the most floor space, yet it demands a strong ceiling structure, safe rope routing, and enough height to lift the bike without hitting lights or sprinklers. For a single road, hybrid, or light mountain bike, choose a vertical rack when drilling is allowed, choose a freestanding stand when the lease forbids holes, and skip a ceiling hoist unless the apartment has a suitable joist and a clear lifting path.
Which bike storage method uses the least apartment space?
The short verdict is clear: a vertical wall rack usually delivers the best space efficiency, while a floor stand creates the lowest installation risk. A wall rack turns unused wall height into storage and can keep the handlebars close to the wall, but it transfers the bike’s load into screws, studs, or masonry. A hook costs less and works with many wheel sizes, but lifting a 25- to 40-pound bike every day becomes annoying and can scuff paint when the front wheel swings. A floor stand avoids holes and is easier to move during cleaning, but its base still occupies about 2 square feet and needs protection from foot traffic. A ceiling hoist is the space winner only on paper: the bike disappears overhead, yet daily access becomes slower and the ceiling must carry repeated lifting loads. My apartment-storage pick is a vertical rack for a structurally sound wall, a freestanding stand for a strict lease, and no ceiling system for a low ceiling or a bike that the rider cannot safely lift.
Wall racks, hooks, floor stands and hoists compared
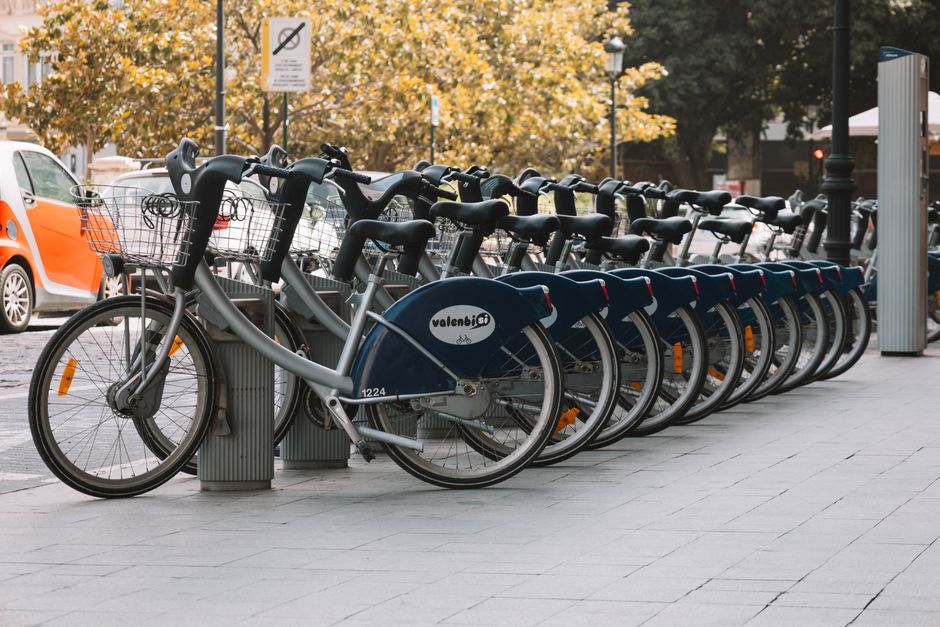
Price is only one part of the decision. The right system must match the bike’s weight, tire width, frame shape, ceiling structure, and the number of times you ride each week.
| Storage type | Space use | Installation | Best use | Main drawback |
|---|---|---|---|---|
| Vertical wall rack | About 14-24 inches between staggered bikes | Four screws into stud or masonry | Frequent riders with an open wall | Needs drilling and accurate alignment |
| Wall hook | Very small wall footprint | One or two anchors | Light bikes and low budgets | Requires lifting and wheel clearance |
| Floor stand | Usually about 2 square feet | No permanent work | Renters and shared rooms | Consumes floor space |
| Ceiling hoist | Almost no floor footprint | Mounts to joists or a structural beam | Rarely used bikes and high ceilings | Slow access and fall risk if poorly mounted |
The clear choice by apartment type
For one frequently ridden road or hybrid bike, the Feedback Sports Velo Wall Rack 2D is the practical value pick if a stud is available. For a heavier mountain bike or e-bike, the Steadyrack Classic MTB version is the safer match because its published capacity reaches 77 lb and its tire range reaches 2.8 inches. For renters, a quality floor stand is the better choice than a tension pole that presses against painted walls or a ceiling hoist that may violate building rules.
How to measure the bike and apartment before buying
Measure first. Many storage failures come from buying a rack that technically supports the bike but leaves no room to load it.
- Measure the bike. Record total length, handlebar width, tire diameter, tire width, and fully loaded weight. Include racks, child seats, baskets, lights, and frame bags.
- Map the clearance. Leave at least 4 inches beside the handlebars, 6 inches above the saddle, and a clear path from the entry door to the storage point. A 24-inch handlebar needs more wall spacing than a narrow 40-centimeter road bar.
- Find the structure. A stud finder can locate timber framing, but confirm the result with a small test hole or building plans. For masonry, use anchors rated for the wall material, not generic drywall plugs.
- Check the bike angle. A vertical rack needs enough ceiling height for the rear wheel and enough side clearance for the handlebar to pivot. Measure the full diagonal, not just the frame length.
- Test the daily motion. Simulate rolling, lifting, locking, and cleaning the bike. If the rack forces you to move furniture every ride, the storage system will fail even if the measurements fit.
Weight and tire fit matter more than brand
Do not use a road-bike hook for a 65-pound e-bike because the wheel diameter looks compatible. Check the stated load limit, tire width, fender clearance, and contact points. A rack that grips a tire may not work with a deep mudguard, while a frame cradle may press against a carbon tube or a thin top tube.
Leave room for maintenance
Keep a small service zone beside the stored bike. You need enough space to remove a wheel, inflate a tire, and wipe off road grit without scraping the wall. Storage that protects the paint but prevents basic maintenance is false economy.
My strongest recommendation: protect the structure before the bicycle

Spend more time checking the wall than comparing finish colors. A $55 rack on a correctly located stud is safer than a $150 rack fixed to weak drywall. The rack is only one part of the load path: the bike presses on the cradle, the cradle loads the rack plate, the screws load the wall, and the wall transfers the force into framing or masonry. Every weak point can turn a routine bump into a fallen bike.
Mounting details that prevent damage
Use the supplied hardware only when it matches the wall. Timber studs need suitable wood screws with enough embedment; concrete and brick need correctly sized masonry anchors. Do not mount a heavy bike to plasterboard alone unless the rack maker specifically rates that installation. Tighten screws until the plate sits flat, but stop before crushing drywall or deforming a thin mounting bracket. Add a clear protective film or a small rubber bumper where the handlebar, pedal, or rear wheel could touch the wall.
Product-specific limits are not interchangeable
The Steadyrack Classic MTB supports up to 35 kg, but its published tire range is 2.1 to 2.8 inches and it does not suit every fender setup. The Feedback Sports Velo Wall Rack 2D uses adjustable cradles, which helps with frame shape, but the wall still carries the full load. The RAD Cycle HWD630542 may support 75 lb, yet its ceiling rating does not make a weak apartment ceiling safe. The verdict is simple: match the mount to the structure first, then match the mount to the bike.
Renter questions: no-drill storage and lease rules
Can a renter use a no-drill bike rack?
Yes, but no-drill does not mean risk-free. A freestanding floor stand is the safest renter option because it transfers the load to the floor and can leave with you. A tension-mounted rack can mark ceilings and floors, while adhesive hooks may fail under vibration, heat, dust, or a bike’s full weight. Avoid any system that depends on a vague load claim without stating the wall, floor, or ceiling conditions.
How should a renter check the lease?
Look for clauses covering holes, anchors, common areas, balconies, hallways, fire exits, and alterations. Ask the landlord or property manager for written permission that names the exact wall or ceiling location, hardware type, and repair responsibility. Photograph the wall before installation and keep receipts for approved repairs. Building rules can be stricter than the lease, especially in apartments with shared corridors.
How can renters protect paint and flooring?
Keep wet bikes off carpet, use a washable drip mat, and wipe grit from tires before storage. Place felt or rubber under a floor stand, but do not use a soft pad that lets the stand slide. Never block an exit, electrical panel, radiator, sprinkler, or ventilation opening. A clean freestanding stand with a floor mat is the renter-friendly winner when permission for drilling is uncertain.
Which setup should you choose for your apartment?
Choose the storage system by the problem you need to solve, not by the rack category that looks most compact in a product photo.
Best choice for frequent riders
Use a vertical wall rack mounted into a verified stud or sound masonry. The Steadyrack Classic Road Bike Rack is the strongest match for a narrow road or hybrid bike, while the Classic MTB model suits wider tires and heavier bikes. Roll-in access matters more than a low price when you ride several times each week.
Best choice for strict renters
Use a freestanding floor stand with a protective mat. It consumes some floor area, but it avoids uncertain adhesive ratings, ceiling loads, and lease disputes. Choose a hoist only for a rarely used bike, a structurally approved ceiling, and a lifting path that no one walks beneath. For the apartment owner who began with a bike blocking the hallway, the final answer is practical: measure first, use a stud-mounted vertical rack when permitted, and keep a movable floor stand ready when the lease says the walls are off-limits.
