
Use this pressure table for a 40 mm gravel tire
The table gives practical starting points for tubeless 40 mm tires on a typical modern gravel bike. It assumes an internal rim width around 21 to 25 mm and a tire casing designed for mixed surfaces. Tubes usually need 3 to 5 psi more to reduce pinch-flat risk.
Pressure ranges by total system weight
| System weight | Pavement and hardpack | Mixed gravel | Loose or rocky dirt |
|---|---|---|---|
| 65–80 kg | 42 front / 45 rear psi | 36 front / 39 rear psi | 30 front / 33 rear psi |
| 80–95 kg | 46 front / 49 rear psi | 40 front / 43 rear psi | 34 front / 37 rear psi |
| 95–110 kg | 50 front / 53 rear psi | 44 front / 47 rear psi | 38 front / 41 rear psi |
How to read the numbers
Choose the column that matches the roughest section, not the smoothest first hour. A route with 70 percent pavement and one long rocky descent belongs closer to the mixed or loose-dirt range. The lower number improves grip, but only while the tire still supports your weight without bottoming against the rim.
These are starting pressures, not laws. Tire construction changes the result. A supple 42 mm casing may feel stable at the same PSI where a stiff 38 mm tire feels harsh. Record the pressure, temperature, tire width, and route surface after every ride.
How to set pressure before a mixed-surface ride
Use the same short routine before every ride. Consistency makes pressure changes useful because you can link a PSI adjustment to a real handling problem instead of guessing at the trailhead.
Follow this five-step setup
- Measure total system weight with the bike packed as it will be ridden. Include two full bottles and any saddle bag.
- Check the tire sidewall for the approved pressure range. Never exceed the lower limit of the rim, tire, or tubeless insert.
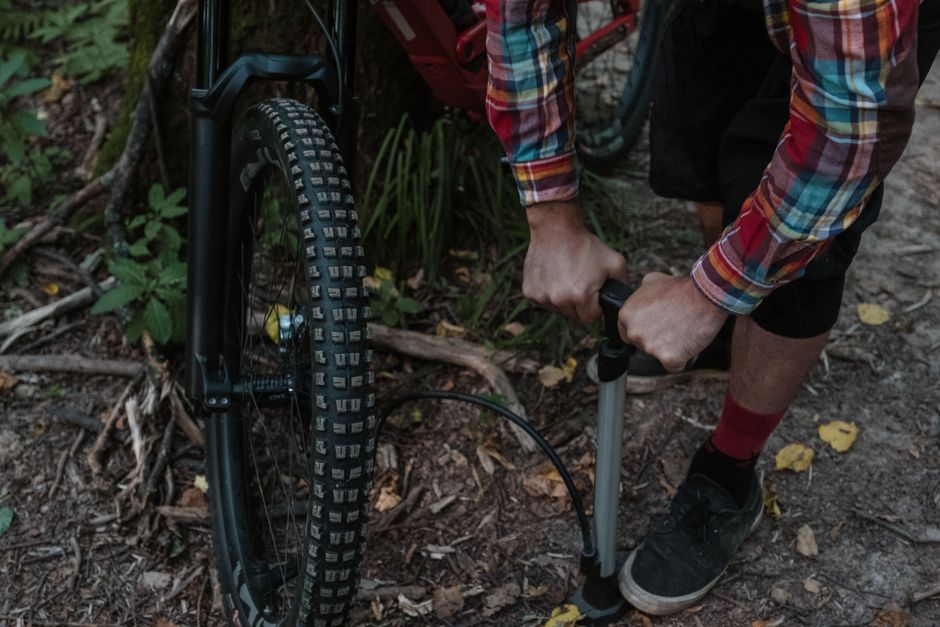
- Inflate both tires at home with a Topeak JoeBlow Sport III floor pump, which costs about $60 and has a 160 psi maximum gauge.
- Confirm the reading with an SKS Airchecker digital gauge, usually about $70. Use the same gauge each time because two gauges can disagree by several PSI.
- Ride five minutes on pavement, then test braking, cornering, and seated climbing on dirt. Change pressure only after checking for rim strikes and sidewall movement.
Pack a pressure backup
Carry a Silca Tattico mini pump, about $75 and rated to 100 psi, plus a tire plug kit and a spare tubeless valve core. A small pump will not quickly add ten PSI after a puncture, but it can restore enough air to protect the rim and get you home. For long remote routes, carry a separate tire boot and a tube sized for the tire.
Why PSI changes across pavement, gravel, and dirt
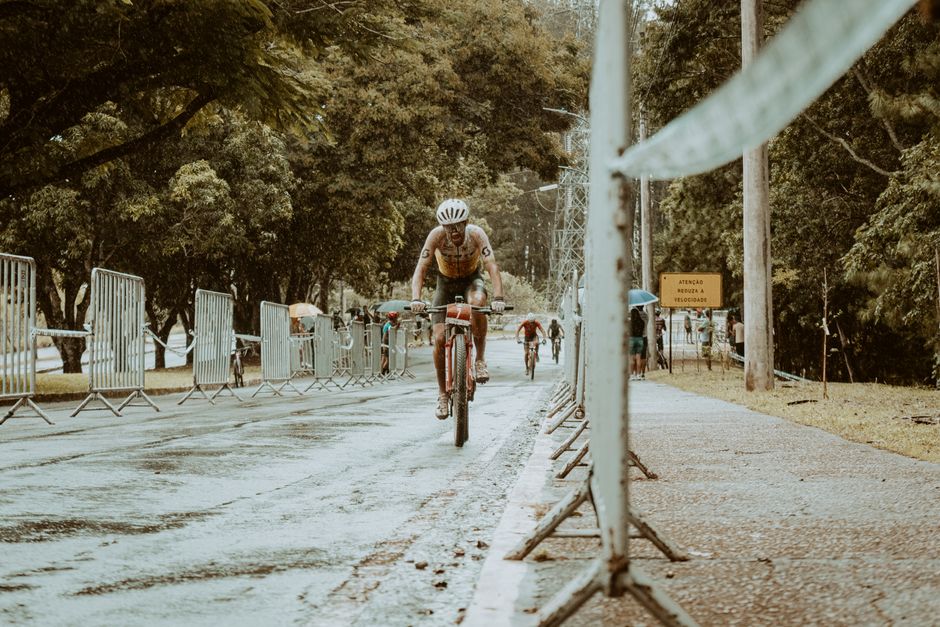
Tire pressure controls the balance between support and grip. More air stiffens the casing and reduces rolling drag on smooth pavement. Less air lets the tire spread over small stones, increasing the contact patch and helping the tread stay connected to the ground. The useful setting sits between those two effects.
What happens on pavement
High pressure can feel fast on clean asphalt because the casing moves less. Too much pressure creates a nervous ride, though. The tire skips across rough patches instead of absorbing them, and the smaller contact patch reduces confidence while braking. On a mixed route, pavement-only pressure often wastes energy through vibration. You may feel efficient on the first road section but arrive at the dirt with less control.
What happens on gravel
Firm gravel rewards a moderate drop. The tire can conform to stones without folding in fast corners. That improves traction during seated climbs and gives the rear wheel a better chance of staying planted under braking. Start with 4 to 8 psi below your pavement setting for the same tires. Make larger changes only when the surface changes for many miles.
What happens on loose dirt
Loose dirt needs grip, but the lowest possible PSI is not automatically best. If the casing rolls sideways, steering becomes vague and the rim can strike when the bike lands after a rut. A 2 psi change can be enough. Keep your weight centered, relax your hands, and let the tire work before dropping pressure again. For a route with repeated rocks, loaded bags, or sharp square edges, protection and stability matter more than chasing the lowest rolling resistance.
The best pressure is the one that keeps the tire supported during the hardest moment of the ride. Smooth sections do not reveal the limit; a fast corner, rocky compression, or emergency stop does.
Fix these five tire-pressure mistakes before they ruin a ride
My clear recommendation: start slightly higher, then lower pressure in controlled 2 psi steps. A slow adjustment protects the rim and gives each change a fair test.
- Using rider weight instead of system weight: bags and water can add 4 to 8 kg. Include them before choosing a range.
- Copying a friend’s PSI: the same tire can need a different setting because rim width, casing, rider position, and load change the support level.
- Trusting a floor-pump gauge blindly: inexpensive gauges can drift. Compare your pump against one reliable handheld gauge and watch for a repeatable difference.
- Dropping pressure after every harsh bump: one impact may come from poor line choice or an unseen rock. Look for rim marks, burped sealant, or sidewall movement before changing the setup.
- Ignoring temperature and altitude: pressure changes as air warms and cools. Inflate before the ride at a stable temperature, then recheck after the bike has sat outside.
When not to lower PSI
Do not chase comfort with very low pressure if you run tubes, carry heavy luggage, hear repeated rim strikes, or see the tire bead move on a corner. In those cases, add air, fit a wider tire, or choose a stronger casing. More volume often solves the problem better than forcing a narrow tire to behave like a wider one.
Gravel tire pressure questions riders ask
Should front and rear gravel tire pressure match?
No. The rear normally needs 2 to 4 psi more because it carries more load. Matching pressures can work for a very balanced bike and rider, but it is a poor default for mixed routes. A lower front setting helps the tire track over loose gravel and improves steering grip.
Should tubeless gravel tires run lower PSI than tires with tubes?
Yes, in most setups. Tubeless tires remove pinch flats and allow a modest pressure reduction, often 3 to 6 psi below a comparable tube setup. They still need enough air to prevent rim strikes and bead burps. Sealant does not repair a crushed casing or a tire that rolls off the rim.
Is higher pressure faster on pavement?
Only on smooth pavement and only until vibration losses rise. On broken asphalt, a slightly softer tire can maintain speed because it follows the surface instead of bouncing. For a mixed route, choose the pressure that keeps control on dirt and accept that the first road miles may feel less sharp. A stable tire is faster over the complete route than a harsh tire that forces cautious cornering.
Choose a pressure range you can repeat in 2026
For most mixed pavement and dirt rides, the best setup is a 40 to 45 mm tubeless tire, a reliable gauge, and a written starting point. Begin near 40/43 psi for an 80 to 95 kg system on 40 mm tires, then tune in 2 psi steps after checking the roughest surface.
Match the tire to the route
For fast hardpack, the Continental Terra Trail ShieldWall in 700×40, usually about $75, is a strong all-round choice because its tread rolls cleanly on pavement while still offering edge grip. For rougher dirt and deeper gravel, the WTB Raddler in 700×40, around $70, gives up some road smoothness for more open tread. The verdict is simple: choose the Terra Trail for routes dominated by firm surfaces and the Raddler when loose corners decide the ride.
Write down the winning setup
Record tire model, measured width, system weight, front PSI, rear PSI, temperature, and route surface. After three rides, you will have a personal range instead of a generic number. That small log turns pressure tuning into a repeatable part of bike preparation, and wider, smarter gravel tires will keep making mixed-surface riding more comfortable and capable.
