
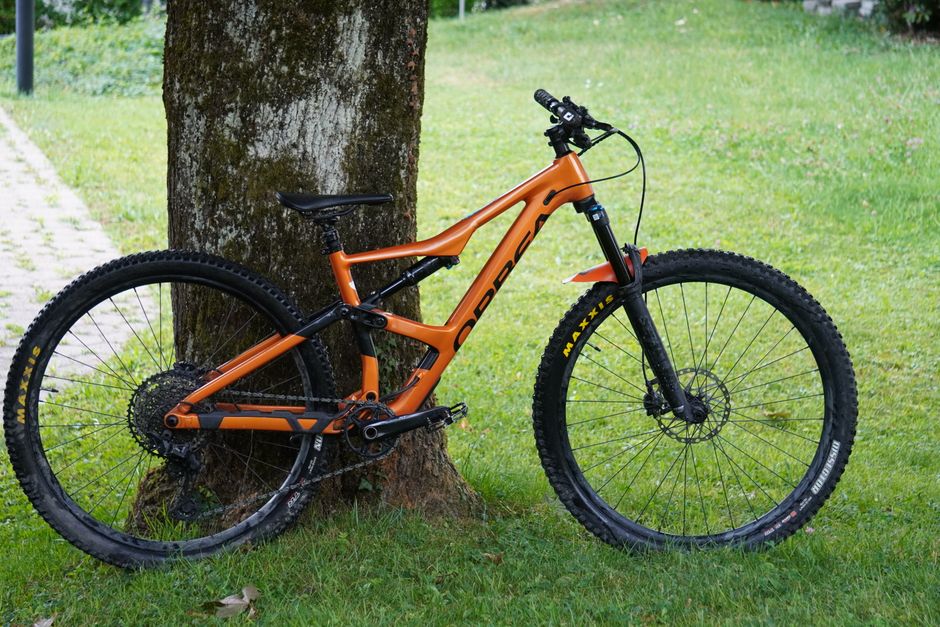
Your bike comes home after a wet February ride with a brown chain, gritty brake noise, and a faint orange mark near a bolt. It may still ride normally. That does not mean it is healthy. Water carries road salt and grit into the chain rollers, brake pivots, cables, and small gaps around fasteners. The damage often starts quietly, then turns into expensive wear.
The right response is a short inspection, careful cleaning, complete drying, and a clear decision about what to repair. The verdict for February 2026 is simple: check the brakes before cleaning the drivetrain, replace badly worn safety parts, and treat rust by location rather than by appearance.
Use this 20-minute wet-ride inspection order
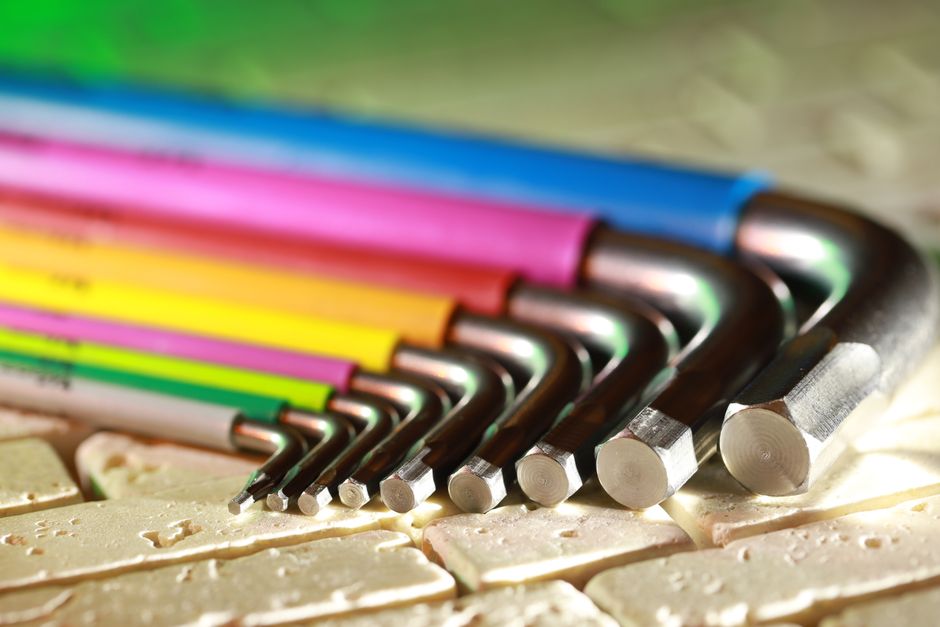
The five-minute safety screen
The safest verdict is to inspect the parts that can cause a crash before touching the chain. Keep the bicycle stationary and use bright light.
- Squeeze both brake levers. A lever that reaches the handlebar, feels spongy, or returns slowly needs attention before the next ride.
- Spin each wheel and watch for side-to-side movement. Listen for rubbing that appears only at one point in the rotation.
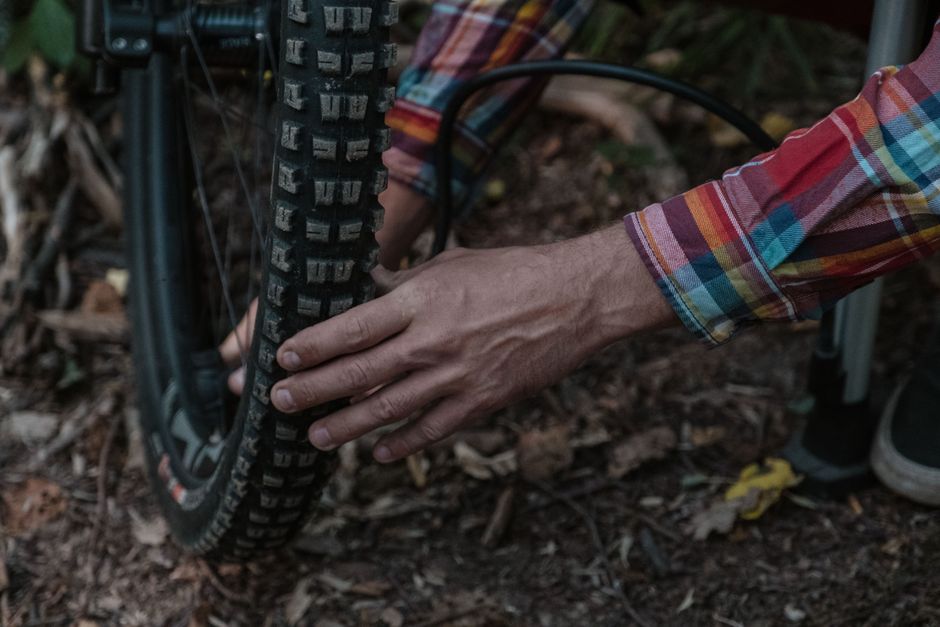
- Check the tire sidewalls for cuts, exposed casing, or a soft spot. Wet weather does not cause every tire problem, but it can hide damage under road film.
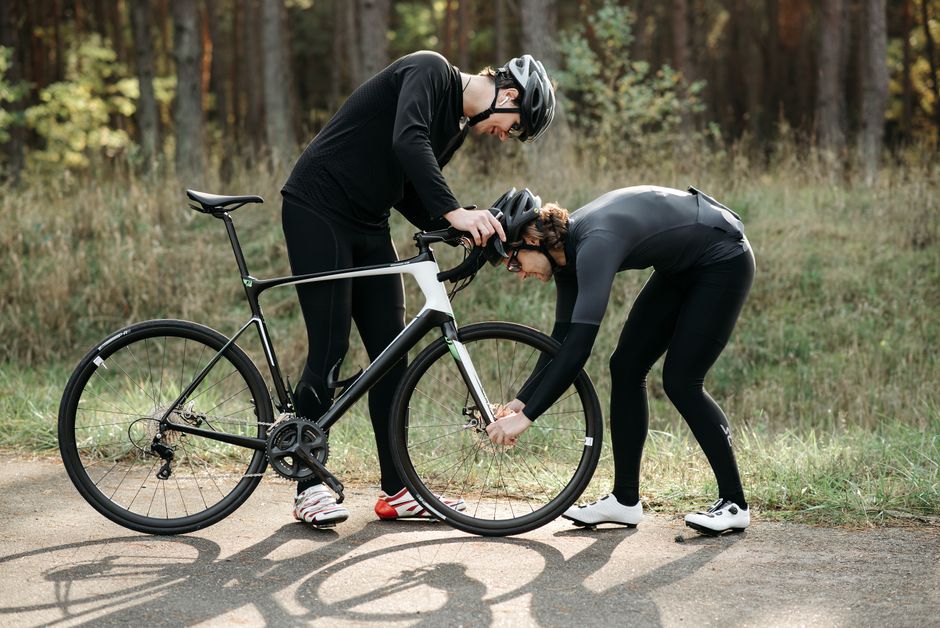
- Hold the front brake and rock the bicycle forward and back. Clicking at the headset or movement at the fork may signal a loose bearing or steerer assembly.
- Turn the handlebar gently and confirm that cables and hoses do not pull tight or snag.
The 15-minute clean-and-dry pass
Once the safety screen passes, shift the chain onto the small chainring and a middle rear cog. Use a soft brush or cloth to remove loose grit. Do not blast bearings, bottom-bracket seals, headset seals, or hub seals with a pressure washer. High-pressure water can push contamination past the seals.
- Rinse heavy mud with a gentle stream, keeping water away from exposed bearings.
- Brush the chain, cassette, chainrings, and derailleur pulleys from several angles.
- Wipe water from the frame, spokes, cables, and brake hardware.
- Dry the chain by running it through a clean cloth while backpedaling.
- Leave the bicycle in a dry, ventilated place before applying lubricant.
This order prevents a common mistake: making the drivetrain look clean while missing a brake lever that has started to fail.
Chain care: when cleaning beats replacement
Pick the cleaner for the soil
For ordinary road grime, my clear pick is the Park Tool CM-5.3 chain scrubber. Its rotating brush system reaches the chain while it runs through the tool, which makes it useful for riders who clean after several wet rides each month. It does not measure chain wear, fix stiff links, or remove the need to wipe and dry the chain afterward.
For heavier oily buildup, WD-40 Specialist Bike Degreaser is the more practical choice. Use it on a brush or cloth, not as a reason to flood the entire bicycle. Keep degreaser away from disc brake rotors, brake pads, tire tread, and suspension seals. Product labels and local prices can change, so check the current instructions before use.
| Condition | Best maintenance response | Do not do this |
|---|---|---|
| Light road film | Wipe the chain, brush the cassette, dry fully, then lubricate | Apply fresh lube over wet grit |
| Thick black paste | Use a chain cleaner or bike-specific degreaser and rinse gently | Spray degreaser toward brake rotors |
| Orange rust with stiff links | Test every link and measure chain wear before riding far | Assume lubricant will restore damaged pins |
| Repeated skipping under load | Check chain wear, cassette teeth, and chainring teeth | Keep riding until the chain breaks |
Lube only after the chain is dry
For repeated wet rides, Finish Line Wet Bicycle Lubricant is the stronger choice than a dry-weather lube because it leaves a more water-resistant film. Apply one drop to each roller while backpedaling slowly. Wait a few minutes, then wipe the outside plates until they feel nearly dry. The lubricant belongs inside the moving joints; excess oil on the outer plates only attracts grit.
Replace the chain when a wear gauge shows it has passed the tool’s replacement mark, when several links remain stiff after cleaning, or when rust has pitted the rollers and pins. A new chain may not solve skipping if the cassette is already worn. My verdict: clean and lubricate a dirty chain, but replace a worn or pitted chain before a long February ride.
Brake checks: stop riding when these signs appear
How to check pad and rotor wear
The stop-riding verdict is firm: a brake problem takes priority over a dirty chain. On rim brakes, look for the wear line or groove molded into the pad. If the groove has disappeared, the pad has reached its service limit. Also check whether the pad is hitting the tire, sitting below the rim, or touching the rim at an angle. Any of those positions can damage the tire or reduce braking control.
On disc brakes, inspect the pad through the caliper. If the friction material is close to the backing plate, replace the pads. Do not estimate the exact limit by eye when the pad is difficult to see; remove the wheel or ask a mechanic. Check the rotor for deep scoring, a blue heat mark, oil, or a thickness measurement below the minimum printed on the rotor. Muc-Off Disc Brake Cleaner can help remove a suitable film from a rotor, but it cannot restore a contaminated pad. Never spray it casually around a wheel with the pads installed.
When a brake adjustment is not enough
A cable brake that feels loose may need barrel adjustment, but an adjustment will not repair a frayed cable, crushed housing, seized pivot, or cracked brake pad. Pull the cable by hand only enough to inspect it. Replace a cable that has broken strands or heavy rust.
Hydraulic brakes deserve a different response. A soft lever, visible fluid, a wet hose connection, or a lever that slowly moves toward the bar points to a possible air or fluid problem. Bleeding the system requires the correct fluid and bleed kit for that brake. Mineral oil and DOT fluid are not interchangeable. A home repair that uses the wrong fluid can damage seals and create a larger bill. For riders without the correct tools, a shop inspection is the sound choice.
What to buy for a February maintenance kit
Build the small kit
For most riders, the best kit is compact rather than loaded with chemicals. My recommended starting set is the Park Tool CM-5.3 for chain cleaning, WD-40 Specialist Bike Degreaser for heavy drivetrain soil, Finish Line Wet Bicycle Lubricant for wet conditions, a nylon brush, two clean lint-free cloths, and a basic chain-wear gauge. Add Muc-Off Disc Brake Cleaner only if you understand where it can safely be used. Add Boeshield T-9 for exposed metal protection, not for braking surfaces.
Buy the tools that solve a repeated problem. If your chain stays clean with a cloth and brush, the chain scrubber may not pay for itself. If you ride in rain every week, wet-weather lubricant earns its place faster than a dry-weather formula. Keep a small inspection light in the same storage box; seeing a frayed cable or cracked pad is worth more than another bottle.
When a kit is the wrong purchase
Do not buy a full maintenance bundle to avoid a repair that needs a mechanic. A kit cannot safely correct a hydraulic brake leak, damaged carbon part, seized seatpost, loose headset, or rotor below its marked thickness. It also cannot tell you whether a creaking sound comes from the bottom bracket, pedals, frame, or crank interface.
Maintenance products are not insurance products. AM Best ratings describe an insurer’s financial strength, while J.D. Power scores describe parts of the customer experience; neither rating measures a degreaser or predicts a bicycle repair. If a wet-ride crash leads you to review bicycle coverage, premiums vary by state and individual factors. Get multiple quotes, then read exclusions for corrosion, normal wear, racing, unattended theft, and parts replacement.
The final buying verdict is practical: spend first on a chain-wear gauge, clean cloths, safe lighting, and brake inspection. Add specialized chemicals only after you know which problem they solve. That approach keeps February maintenance focused on stopping power, reliable shifting, and metal that still deserves to stay on the bike.
