
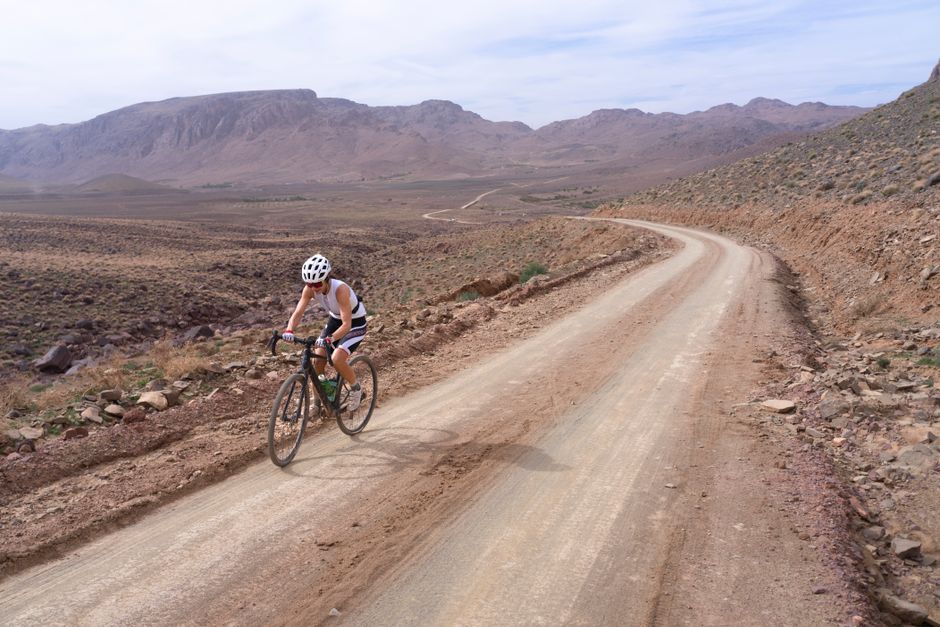
A tire set to 40 psi at 68°F can read about 35 psi after cooling to 32°F, before the bike moves an inch. That five-psi change comes from air temperature, not necessarily a slow leak. On gravel, it can change rim protection, cornering feel, and front-wheel grip before the ride even starts.
The useful answer is not one magic number. It is a repeatable starting point that accounts for tire width, rider weight, surface, and the temperature at which you pump the tires. The figures below target a 160- to 180-pound rider on a tubeless 700c gravel bike. Heavier riders should add pressure; lighter riders can subtract a little, while staying above the tire maker’s marked minimum.
What starting PSI works for common gravel tire sizes
A repeatable baseline for 700c tires
For a 160- to 180-pound rider carrying only bottles and a small repair kit, I would start with the table below. The rear tire gets slightly more pressure because it carries more weight. These are starting points for tubeless setups, not universal limits. A rider with a loaded bike, narrow rims, a heavier frame, or a higher body weight should move upward.
| Tire setup | Dry hardpack | Loose gravel | Rough frozen washboard |
|---|---|---|---|
| 700×40 tubeless | Front 38 / Rear 40 psi | Front 34 / Rear 36 psi | Front 30 / Rear 32 psi |
| 700×45 tubeless | Front 34 / Rear 36 psi | Front 30 / Rear 32 psi | Front 27 / Rear 29 psi |
| 700×50 tubeless | Front 30 / Rear 32 psi | Front 27 / Rear 29 psi | Front 24 / Rear 26 psi |
How real tire models fit inside those numbers
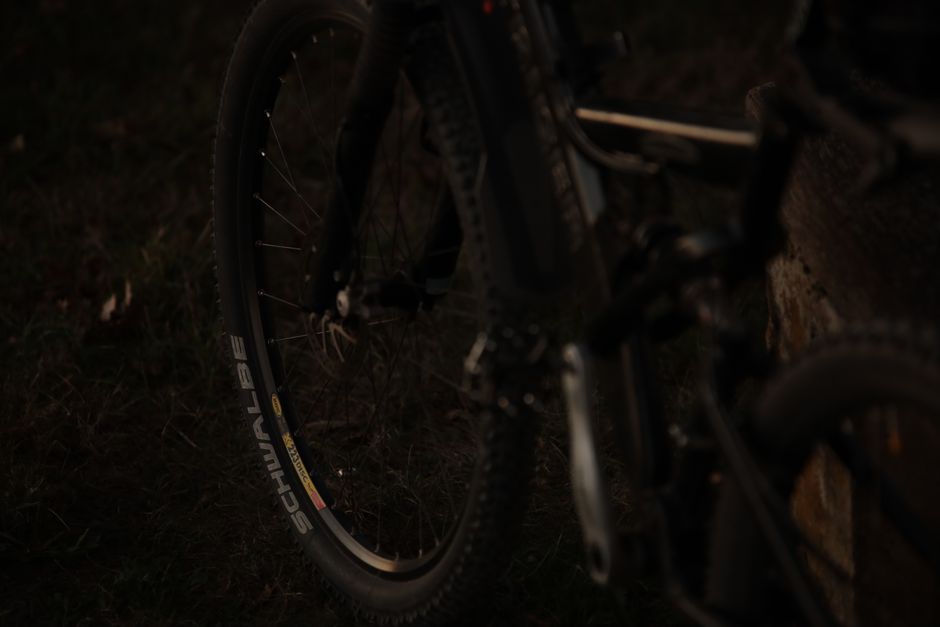
Real tires show why the printed range matters. The WTB Riddler 45 x 700 TCS Light/Fast Rolling 60tpi tire weighs about 560g and lists a 25-50 psi range, making a 30-36 psi winter setup plausible for the target rider. The Schwalbe G-One Allround 40-622 is a folding, RaceGuard, tubeless-ready tire with a listed €47.90 RRP on Schwalbe’s product page. The Pirelli Cinturato Gravel M 45-622 uses a 60 TPI casing, TechWALL Gravel protection, and weighs about 490g. Continental’s Terra Speed is available in 700x40C Tubeless Ready form for riders who favor faster hardpack.
These are reference products, not affiliate picks. My clear verdict is the 45mm size for cold, rough mixed surfaces because it gives more casing support at lower pressure. For mostly paved connectors and fast dry hardpack, a 40mm tire is the better trade: less drag and sharper steering, with less room to absorb frozen ruts.
Bottom Line: Start around 34/36 psi on a 45mm tubeless tire or 38/40 psi on a 40mm tire, then adjust in 2-psi steps.
Three mistakes that make winter pressure feel random
- Inflating indoors and never checking outside. A garage at 65°F and a trailhead at 25°F can produce a meaningful pressure gap. Let the bike sit outside for several minutes, then check both tires with the same gauge. If you always start from the same outside temperature, your notes become useful.
- Using one number for both wheels. The rear wheel usually carries more load, especially with a saddle bag. A 2-psi rear increase is a sensible first move. Running identical pressure front and rear can leave the back tire too soft or the front tire unnecessarily harsh.
- Chasing comfort until the tire folds. Lower pressure can smooth chatter, but too little pressure produces vague steering, sidewall squirm, rim strikes, and tubeless burps. If the tire makes a sharp knock over square edges, add 2 psi before the next section.
- Ignoring total system weight. Tire charts usually assume a rider and bike near a stated range. Add clothing, water, tools, and bags. For every additional 20 pounds above the baseline, add roughly 2-4 psi, then reassess the ride rather than copying a professional racer’s setup.
- Changing three variables at once. If you change tires, pressure, wheels, and route on the same day, you learn nothing. Keep the tire and route fixed. Change pressure by 2 psi, record the temperature, and ride the same rough section again.
The most expensive mistake is treating the gauge as the whole decision. The gauge gives a number; the tire gives feedback. A firm, planted rear tire that survives rough edges is worth more than a theoretically perfect pressure copied from an online calculator.
Bottom Line: Record temperature, front pressure, rear pressure, rider load, and surface every time you test; that five-line log beats pressure folklore.
When lower pressure helps, and when it becomes a liability
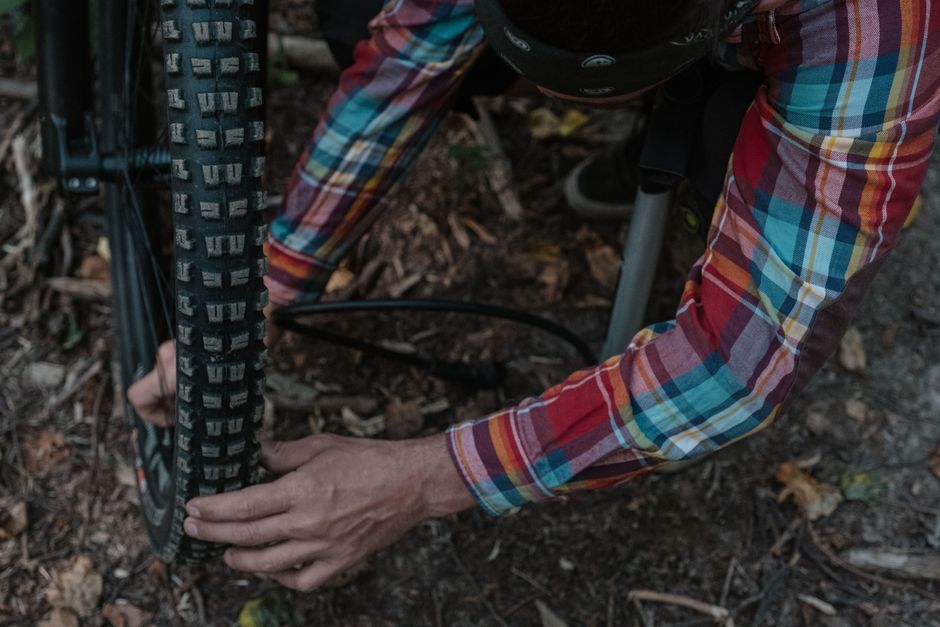
My opinion is simple: lower pressure is the right winter move only when the surface is rough enough to reward casing movement. It is not automatically better because the air is cold. Cold, smooth pavement still rewards a firm tire. Frozen washboard, loose stone, and hard ridges can reward a softer setup because the tire can deform around the surface instead of bouncing across it.
Why lower pressure can improve control
A lower-pressure tire creates a longer contact patch. That spreads load over more rubber and allows the casing to follow small stones instead of skipping over them. The result can be better braking on loose gravel and less hand fatigue on repeated chatter. The benefit has a limit. A tire that compresses too far reaches the rim or loses sidewall support, and the apparent comfort turns into a sharp impact.
Why cold surfaces change the decision
Frozen ground is often harder than summer dirt but less predictable. A smooth frozen road can be fast and stable. A thawing trail can contain soft patches, hidden ice, and deep ruts. Lower pressure can help the tire stay connected over uneven ground, but it can also make the steering feel slow when the surface turns smooth. If your route mixes asphalt with rough gravel, use a middle setting rather than optimizing for one five-minute section.
When not to lower pressure
Do not keep lowering pressure if the tire squirms during a fast turn, spins on climbs because the casing folds, or loses air after a sharp hit. Raise pressure when carrying heavy bags, riding a narrow tire on a wide rim, or using a wheel with limited rim protection. Add 2 psi for repeated high-speed pavement, and add another 1-2 psi if the rear tire feels unstable under a loaded bag. A wider tire is the better alternative when you want comfort without running a narrow casing at an unsafe pressure. A studded winter tire is the better alternative on regular ice; pressure alone cannot create metal grip on a slick surface.
This is where many winter setups become needlessly expensive. Riders buy a new wheelset or chase premium rubber when a wider casing and a careful pressure log would solve the actual problem. The reverse is also true: do not save a few dollars by riding below the marked minimum and then pay for a damaged rim. Tire pressure is a small operating cost, but the failure fee can be large.
Bottom Line: Lower pressure for roughness and traction, not simply for cold air; raise it when the casing feels vague, folds, or bottoms out.
How to test a pressure setting before trusting it

What should the first test include?
Use a controlled ten-minute test, not a vague ride impression. Start at the baseline for your tire width, then ride the same loop with one rough section, one firm corner, one short paved stretch, and one braking zone. Keep the temperature and load in your notes. After the first pass, ask four questions: Did the front wheel track through loose gravel? Did the rear tire strike the rim? Did either tire squirm in a corner? Did the bike feel harsh on repeated small bumps?
How much should you change?
Change only 2 psi at a time. If the tires feel harsh but remain stable, subtract 2 psi from both wheels. If the rear feels vague or hits hard, add 2 psi to the rear only. If the front washes across loose gravel, subtract 1-2 psi from the front while keeping the rear stable. Stop adjusting when one change improves control without creating a new problem.
What counts as a successful winter setting?
A successful setting feels boring. The bike tracks straight, the rear tire does not knock against the rim, the front does not wander in turns, and the pressure stays within the printed range after the ride. Write down the result as a temperature-specific setting, such as 32/34 psi at 28°F on rough gravel, rather than calling it your permanent pressure. That number belongs to a particular tire, load, and surface.
This is not financial advice, but the same logic applies to the wallet: a measured 2-psi adjustment costs nothing, while repeated rim damage and unnecessary tire purchases do. The single most important takeaway is to start with a temperature-aware front/rear baseline and change it only 2 psi at a time.
