
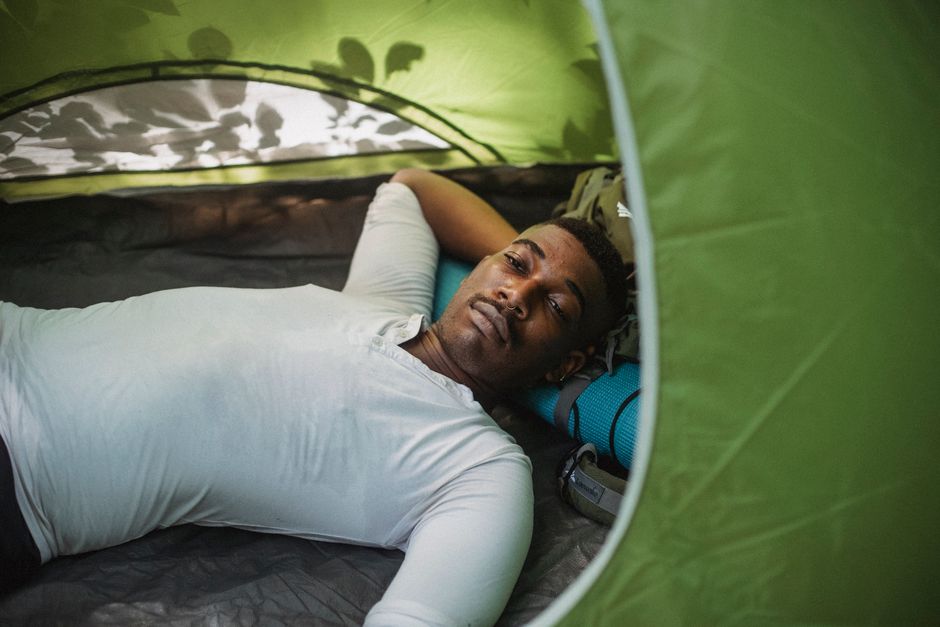
You finish a 75-mile ride at dusk, push your bike through the last muddy section, and reach camp with cold feet and a stiff back. The shelter goes up, dinner happens, and then the real problem appears: your sleeping pad is narrow, your bag is damp from sweat, and every root under your hip feels like a rock.
A good bikepacking sleep system fixes three separate problems: heat loss into the ground, heat loss from your body, and exposure to wind or rain. Treat those as one purchase and you usually overspend on the wrong part. Treat them as three connected decisions and the setup becomes lighter, warmer, and easier to pack.
What a bikepacking sleep system must solve
My first rule is simple: protect your sleep before chasing minimum weight. A poor night can ruin the next day more thoroughly than an extra 500 grams in your bags. The system exists because the ground pulls heat away faster than air does, a tired cyclist needs more recovery than a casual camper, and weather can change long after the forecast looked safe.
Start with the ground, not the shelter
Your body compresses the insulation under your back and hips. That leaves the underside of a sleeping bag almost useless, which is why the pad supplies most of the insulation beneath you. A pad with an R-value around 3 works for mild summer nights. For spring, fall, and high-country trips, I prefer R-values from 4 to 5.5. Foam can add warmth and protect an inflatable pad, but it takes valuable space on a loaded bike.
Match the system to recovery needs
Bikepacking is not backpacking with pedals. After a long ride, small comfort problems become large ones. Side sleepers need enough width to keep their elbows and knees on the pad. Stomach sleepers need extra length and a stable surface. If you wake up to adjust a slipping quilt every hour, the theoretical weight savings are not worth much.
The best bikepacking sleep system is the lightest setup that lets you sleep through the coldest and wettest night you actually expect. That usually means spending first on a reliable pad, then choosing the simplest warm layer that fits your sleeping style.
How to choose a sleeping pad for bikepacking
Buy the pad before the quilt or sleeping bag. Its width, thickness, insulation, and noise level decide whether the rest of the system works. A warm quilt cannot compensate for a pad that slides away every time you turn.
Use R-value as your temperature baseline
R-value measures resistance to heat flow. It is not a perfect comfort rating, but it gives you a useful comparison. For summer trips where nighttime temperatures stay above 50°F, an R-value near 2.5 can work. For three-season trips, I would choose at least 4. For freezing nights, aim for 5 or more or combine an insulated inflatable pad with a closed-cell foam pad.
The Therm-a-Rest NeoAir XLite NXT remains a strong lightweight choice at roughly 13 ounces, 3 inches thick, and an R-value of 4.5. Its typical U.S. price is about $210. The Exped Ultra 5R M weighs 445 grams, measures 7 centimeters thick, and carries an ASTM R-value of 4.8. At roughly $180, it is my better pick for riders who want more width and a calmer, less bouncy feel.
Measure your sleeping position
Do not choose a regular pad by height alone. Sit on the floor, bend your knees, and measure the space your shoulders, hips, and feet occupy while relaxed. A 20-inch pad saves a few ounces, but a 25-inch pad can prevent your arms from touching cold ground. The extra width is worth it for side sleepers and restless sleepers.
Inflate the pad firmly enough to stop your hips touching the ground, then release a little air if your lower back feels arched. Test the valve and inflation bag at home. A slow valve becomes a major annoyance when you are tired, wearing gloves, and trying to avoid blowing moisture into the insulation.
Which shelter works best on a bikepacking trip?
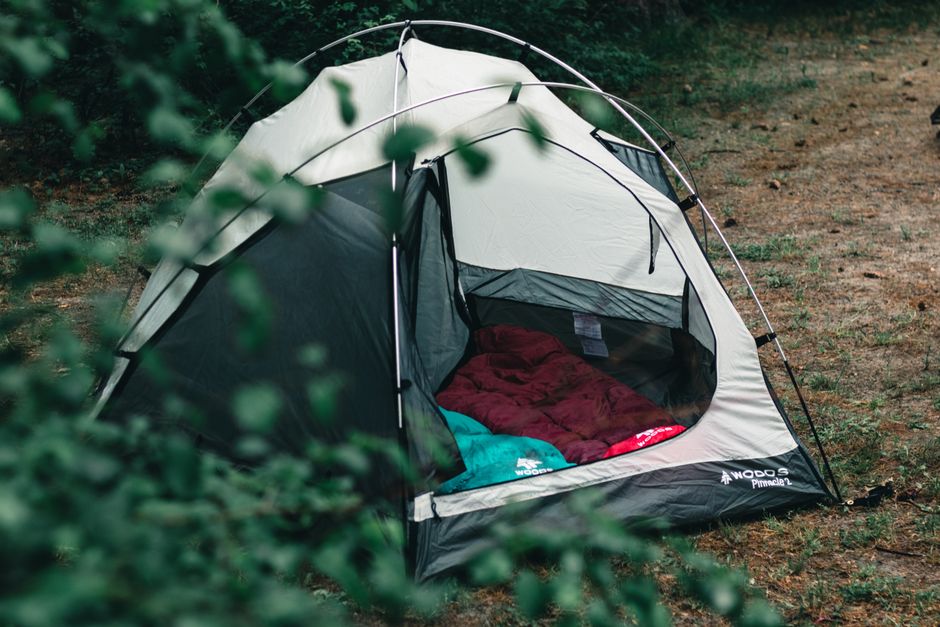
The shelter choice controls privacy, ventilation, storm protection, and how much space remains for food. There is no reason to carry a full tent for a dry-weather route with legal campsites, but a minimalist tarp becomes a poor bargain when rain lasts all night.
| Shelter type | Best use | Main strength | Main weakness |
|---|---|---|---|
| Bivy sack | Fast solo camps and dry climates | Small packed size and quick setup | Condensation and limited room |
| Tarp | Experienced riders in predictable weather | Low weight and flexible pitching | Needs practice and good site selection |
| One-person trekking-pole tent | Solo three-season touring | Low weight with insect protection | Less room for wet gear |
| Freestanding two-person tent | Wet routes, shared trips, comfort-focused touring | Easy pitching and useful vestibule space | Higher weight and price |
The practical tent choice
The Big Agnes Copper Spur UL2 Bikepack costs about $649.95 and uses a 12-inch ShortStik pole set with a bike-friendly dry-bag stuff sack. Its two doors, vestibules, and freestanding structure make it the shelter I would choose for long wet routes or trips where you may arrive after dark. You pay for that convenience, but the room to store wet shoes and bags inside the vestibules has real value.
When not to buy a tent
Do not buy a freestanding tent if your route has reliable dry shelters, warm weather, and strict volume limits. A tarp can save several hundred grams and pack flatter. Do not choose a bivy for humid forests unless you have tested it first; morning condensation can soak the foot of your quilt even when no rain enters. Shelter weight only tells part of the story. Setup time, drying space, and airflow matter just as much.
Five sleep-system mistakes that ruin otherwise good trips
The most common mistake is packing a temperature rating instead of a complete system. A bag rated to 20°F can still feel cold on an under-insulated pad, in wet clothing, or inside a windy shelter.
Fix these problems before leaving home
- Do not trust the forecast low alone. Add exposure from wind, elevation, wet ground, and fatigue. A forecast of 38°F beside a river can feel much colder than the same temperature in a dry meadow.
- Do not inflate the pad on a sharp campsite. Clear sticks and stones first. A groundsheet protects the shelter floor, but it will not prevent every puncture.
- Do not store down wet. Air the quilt or bag in the morning, keep it away from tent walls, and pack rain gear separately from insulation.
- Do not leave the pad at home to save space. A jacket under your hips is not a substitute for full-length insulation on cold ground.
- Do not test a new system on the first remote night. Sleep in it in the backyard or on a short overnighter. Find out how the straps, valves, hood, and stuff sacks work while mistakes are cheap.
Control moisture and condensation
Vent the shelter even when the air feels cold. Moisture from your breath can collect on a fly, bivy, or quilt shell and reduce insulation by morning. Keep damp riding clothes outside the quilt, but put dry socks and a warm layer inside the footbox before sleep.
Pack the parts where they stay dry
Use a waterproof liner for the sleep kit, not just a rain cover over the entire bike. The liner keeps the pad, quilt, and sleep clothes together and gives you one dry priority bag if a storm hits. That small packing decision prevents a wet shelter from turning every other piece of luggage into a problem.
Q&A: building the right system for your route
What is the best bikepacking sleep system for a first trip?
Use a full-length insulated pad with an R-value around 4, a sleeping bag or quilt rated about 10°F colder than the expected low, and a weatherproof tent with a real vestibule. This setup is forgiving, easy to learn, and warm enough for most three-season routes. You can remove weight later after you know which part bothers you.
Should I choose a quilt or bag for summer bikepacking?
Choose a quilt if you sleep on your side, move often, or dislike overheating. Choose a bag if you sleep cold, camp in exposed places, or want a built-in hood. For a warm, dry route, I would take a quilt with a pad strap and a separate hood or fleece cap rather than a heavy mummy bag.
What should I upgrade first?
Upgrade the part that causes lost sleep. If your hips touch the ground, buy a thicker or wider pad. If your shoulders feel cold, improve the quilt fit or add a draft collar. If rain keeps waking you, improve the shelter. The lightest perfect system on paper is less useful than the slightly heavier system you can set up quickly and sleep inside without fighting it.
For most riders, the winning build is a 4-to-5 R-value pad, a quilt or bag matched to the actual low temperature, and a shelter chosen for the route’s rain, insects, and campsite rules. Get those three decisions right and the rest becomes small packing practice.
