
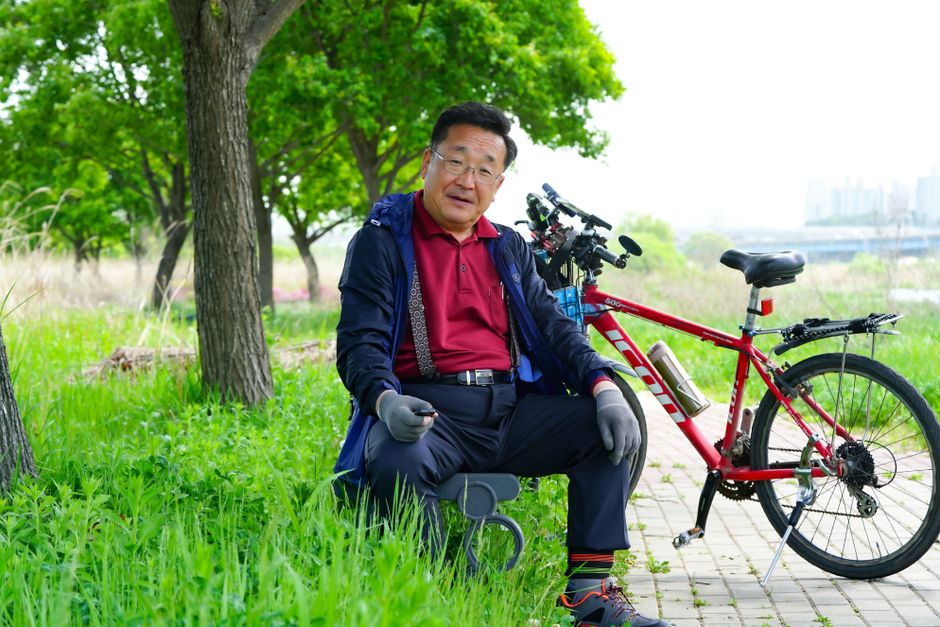
Are your brakes, cables, and tires ready for a longer March ride, or are you trusting parts that have sat through a wet winter? A quick spring bike tune-up checklist can catch the small faults that become serious problems ten miles from home.
What to check before your first long March ride
The best spring inspection starts with safety, not cleaning. Dirt matters, but a brake pad worn below its limit or a tire with a hidden sidewall cut matters more. Give the bike a slow, focused check before you worry about polish or drivetrain noise.
Look for changes, not just obvious damage
Put the bike on level ground and squeeze each brake lever. The lever should feel firm and stop before it touches the handlebar. If it pulls farther than it did last autumn, the system may have stretched, worn, or collected air. Spin each wheel and watch the rim or rotor pass the brake pads. A small side-to-side wobble can cause rubbing, while a large wobble can reduce braking control.
Run a clean cloth along both tire sidewalls. Feel for cuts, bulges, flat spots, or a casing that feels soft in one section. Check the tread for embedded glass and remove only objects that you can safely extract without opening the casing. A slow leak often shows up as a tire that loses noticeable pressure overnight.
Use a simple ride-or-repair decision
- Ride only after fixing any brake lever that touches the bar.
- Replace a tire with a bulge, deep cut, exposed casing, or repeated punctures.
- Stop and adjust a cable that feels gritty, sticks, or fails to return the lever.
- Check both quick-release levers or thru-axles. Each must close firmly.
- Test the bike in a quiet area before joining traffic or starting a long route.
This first pass takes about ten minutes. It tells you if the bike needs a tune-up, a single replacement part, or a professional inspection. That decision saves more time than discovering a fault beside a busy road.
How to inspect brakes, cables, and tires step by step

A useful inspection follows the order in which a problem can end your ride. Start with stopping power, then check control cables, then inspect the parts that connect the bike to the road. The sequence is easy to remember and prevents a shiny but unsafe bike from leaving the garage.
Brake and cable checklist
- Test the levers. Pull the front and rear brake levers separately. Firm pressure should create immediate resistance.
- Inspect the pads. Rim-brake pads need visible braking material. Replace them if the grooves have disappeared or the wear line has reached its limit.
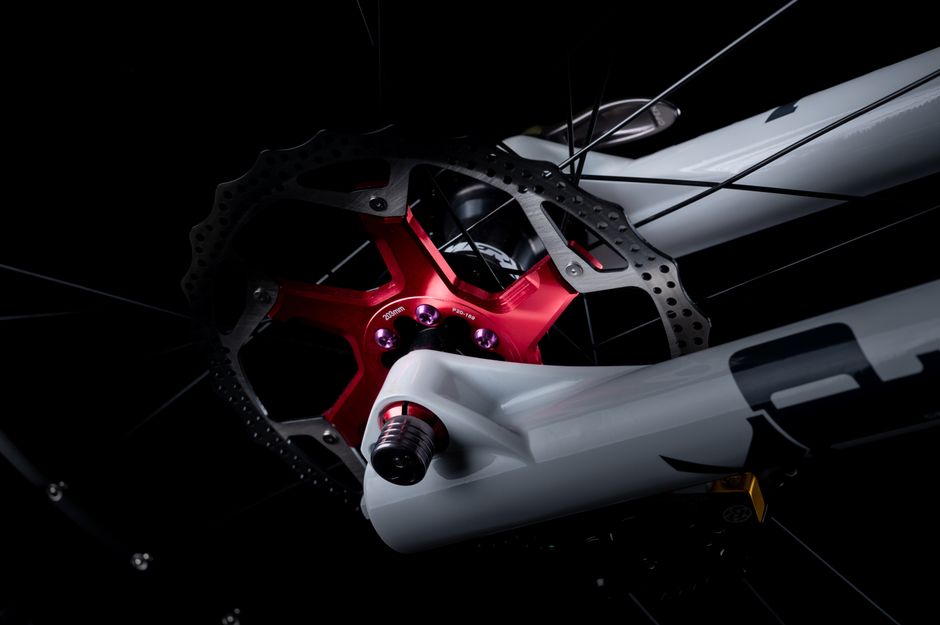
- Check the rotors or rims. Look for deep grooves, blue heat marks, oil, or a sharp raised edge.
- Follow each cable. Check the housing for cracks, kinks, crushed sections, and rust near the ferrules.
- Watch the return. Release the lever. The caliper should open at once instead of hanging against the rim or rotor.
Tire and wheel checklist
- Measure pressure. Use a gauge instead of pressing the tire with your thumb. A 700x28c road tire often needs a lower pressure than riders expect, but the correct number depends on rider weight, rim width, tire construction, and surface.
- Inspect the tread. Replace a squared-off tire when the center is flat and the casing shows repeated cuts.
- Check the bead. The molded line beside the rim should sit at an even distance from the rim all the way around.
- Test the wheel bearings. Hold the rim and push it sideways. Noticeable play needs adjustment or service.
- Spin both wheels. Listen for rubbing and watch for a bent rim or tire that does not sit evenly.
Do not tighten a loose cable by turning every barrel adjuster at random. Make one small adjustment, squeeze the lever, and test again. If the adjustment runs out or the cable still drags, replace the cable and housing or book a shop service.
Which tools and replacement parts are worth using?
You do not need a full workshop for a spring inspection. A floor pump with a reliable gauge, tire levers, a set of hex keys, cable cutters, and a clean rag cover most checks. The right tool helps you measure a fault instead of guessing at it.
A compact home setup
The Park Tool PFP-8 floor pump is a practical example for home use because its gauge reads up to 160 psi and its dual-valve head works with common Presta and Schrader valves. Most riders will never need 160 psi; the useful feature is controlled pressure at the lower settings used by modern road and gravel tires. The Topeak SmartGauge D2 is a separate digital gauge rated to 250 psi, useful when a floor-pump gauge is hard to read.
For cable work, the Jagwire Pro Brake Housing is a real replacement option for compatible mechanical brake systems. Its 5 mm housing diameter matches many road and flat-bar brake setups, but you must confirm the cable type and ferrule size before cutting. Hydraulic brakes do not use this housing. They need the correct hose, fluid, bleed fittings, and service method for the brake brand.
Parts that solve common tire problems
| Part | Useful specification | Best use | Verdict |
|---|---|---|---|
| Continental Grand Prix 5000 S TR | 700x28c option, tubeless-ready road casing | Fast paved rides with a tubeless setup | Best for riders who value speed and already maintain tubeless tires |
| Schwalbe Marathon Plus | SmartGuard puncture-protection layer | Commuting and rough urban roads | Best for puncture resistance, not racing feel |
| Park Tool TL-1.2 tire levers | Two-lever plastic set | Removing a tight clincher tire | Best simple choice for roadside repair |
The Continental Grand Prix 5000 S TR is the clear pick for a fast March road ride when you already use tubeless equipment and accept the extra setup work. The Schwalbe Marathon Plus is the better choice for broken pavement and daily utility riding. Do not buy a race-focused tire to solve a puncture problem, and do not choose a heavy commuter tire if your goal is a fast group ride.
Spring brake and tire questions riders ask
Can I ride if the brakes still work but feel soft?
No. A soft lever is a warning, not a comfort issue. Mechanical brakes may need cable adjustment or new housing. Hydraulic brakes may need a bleed, a pad inspection, or a leak check. If the lever reaches the handlebar under firm pressure, keep the bike off the road until the cause is fixed.
Should I replace cables every spring?
Not automatically. Replace a cable when it has rust, broken strands, a rough pull, or a housing that has cracked or collapsed. A dry garage bike may go several seasons with good cables. A bike stored outside through rain and road salt may need fresh cables after one winter. The correct test is smooth movement and reliable return, not the calendar.
How much tire pressure should I use?
Start with the tire maker’s range printed on the sidewall, then account for rider weight, rim width, and road surface. A heavier rider needs more pressure than a lighter rider using the same tire, but excessive pressure can reduce grip on rough pavement. Check pressure before every long ride because temperature and slow leaks change the reading.
When should a shop handle the tune-up?
Use a shop for hydraulic brake bleeding, damaged carbon rims, wheel bearing play you cannot adjust, stripped bolts, or a wheel that remains badly out of true. A professional check is also the right call when the bike has been in a crash. The goal is a reliable ride, not proving that every repair must happen at home.
Five spring tune-up mistakes that can end a ride
My strongest recommendation: never treat tire pressure as the final step before leaving. Check it the night before, then check it again before the ride. A tire that slowly loses air can feel fine in the garage and unstable after several miles.
Mistakes that look harmless
- Replacing one tire but ignoring the other. The older tire may have the deeper cuts and weaker casing.
- Spraying lubricant near brake pads or rotors. Contamination can ruin braking performance and may require replacement.
- Cutting cable housing too short. Tight bends add friction and make steering or braking feel sticky.
- Inflating to the sidewall maximum every time. That number is a limit, not a universal target.
- Relying on a visual check alone. Squeeze levers, spin wheels, and measure pressure.
When not to buy new parts
Do not replace a working tire because the tread looks less round after one season. Do not buy a new brake caliper to solve a cable-routing problem. Do not install a tubeless tire because it sounds faster if you have no pump, sealant, compatible rim, or roadside plan. A correct adjustment often solves a minor fault; a new part cannot fix a wrong setup.
Before a longer March ride, spend fifteen focused minutes on the three systems that control speed, steering confidence, and contact with the road. That small habit makes spring miles calmer and gives newer bike technology a fair test. The next wave of cycling gear will keep improving, but careful inspection will remain the cheapest safety upgrade in the garage.
