
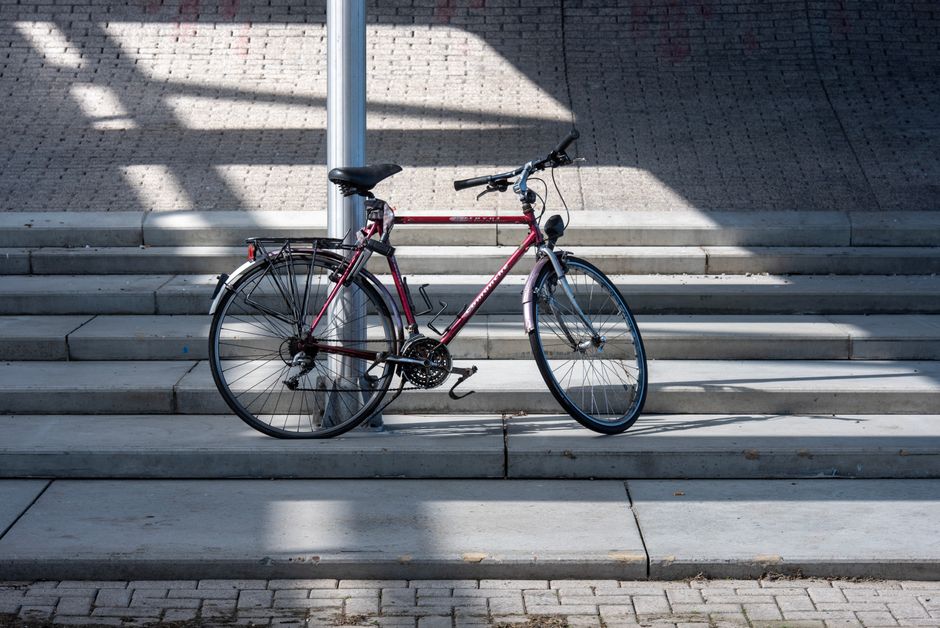
March commuting does not require a new bicycle. The common mistake is treating a wet-weather commute as a bike problem when it is usually a setup problem. A good commuter bike with no mudguards will still throw dirty water up your back. A strong bike with no rack will force a laptop into a sweaty backpack. The reliable answer is a small group of parts that protect the rider, carry the load, and survive daily use.
How to prepare a commuter bike before the first wet week
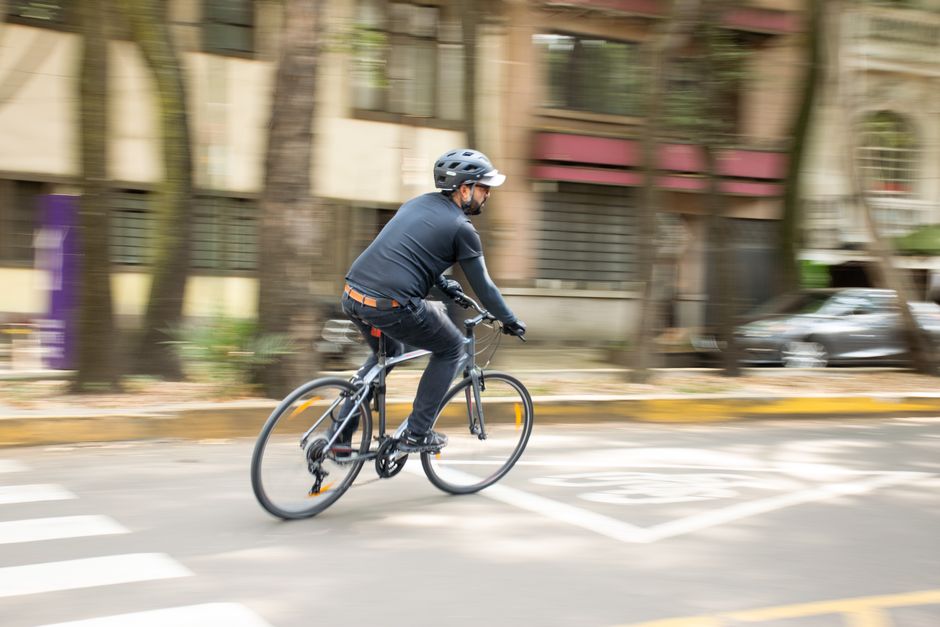
Use this five-step setup order
- Check the frame and fork clearance. Measure the gap around each tyre before ordering guards. A 45 mm mudguard may not fit a frame with 38 mm tyres and tight brake bridges.
- Inspect the tyres for worn tread, sidewall cuts, and low pressure. Set pressure from the tyre maker’s range, then adjust in small steps. A commuter tyre that runs too hard loses grip on broken, wet pavement.
- Install the rear rack before the mudguards if the rack uses the same eyelets. Tighten each bolt by hand first, then finish with the correct hex key. Cross-threaded rack bolts create an expensive repair.
- Mount the mudguards and spin both wheels. Look for rubbing at the stays, brake calipers, rack legs, and chain. Leave enough space for a small stone without letting the guard wobble.
- Load the bike with the real work-day weight. Test the brakes, steering, kickstand, pannier hooks, and heel clearance on a quiet street before using the setup in traffic.
Give each fastener a job
Use thread-locking compound only where the manufacturer allows it. Do not cover every bolt in glue and assume the problem is solved. The useful check is a short test ride followed by a second tightening check. Racks often settle into position after the first few kilometres, especially when the frame eyelets have paint or powder coat under the washers.
Pack for the failure you can actually face
Carry a spare tube, tyre levers, a pump or inflator, two zip ties, and a small rag. In March, a rag has a real job: it lets you handle a muddy chain or wipe a wet saddle before you sit down. Keep electronics in a roll-top dry bag inside the pannier. A water-resistant outer bag is not the same as a sealed inner liner after twenty minutes of heavy rain.
Bottom Line: Set up the bike in the order that prevents interference: clearance, tyres, rack, guards, then loaded-road testing. This saves the usual cycle of removing one part to fix another.
The cheapest reliable setup is not always the lowest sticker price
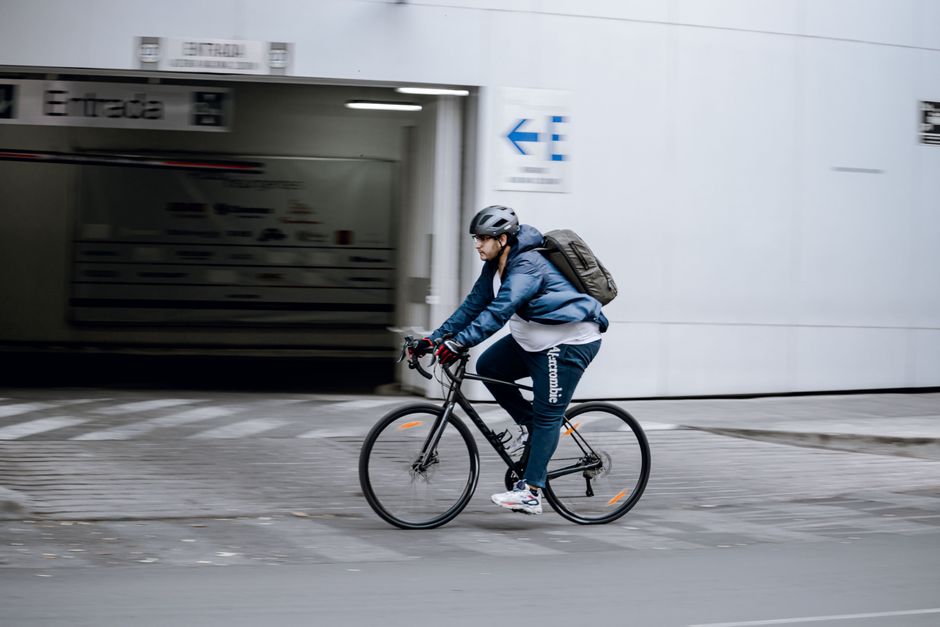
My clear opinion: do not save $20 on parts that will make you repeat the installation. A loose guard can rub the tyre, a weak rack can bend under a full pannier, and a poorly sealed bag can ruin a laptop. The cheapest setup wins only when it stays fitted and working.
Count the hidden fees before buying
A shop may charge $20 to $40 for rack and mudguard fitting, plus $10 to $20 for a brake or gear adjustment. Replacement eyelet hardware can cost $8 to $15. If a shop quotes $75 for a complicated installation, that can still be cheaper than buying the wrong width, stripping a bolt, and paying twice. A home mechanic with the right hex keys can keep the cash cost near zero, but the time cost is real.
For clarity, this equipment does not have an APR. It is a cash purchase. If a retailer offers financing, advertised rates can range from 0% to 29.99% APR, with late fees commonly ranging from $0 to $35. Financing a $65 mudguard set at a high rate is a bad trade. Pay cash, wait for a sale, or buy one part at a time. This is not financial advice.
Know when not to buy a rack
Skip the rack if your bicycle has no safe mounting points, a carbon seatpost that cannot take a clamp, or a frame already showing cracks near the rear dropouts. Use a small backpack or a handlebar bag while you find a compatible solution. Do not force a rack to fit with random clamps if the load could affect the wheel or brake.
Also skip premium panniers when you commute only in dry weather and carry less than three kilograms. A $25 dry bag inside a secure backpack may solve that job. The premium system becomes worthwhile when wet clothing, electronics, and repeated loading make the cheaper option fail.
Bottom Line: The right budget is the cost of a setup that works for a full season, including fitting and replacement hardware. A low sticker price is not a saving if the part stays in a drawer.
Five March failure modes that cause most commuter-bike problems
Rubbing, rattling, and heel strike
The most common failure is not a broken rack. It is a small fit problem ignored until it becomes a daily annoyance. A mudguard stay that sits too close to the tyre can catch grit and produce a constant scrape. A rack that lacks a lower pannier rail can let a bag swing into the heel. A loose bolt can rattle for ten kilometres before backing out.
- Spin each wheel after installation and check clearance at the tightest point. Test with the bike loaded, because the frame can flex under weight.
- Place each pannier hook behind the heel line. If your shoe touches the bag, move the bag rearward or use a rack with a lower support rail.
- Use a washer under rack bolts where the frame design permits it. The washer spreads the load and reduces damage to painted eyelets.
- Check the guards after riding through gravel. A trapped stone can bend a stay or lock a wheel if the clearance is too small.
Wet electronics and false puncture confidence
The Ortlieb Back-Roller Classic offers much better rain protection than an ordinary fabric pannier, but no bag removes the need for sensible packing. Keep a laptop in a sleeve and place it away from sharp tools. Close a roll-top bag with several folds; clipping it once at the top does not create the same seal.
Do not assume the Continental Contact Urban makes a tyre puncture-proof. Puncture protection lowers risk; it does not defeat glass, screws, or a badly worn tyre. Check pressure once a week. A soft tyre can pinch the tube against the rim, while an overinflated tyre loses grip on wet surfaces.
The strongest failure-mode rule is simple: test the exact load, clothing, shoes, and route before the first storm. A ten-minute ride around the block reveals more than a product description.
Bottom Line: Fit and inspection matter more than a premium logo. The best setup is quiet, clear of the tyres, stable under load, and tested before the commute becomes urgent.
Q&A: what should you buy for a dependable March commute?
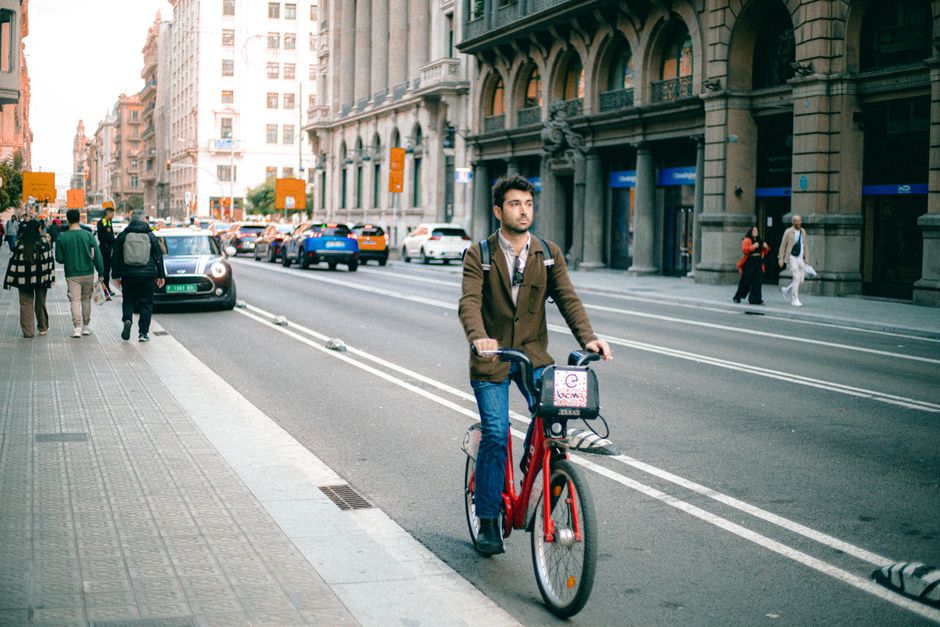
Do I need full mudguards if my commute is short?
Yes, if the route stays wet or includes fast roads. Distance does not change the spray pattern. For a short trip, choose full-length guards with a rear flap rather than thin clip-on guards. The SKS Bluemels 45 mm set is the best match for a standard commuter tyre around 32 to 35 mm, provided the frame has enough clearance.
Is a rack better than a backpack?
For a laptop, spare clothes, and lunch, yes. A rack with panniers keeps weight off your shoulders and usually feels more stable. The Topeak Explorer is the value choice for a moderate load. The Tubus Cargo Evo is the better buy for heavy, repeated loads, but it is not the smart choice for a lightly loaded bike used twice a week.
What is the final March setup?
Buy the SKS Bluemels 45 mm mudguards, the Topeak Explorer rack, and a waterproof liner. Add the Continental Contact Urban tyre only when the current tyres show wear or repeated punctures. That package costs about $125 before fitting, or roughly $160 to $185 with common workshop fees and small hardware. Add Ortlieb Back-Roller Classic panniers when keeping clothes and electronics dry matters more than the budget.
Final verdict: For most March commuters, the SKS Bluemels and Topeak Explorer are the best starting combination because they solve spray and carrying problems for about $125. Spend on Tubus and Ortlieb only when your real load demands it. Reliable commuting comes from correct fit, weekly checks, and a setup that matches the work you actually carry.
