

Does your helmet still fit correctly after months in a closet, garage, or gear bag? A quick spring check can catch flattened pads, stretched straps, a loose dial, or hidden shell damage before your first serious ride. The basic verdict is simple: if the helmet sits level, stays still during movement, and holds the correct strap position without pressure points, it is probably ready. If it shifts, pinches, smells strongly after cleaning, or shows impact damage, replace it instead of trying to save a $60 purchase.
The prices below are purchase prices, not safety guarantees. A card offering 0% APR may still charge a 3%-5% balance-transfer fee, while standard purchase APRs commonly land around 20%-30% and late fees can reach $35. Pay cash when possible. This is not financial advice.
How to inspect helmet pads after winter storage

Pad wear is easy to ignore because the helmet shell may still look new. That is a mistake. The pads create contact, absorb sweat, and stop the shell from sliding during a sudden movement. My recommendation is to inspect every pad before you inspect the brand label: compressed or loose padding can turn an otherwise sound helmet into a poor fit.
Look for compression, separation, and missing pieces
- Press each pad with one finger. It should spring back instead of staying flat.
- Check the edges for foam separation, torn fabric, or adhesive that has let go.
- Confirm that every pad is present and attached to its original location.
- Look for sweat salt, mold, or a sour smell that remains after washing.
- Inspect the hook-and-loop fasteners. They should hold firmly without peeling away from the shell.
Clean pads without changing the fit
Remove only the pads designed to come out. Wash them by hand in cool water with a small amount of mild soap, then press them in a towel and let them air-dry away from direct heat. A hair dryer, radiator, dishwasher, or strong detergent can deform foam and weaken adhesives. Never add extra padding to compensate for a loose shell. That changes the designed fit and may create hard pressure points. Buy the manufacturer’s replacement pad set when one is available. If replacement pads cost nearly as much as a basic new helmet, the new helmet is the better purchase.
A pad can feel soft and still be too compressed to hold the helmet steady. The practical test is the movement test after cleaning and drying, not the pad’s appearance alone.
How to set the chin strap and side straps

My firm recommendation: set the straps before tightening the rear dial for the final time. A snug shell cannot correct straps that sit against your throat, miss your ears, or leave a large gap under your chin. Strap position controls how the helmet behaves when your head moves, so treat it as part of the fit rather than a small comfort detail.
Set the side sliders below each ear
Put the helmet on level and loosen both sliders. Move the small plastic adjusters until the front and rear straps meet just below each ear, forming a clean V shape. The V should touch the area beneath the ear without pressing into the jaw. Make both sides even. If one slider sits near the ear and the other hangs close to the neck, the helmet can twist during movement. That usually means the strap has been routed incorrectly or the shell is sitting crooked.
Check buckle clearance and tension
Fasten the buckle below the jaw, not directly under the chin and not against the throat. Leave enough room to fit one finger between the strap and skin, but not two fingers stacked together. Open your mouth wide as if taking a large bite; you should feel the strap become slightly tighter without choking pressure. Pull the rear strap tail through its keeper so it cannot flap into your face. If the buckle presses on the jaw, adjust the straps first. Do not loosen the whole system until the helmet wobbles just to remove one pressure point.
The final verdict is easy to check: the helmet stays level, the side straps make even V shapes, and the buckle remains comfortably below the jaw while your mouth opens and closes.
What to do when a helmet still feels wrong
Do not treat discomfort as proof that you need a more expensive helmet. Persistent discomfort usually points to the wrong shell shape, the wrong size, a crooked strap path, or pads that have changed shape. Fix the cause in that order. Buying a new helmet is justified when the shell shape cannot match your head, not simply because a product page lists more vents or a higher price.
Why does the helmet rock after the dial is tight?
First, loosen the dial and reset the shell so the front edge sits level. Then check that the rear cradle is centered and that the side straps are even. If the helmet still rocks from front to back, the shell may be too large or too round for your head. Do not solve that problem by cranking the dial until it hurts. The POC Omne Air MIPS is a strong choice for riders who need a deeper road-style shell, while the Smith Persist MIPS is the better pick for someone whose head matches its rear cradle. The product names matter less than the result: the correct model should stop moving without painful pressure.
Why does one spot hurt after ten minutes?
A single pressure point often means the helmet shape is wrong, not that the pads need to be removed. Try the same helmet for 15 minutes indoors with the straps correctly set. If pain builds in the temples, forehead, or rear of the skull, stop forcing the fit. Never cut away a pad or add homemade foam. That can create gaps and change the way the helmet sits. For a lower-cost replacement, the Specialized Align II MIPS is a sensible place to start, but it is not automatically better than a Giro Register MIPS if the Giro matches your head shape.
When should you not buy a replacement?
Do not buy another helmet until you measure your head and identify the problem. Wrap a soft tape around the widest part of your head, about 2.5 centimeters above the eyebrows, and compare that measurement with the manufacturer’s size chart. If your measurement sits at the border, test both sizes with the retention system loose before deciding. Buy a different model when the shell shape fails the movement test or creates one hard pressure point. Do not buy a new model merely because it has a brighter color, a lower listed weight, or a discount that disappears once the card’s 20%-30% APR and possible $35 late fee enter the calculation.
When should you replace a bike helmet?
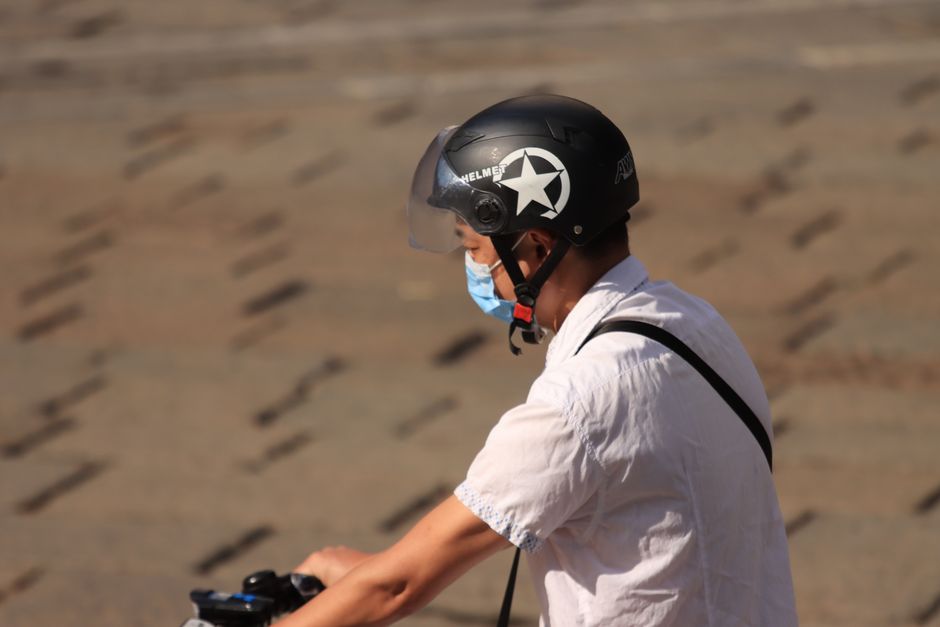
Replace the helmet immediately after a crash or hard impact, even if the shell shows no crack, because the energy-absorbing foam can compress inside the shell and cannot be restored by washing or replacing the pads.
Replace it when you find cracks, dents, crushed foam, a loose shell liner, broken buckles, damaged straps, or a retention dial that will not hold tension; a helmet that fails any of those checks has no place on a spring ride.
Age alone is not a perfect replacement rule, but a heavily used helmet that is around five years old, exposed to heat, sweat, sunlight, or repeated drops should be treated as a replacement candidate, especially when the manufacturer no longer sells compatible pads or straps.
The 10-minute pre-spring helmet fit check
Use this order before the first long ride. It keeps the inspection focused and prevents one clean-looking shell from distracting you from a failing strap or compressed pad.
Run the check in this order
- Inspect the shell. Look for cracks, dents, deep scratches, crushed foam, or areas that no longer hold their shape.
- Check the pads. Confirm that they spring back, attach firmly, and do not smell strongly after cleaning.
- Measure your head. Use a soft tape above the eyebrows and compare the result with the model’s size chart.
- Set the shell level. Keep the front edge about two finger-widths above the eyebrows and clear of your normal sight line.
- Tighten the rear dial. Use firm contact around the head without creating a headache or temple pressure.
- Adjust the straps. Place the sliders below the ears, form even V shapes, and position the buckle below the jaw.
- Perform the movement test. Shake your head, look up, open your mouth, and lean forward; the helmet should stay in place without choking or blocking your view.
The final buying decision
If the helmet passes every check, clean it, dry it fully, and keep it away from a hot car or direct sun. If it fails one safety check, do not negotiate with the price or try to repair the shell. A new helmet is justified by a failed fit or damaged structure, while a new color or a small weight saving is not.
The single most important takeaway is this: before spring riding begins, replace any helmet that cannot stay level and secure with intact pads, straps, and shell foam.
