
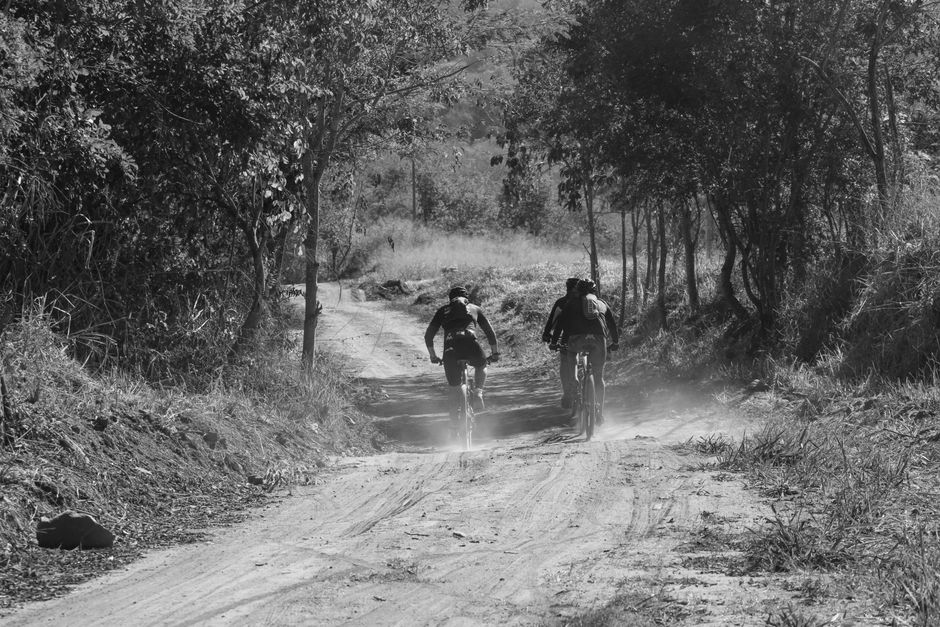
You leave at 7 a.m. with a small saddle bag, two bottles, and a route that looks easy on the map. By noon, the pavement is radiating heat, the next store is 18 miles away, and every extra bottle suddenly feels worth its weight. That is the real problem with August bikepacking: clothing and cooking gear can be trimmed, but water cannot.
The best setup starts with water math, reliable refill points, and a packing list built around the hottest part of the day. You can keep the bike light without gambling on a dry stretch of road.
How much water should you carry for hot-weather bikepacking?
Start with an hourly drinking rate
For a first estimate, plan on 500 to 750 milliliters of fluid per riding hour in hot weather. Smaller riders riding gently may need less. Bigger riders climbing in direct sun may need more. Use that range for planning, then adjust after testing it on shorter rides. Do not force down a fixed amount just because a chart says so; drinking far beyond thirst can also create problems.
A seven-hour riding day at 650 milliliters per hour requires about 4.55 liters before camp cooking, washing, or an unexpected delay. That is more than 10 pounds of water. Carrying all of it from the start turns a light bike into a slow, tiring bike.
Separate riding water from emergency water
Build two numbers into the route. The first is your riding supply: enough to reach the next confirmed refill. The second is your reserve: at least 750 milliliters for a closed shop, a wrong turn, or a mechanical delay. On a remote route, make the reserve 1.5 liters.
For a two-day weekend, a practical target is 2 to 3 liters leaving each known refill point, not 5 liters leaving home. Mark every tap, campground spigot, grocery store, and fuel station before you ride. Treat an unverified water source as unavailable.
Use electrolytes as part of the plan
Water replaces fluid. Electrolyte mix replaces some of the sodium lost through sweat. Carry single-serving packets or measure powder into small bags, then follow the label on the product you choose. Keep one bottle plain if you prefer a neutral drink. The clear verdict: reduce carried water by planning refills, never by starting with too little.
How do you plan a bikepacking route around water?
Place the longest dry section early
Route design matters more than shaving 200 grams from a sleeping bag. Put the longest gap between refills in the cool morning, when your drinking rate is lower. Avoid reaching the only store during a Sunday evening closure. Call ahead for rural campgrounds and check recent map reviews for taps that may have been removed.
Use a simple route sheet with four columns: location, distance from the last refill, opening hours, and backup source. Download the map to your phone and save the refill points offline. A blue icon on a map is not proof that drinkable water exists today.
Use a refill schedule instead of guessing
This sample works for a 70-mile weekend loop with one hot afternoon. It assumes moderate pace, a 650-milliliter hourly drinking rate, and a reliable store near mile 32.
| Ride stage | Distance | Water action | Target carried |
|---|---|---|---|
| Trailhead to first stop | 18 miles | Leave with full bottles | 1.5 liters |
| First stop to lunch | 14 miles | Buy food and refill | 2 liters |
| Lunch to camp | 20 miles | Use the longest reserve | 2.5 liters |
| Camp to morning store | 18 miles | Start with overnight reserve | 1.5 liters |
Set a heat cut-off
Make a firm rule before leaving: if the next refill is closed, the route changes. Do not continue into a 25-mile dry stretch because the planned itinerary looks neat. Take the shorter road, stop at a public facility, or camp closer to the last confirmed source. The best route is the one that keeps water available when the temperature peaks.
Which lightweight gear makes hot bikepacking easier?
Verdict: spend money on access to water, not on a smaller bottle. A good setup gives you one easy-to-reach bottle, one larger reserve, and a way to treat water when the route offers a safe natural source. The table below compares useful 2026 options. Prices are published US list or current retail prices and can change.
| Product | Useful specification | Published price | Best use |
|---|---|---|---|
| CamelBak M.U.L.E. 12 Hydration Pack | 12-liter pack with 100-ounce, approximately 3-liter reservoir | $141.99 | Riders who need hands-free drinking and extra storage |
| Sawyer Squeeze Water Filter | 3-ounce field weight; 0.1-micron hollow-fiber filter | $45.95 | Adding backup capacity near reliable natural water |
| Sawyer Squeeze with Cnoc 2-Liter Bladder | Filter plus wide-mouth 2-liter collection bladder | $64.95 | Fast collection and filtering at camp |
| Garmin Edge 540 | 2.6-inch display, IPX7 water rating, up to 26 hours of battery life | $349.99 | Offline navigation and route-based refill alerts |
The CamelBak M.U.L.E. 12 specifications make it the strongest choice for riders who dislike reaching for bottles, but a full 3-liter reservoir plus food can feel bulky. The Sawyer Squeeze listing confirms the low 3-ounce filter weight, making it a smart backup when natural sources are dependable and legal to use. The Garmin Edge 540 specifications and price suit riders who need navigation, but it does not replace a charged phone or a paper backup on remote routes.
What is the best way to pack water on the bike?
Step 1: Keep one bottle within reach
Use a frame-mounted bottle for frequent drinking. A bottle in the main triangle is easier to grab than a bottle buried in a saddle bag, and it keeps the pack lighter. If your frame has room, carry one 750-milliliter bottle on the down tube and another on the seat tube. Start with cold water when possible, but do not count on ice lasting all day.
Step 2: Put reserve water low and central
Reserve water belongs in the frame triangle, a low frame bag, or the lowest part of a stable rear bag. Keep heavy water close to the bike’s centerline. A large bottle high on a handlebar bag makes steering feel vague, especially on gravel. Fill soft containers only after you need the capacity; an empty bottle weighs much less and takes up little space.
Step 3: Add a hydration pack only for the right problem
The CamelBak M.U.L.E. 12 is the clear pick when constant drinking access matters more than a bare-bones load. Its 3-liter reservoir can cover a long dry stretch, and the 12-liter pack adds room for sun protection and food. The tradeoff is back heat. In August, a pack can make your jersey feel soaked and may reduce comfort on steep climbs.
Step 4: Treat water at camp, not as a replacement for route planning
The Sawyer Squeeze is useful beside a stream, lake, or approved backcountry source. Collect water into the wide-mouth Cnoc bladder, squeeze it through the filter, and keep clean water separate from untreated water. Backflush the filter when flow slows. Do not assume clear water is safe, and do not use a filter as protection from every chemical contaminant.
Step 5: Add reminders to the route
The Garmin Edge 540 earns its place on a navigation-heavy weekend because its battery can last up to 26 hours in demanding use and its route data can show the next refill point. Set a rehydration reminder every 20 to 30 minutes, then drink small amounts instead of waiting until you feel desperate. The best system is simple: easy-access fluid during the ride, reserve fluid on the bike, and a tested treatment method for camp.
Which hot-weather bikepacking gear should you actually buy?
My recommendation is a bottle-first setup for most weekend riders: two frame bottles, one soft reserve bottle, and a filter only when the route has verified natural sources. Buy the CamelBak M.U.L.E. 12 if you cannot reach bottles safely while riding or your route has long dry sections. Choose the Sawyer Squeeze if your main need is camp water treatment and you can confirm clean-looking, legal sources. Buy the Garmin Edge 540 if offline navigation and refill alerts solve a real problem; skip it if your phone, paper map, and battery bank already cover the route.
Do you need a hydration pack?
No. A hydration pack is not automatically lighter or cooler. It wins when you drink frequently, ride rough trails, or need 3 liters close to your body. It loses when your back overheats or you already have generous frame storage. For a paved or well-supported gravel loop, bottles are the better choice.
When should you carry a water filter?
Carry one when a verified stream or campground source can cut a long carry into smaller stages. Do not carry one as an excuse to leave town with half the required water. A filter adds backup capacity; it does not create a safe source.
What is the final packing rule?
Pack the water you need to reach the next confirmed refill, plus an emergency reserve. Remove duplicate clothing, oversized cookware, and spare items before removing that reserve. August bikepacking gear will keep getting lighter, but the winning setup will still be the one that treats water as the route’s main piece of equipment rather than an afterthought.
