
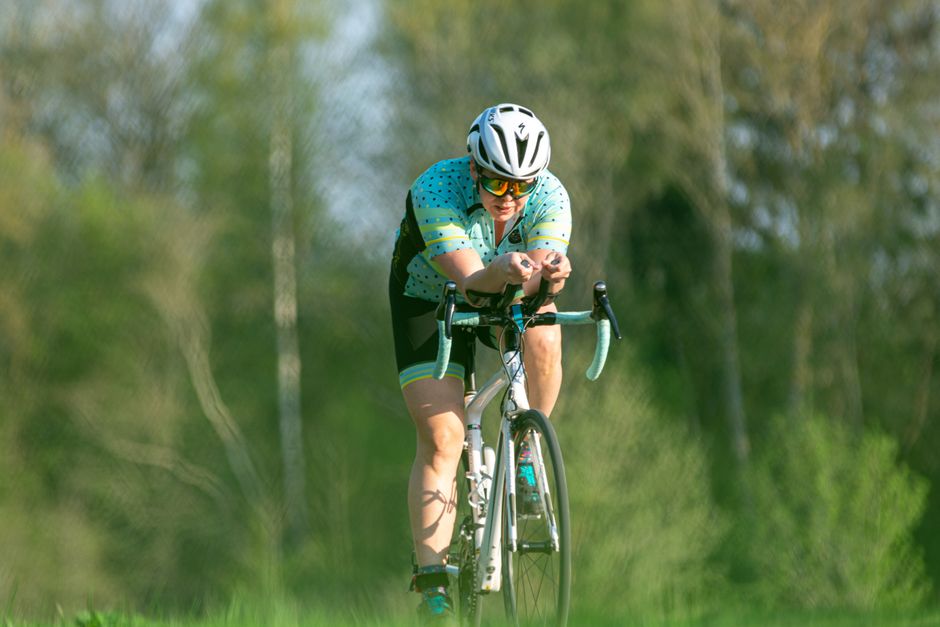
Set saddle height before you change reach
Use a repeatable home measurement
Put the bike on a level surface, wear the shoes you ride in, and place the crank arm at six o’clock. Clip in or place the ball of your foot over the pedal axle. At the bottom of the stroke, aim for a small knee bend rather than a locked leg. A practical starting range is about 25 to 35 degrees of knee flexion, measured from the thigh and lower leg. You do not need laboratory equipment. A friend can record slow-motion video from the side while you pedal at an easy pace.
For a rough first setup, measure your inseam barefoot from the floor to the firm point between your legs, then multiply it by 0.883 to estimate saddle height from the center of the bottom bracket to the top of the saddle along the seat tube. This is only a starting number because crank length, shoe sole thickness, saddle shape, and riding style change the result. Mark the original saddle position with tape. Raise or lower it by 3 mm, ride for 10 minutes, and compare.
Read the signs while you pedal
A saddle that is too low usually creates a closed knee angle, a heavy feeling at the front of the knee, and a strong urge to push a bigger gear. A saddle that is too high often causes hip rocking, toes pointing down at the bottom, or pain behind the knee. If you see any of these signs, correct the height before touching reach.
Do not chase a perfect knee angle while ignoring comfort. A rider with limited hamstring mobility may need a slightly lower saddle. A rider with a high-volume riding position may prefer a little more extension. The correct setting is the lowest height that gives you a smooth stroke without hip rocking or front-knee compression.
Set fore-aft position after height
Once the height feels close, check fore-aft position with the crank arms horizontal. Your knee does not have to sit at one universal point over the pedal spindle. That old rule can be a useful reference, but it is not a law. Start with the saddle level and centered on its rails. Move it backward or forward in 3 mm steps until you can keep a stable pelvis and apply pressure through the whole pedal stroke.
Moving the saddle backward also makes the effective reach longer and can change the knee angle. Recheck height after a large fore-aft change. Treat saddle height and fore-aft as linked settings, not separate switches.
Match saddle width to the position you can hold
A saddle cannot rescue a poor height setting, but the wrong width can make you slide forward, brace against the bars, or tilt your pelvis to escape pressure. Measure your sit bones at a bike shop or with a firm piece of corrugated cardboard. Add a small margin for the riding position: a more upright gravel or commuting position usually needs more support than a low road-racing position.
Use the saddle shape as a fit tool
Short-nose saddles can make an aggressive reach easier to hold because they reduce pressure at the front when the pelvis rotates forward. A central channel or cutout can reduce soft-tissue pressure, but it does not fix excessive saddle tilt or a saddle that is too high. Start level. If you tilt the nose down more than a few degrees, you may slide toward the handlebars and create hand, shoulder, and knee strain.
| Saddle model | Published width options | Useful fit clue |
|---|---|---|
| Specialized Power Comp | 143, 155, and 168 mm | Short nose with a wide central channel; a strong starting option for riders who need more sit-bone support. |
| Fizik Tempo Argo R5 | 140 and 150 mm | Short-nose endurance shape with extra support around the sit-bone area. |
| Selle Italia SLR Boost TM | 130 x 248 mm and 145 x 248 mm | Longer, narrower-feeling race shape; better for riders who dislike a broad rear section. |
Choose the clear winner for comfort-first training
For a rider returning to long spring mileage with pressure at the front of the pelvis, the Specialized Power Comp in the correct width is the best first test because its 143, 155, and 168 mm choices make width easier to match. For a rider who wants a shorter race-style shape with firm sit-bone support, choose the Fizik Tempo Argo R5. The Selle Italia SLR Boost TM is the better pick for a rider who prefers a slimmer, traditional saddle profile. None of these models replaces a fit check, and the wrong width will still cause problems.
Adjust reach with a repeatable on-bike test
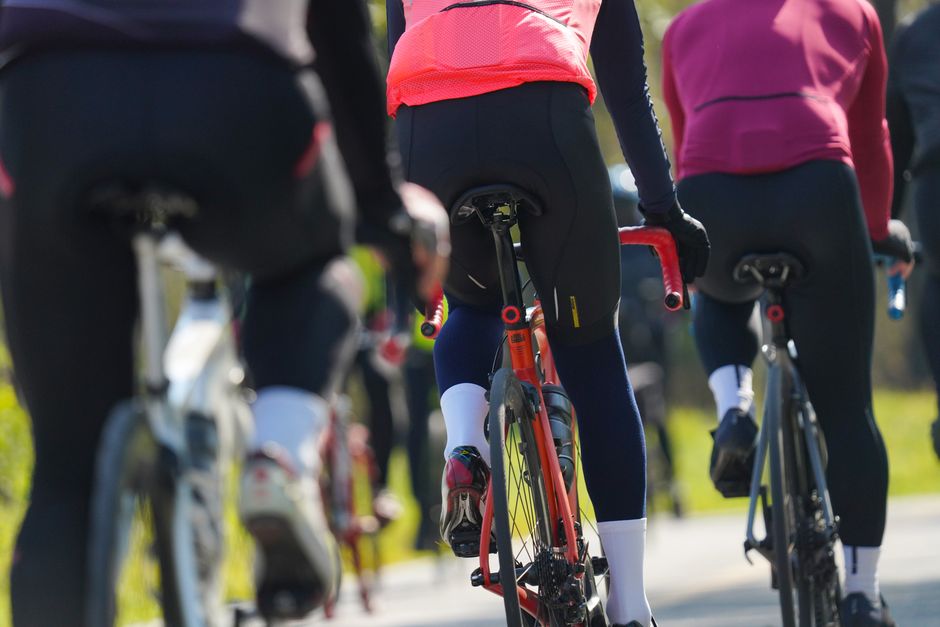
Handlebar reach affects knee comfort indirectly. A cockpit that is too long pulls the pelvis forward, loads the hands, and encourages you to straighten the elbows to support your weight. A cockpit that is too short can crowd the knees toward the chest and leave no room to rotate the pelvis. Set saddle position first, then test reach on a quiet road or indoor trainer.
Run this five-step reach check
- Warm up for 10 minutes in an easy gear. Do not judge fit on the first pedal strokes.
- Ride on the brake hoods with your elbows slightly bent and your shoulders away from your ears.
- Look down at the front hub. The hub does not need to hide behind the handlebar, but a position that feels dramatically stretched deserves attention.
- Shift into a moderate gear and pedal at 80 to 90 rpm. Your hips should stay still while your hands hold the bars lightly.
- Change only one thing. Move a stem spacer, rotate the bars slightly, or test a stem 10 mm shorter. Ride the same route again.
Know when the reach is wrong
Reach is too long when your elbows lock, your hands go numb quickly, your neck tightens, or you repeatedly slide toward the nose of the saddle. Reach is too short when your knees feel crowded at the top of the stroke, your back rounds sharply, or your weight stays trapped behind the saddle. A 10 mm change is large enough to feel. Start there rather than making a series of 2 mm guesses.
Bar height matters at the same time. Lowering the bars increases the effective reach and demands more hip flexibility. If you cannot keep a neutral back or relaxed shoulders, raise the bars before shortening the stem. A comfortable position that you can hold for three hours is faster than an aggressive position that breaks down after 45 minutes.
Bike fit questions riders ask before spring
Should I lower the saddle if my knee hurts at the front?
Usually, yes, but test the smallest useful change. Lower the saddle by 3 mm, mark the original position, and ride for 20 to 30 minutes at an easy pace. If the front-knee pressure improves and your hips remain level, the original setting was probably too high for your mobility or pedal system. If the pain worsens, restore the mark and check fore-aft position, cleat placement, and riding intensity.
Can a new saddle fix knee pain?
No. A saddle can improve pressure and stability, but it cannot correct a saddle height that bends the knee too far or a reach that pulls the pelvis out of position. The Specialized Power Comp, Fizik Tempo Argo R5, and Selle Italia SLR Boost TM are useful fit examples because they offer different widths and shapes. Choose among them only after you can ride the current saddle with stable hips and a neutral reach.
When should I pay for a professional fit?
Book a professional fit if pain returns after two or three controlled adjustments, if one leg needs a very different setup, or if you have a history of knee, hip, or back injury. A fitter can compare both sides, check cleat alignment, measure crank length, and watch you under load. A shop fit is also the smart choice before buying an expensive bike, because changing the frame to compensate for a poor setup costs more than correcting the position first.
Avoid the fixes that create new pain

Four common mistakes
- Changing everything at once: Raising the saddle, moving it backward, and fitting a shorter stem may feel better for one ride, but you will not know which change helped.
- Copying a friend’s measurements: Two riders with the same height can have different inseams, torso lengths, flexibility, cleats, and crank lengths.
- Using knee-over-pedal as a rigid rule: It is a reference point, not proof that the bike fits. Pelvic stability and pain-free power matter more.
- Riding through sharp pain: Soreness from a new training load may settle. Sharp, localized, or worsening pain deserves rest and professional advice.
Build a simple spring reset
Before your first long ride, record saddle height, saddle setback, bar height, stem length, crank length, and shoe or cleat position. Take a side video at low intensity. Ride two short sessions before adding distance. If your knees feel good but your hands go numb, inspect reach and bar height. If your hands feel fine but one knee hurts, inspect cleat alignment and asymmetry rather than immediately buying a new cockpit.
The best bike fit is the position that keeps your pelvis stable, your knees tracking smoothly, and your reach relaxed for the whole ride.
