
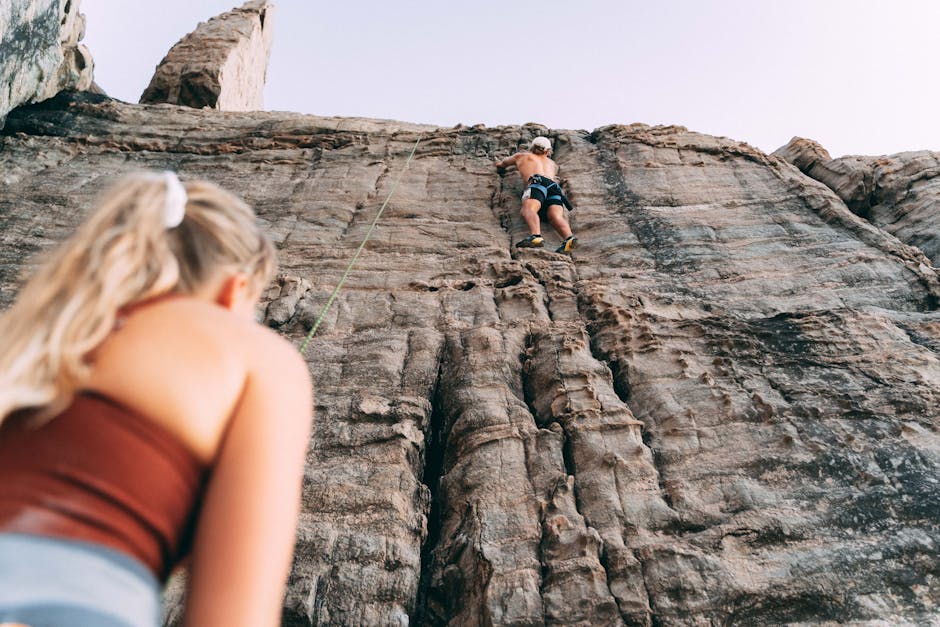
The most important piece of advice I can give after a decade of climbing is this: your shoes will never make you a better climber, but a bad pair will definitely make you a worse one. If you are just starting out, buy the La Sportiva Tarantulace and stop worrying about the gear. You need mileage, not aggressive downturned toes that make you want to cry after two minutes on a V2. As you progress, your needs will shift from ‘anything that isn’t a rental’ to specific tools for specific rock types, and that is where the nuances of rubber friction and harness padding actually start to matter.
What are the most durable climbing shoes for gym and crag?
I have burned through more pairs of shoes than I care to admit. In the beginning, I thought the most expensive shoe would automatically give me ‘spider powers.’ It doesn’t. What it does is give you a thinner sole that wears out in three months if your footwork is sloppy. For most people reading this, the balance between durability and performance is the sweet spot. You want a shoe that can handle the abrasive plastic of a gym but won’t let you down when you finally head out to the local limestone or granite crag.
La Sportiva Tarantulace
Price: Approximately $89
This is the gold standard for beginners. I’ve recommended this shoe to dozens of people because it uses a thicker FriXion RS rubber (5mm) which lasts significantly longer than the high-end Vibram found on pro models. The unlined leather upper will stretch, so I usually suggest sizing down about a half size more than you think you need. It is comfortable enough to wear for a two-hour gym session without taking them off between every burn.
- Pros: Incredible durability, very affordable, comfortable for long sessions.
- Cons: Lacks the precision needed for tiny edges or steep overhanging terrain.
Scarpa Instinct VS
Price: Approximately $200
Once you start moving into the 5.11 or V5 range, you might feel the Tarantulace slipping on small chips. That’s when I usually point people toward the Scarpa Instinct VS. I’ve used these for both bouldering and sport climbing. They feature Vibram XS Edge rubber on the sole, which is stiff enough to support your weight on a dime-sized edge. The heel cup is one of the best in the business—it actually stays put when you’re cranking on a heel hook.
- Pros: Exceptional edging power, versatile for most styles of climbing, great heel hook security.
- Cons: High price point, the break-in period can be quite painful for those with wider feet.
- Available at: Major outdoor retailers like REI or Backcountry (check for member discounts).
| Model | Primary Use | Rubber Type | Stiffness |
|---|---|---|---|
| La Sportiva Tarantulace | Beginner/Gym | FriXion RS | Medium-Stiff |
| Scarpa Instinct VS | Intermediate/Pro | Vibram XS Edge | Stiff |
| Black Diamond Momentum | Entry-Level/Gym | Engineered Lab | Soft-Medium |
I’ve found that the Black Diamond Momentum ($95) is a decent alternative if you have very narrow feet, but the rubber feels a bit ‘glassy’ on certain gym volumes compared to the Sportiva. It’s a synthetic upper, so it won’t stretch as much as leather. If you buy these, buy them to fit correctly out of the box because they won’t give much over time. Don’t fall into the trap of buying ‘aggressive’ shoes too early—it’s a waste of money and skin.
Which climbing harnesses offer the best balance of comfort and weight?
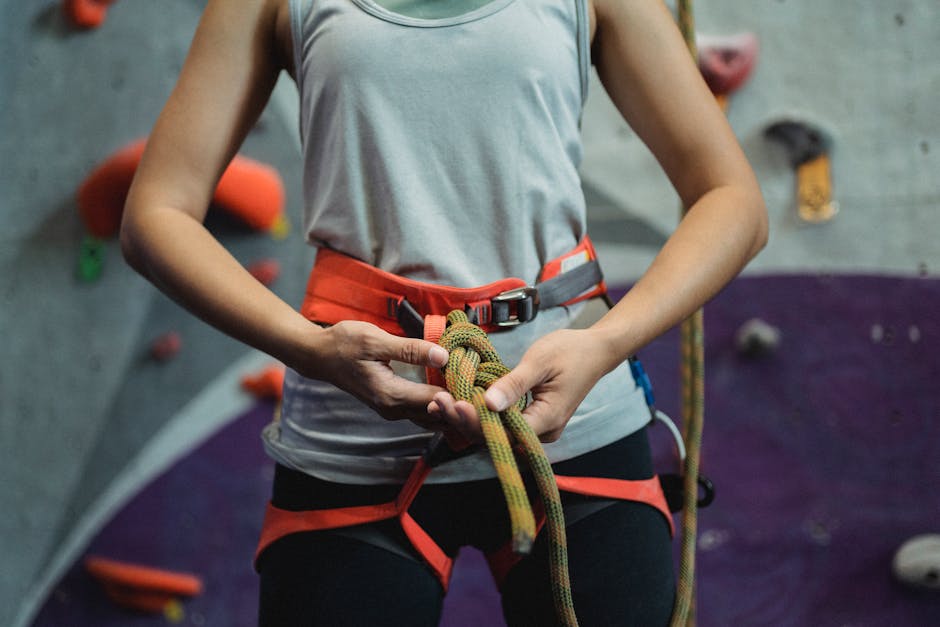
A harness is something you shouldn’t notice. If you’re halfway up a pitch and all you can think about is the webbing digging into your iliac crest, you’ve bought the wrong one. I’ve spent long days hanging at belay stations in the desert and quick hour-long bursts in the gym, and my requirements have changed over time. For your first harness, you want adjustable leg loops. Why? Because sometimes you’re climbing in shorts in July, and sometimes you’re wearing three layers of fleece in October. Fixed leg loops are lighter, sure, but they are less forgiving if your weight fluctuates or your clothing changes.
Petzl Adjama
Price: Approximately $85
This has been my go-to workhorse for years. The Petzl Adjama features adjustable leg loops and five gear loops. That fifth loop in the back is a lifesaver for stashing things you don’t need immediately, like a personal anchor system or a water bottle. The padding uses a closed-cell foam that doesn’t hold much water, which is great if you get caught in a light rain. It feels substantial without being bulky.
- Pros: Five gear loops are excellent for organization, very comfortable for hanging belays.
- Cons: A bit heavier and bulkier than minimalist sport-climbing harnesses.
Black Diamond Solution
Price: Approximately $79
If you primarily climb indoors or do short sport routes, the Solution is hard to beat for the price. It uses ‘Fusion Comfort Technology,’ which is essentially three strands of flat webbing that distribute pressure. It’s incredibly thin and light. I use this when I’m projecting something at my limit because it feels like I’m wearing nothing at all. However, it only has four gear loops, and they are a bit small if you’re trying to rack a full set of cams for a trad route.
- Pros: Lightweight, very low profile, sleek design.
- Cons: Fixed leg loops can be hit-or-miss for fit, not the most comfortable for long periods of hanging.
Pro tip: When fitting a harness, make sure you can fit about two fingers between the waist belt and your body. It should be snug enough that it can’t be pulled down over your hips, but not so tight that it restricts your breathing on a hard move.
I also want to mention the Edelrid Jay ($70). It’s a bit of an underdog but features a moveable waist padding system. This allows you to center the belay loop regardless of how much you tighten the waist. It’s a small detail that makes a huge difference in comfort, especially for people who fall between standard sizes. You can find these at various online retailers—often with better shipping rates if you use a finance-friendly credit card or a retail partner linked through your favorite gear site.
Selecting the right belay device for indoor and outdoor safety
There is a lot of debate in the climbing community about assisted braking devices (ABDs) versus traditional tubular devices like the ATC. In my experience, if you are climbing in a gym, many facilities are now requiring ABDs. Even if they don’t, I strongly believe that for the sake of your partner, you should use one. A moment of distraction, a falling rock, or a medical emergency can happen to anyone. An ABD provides that extra layer of redundancy that can save a life.
Petzl GriGri
Price: Approximately $110
The GriGri is the industry standard for a reason. I have used every iteration of this device since the 90s, and the current version is the most refined. It handles ropes from 8.5mm to 11mm, though it really shines in the 9.2mm to 10mm range. The camming mechanism is smooth, and the lowering handle offers decent modulation. It’s expensive, but it’s a piece of gear that will last you a decade if you don’t drop it off a cliff.
- Pros: Highly reliable assisted braking, easy to give slack once you master the technique.
- Cons: Expensive, heavier than other options, requires a specific technique to lead belay safely.
Black Diamond ATC-Pilot
Price: Approximately $50
If you find the GriGri too bulky or expensive, the ATC-Pilot is a fantastic alternative. It is a ‘passive’ assisted braking device, meaning it has no moving parts. It uses the geometry of the device and the carabiner to lock the rope. I find it much easier to pay out slack for a lead climber with the Pilot than with a GriGri. It’s also significantly lighter. The downside is that it only works with a single rope, so you can’t use it for double-rope rappels.
- Pros: Intuitive slack payout, lightweight, no moving parts to fail.
- Cons: Cannot be used for multi-pitch rappels, requires a specific carabiner shape for optimal performance.
For those who are strictly on a budget, the Mammut Smart 2.0 ($45) operates on a similar principle to the ATC-Pilot. I’ve found it to be very effective, though the plastic ‘beak’ can feel a bit flimsy compared to the stainless steel construction of the Black Diamond version. Regardless of what you choose, please—and I mean this—read the manual. I see people using GriGris incorrectly at the gym every single week, and it’s terrifying. Gear is only as safe as the person using it.
Essential climbing hardware and accessories for your first lead rack
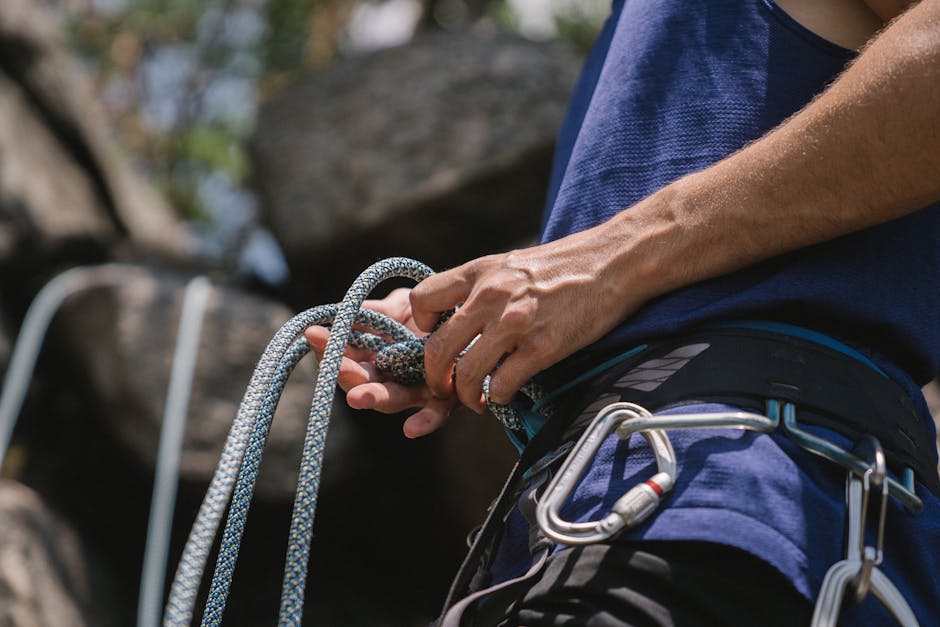
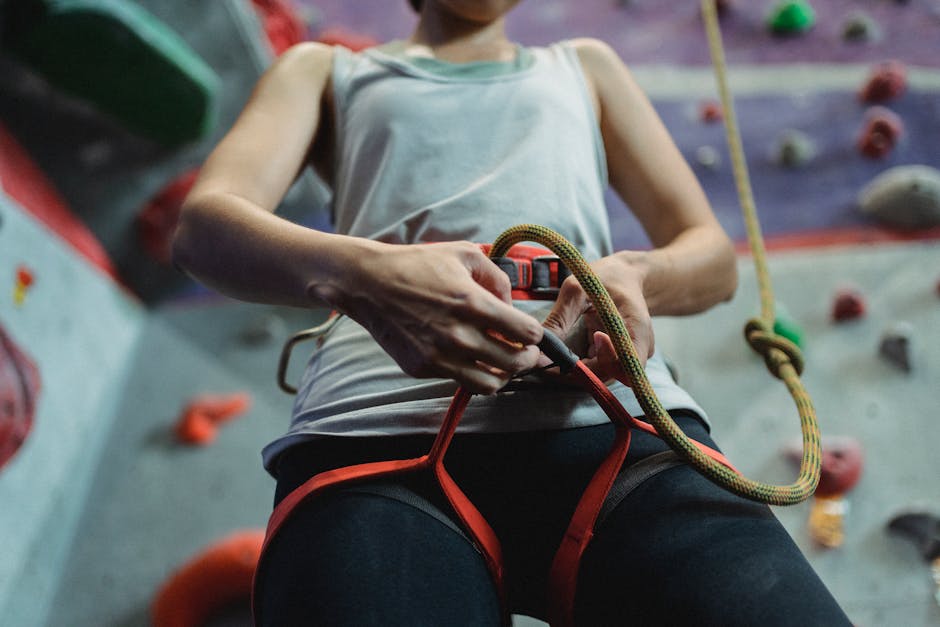
Once you’ve got the shoes, the harness, and the belay device, the next step is usually getting your own quickdraws and a rope. This is where the costs start to climb. I remember buying my first ‘quickpack’ of six draws and realizing I couldn’t even finish a standard 10-bolt route at my local crag. You generally need 12 draws for most sport routes. Don’t cheap out on the rope, but don’t buy a 9.0mm ‘triple rated’ competition rope for your first one either—it will wear out before you finish your first season.
Black Diamond HotForge Quickpack
Price: Approximately $100 for six
These are my recommendation for a first set of draws. They feature a solid gate on the bolt side and a wire gate on the rope side. Wire gates are great because they have less mass and are less likely to ‘gate flutter’ (vibrate open) during a fall. They are also easier to clip when you’re pumped out of your mind. The dogbone (the webbing part) is wide enough to grab if you’re ‘cheating’ your way through a move, which we all do occasionally.
- Pros: Great value, durable wire gates, easy to handle.
- Cons: Slightly heavier than high-end titanium or minimalist draws.
Sterling Evolution Velocity 9.8mm Rope
Price: Approximately $250 (70m)
If I had to pick one rope to use for the rest of my life, it would be the Sterling Velocity. A 9.8mm diameter is the ‘Goldilocks’ size—thick enough to be durable and easy to handle in a belay device, but thin enough that it doesn’t feel like you’re pulling a ship’s anchor up the wall with you. I’ve had versions of this rope last me three years of heavy use. I always suggest getting a 70-meter rope rather than a 60m. Many modern routes are being bolted longer, and having that extra 10 meters is a massive safety margin for lowering.
- Pros: Perfect balance of weight and durability, very supple handling, holds its shape well.
- Cons: More expensive than entry-level ropes from brands like BlueWater or Mammut.
Don’t forget the small things. A chalk bag is a chalk bag—don’t spend $40 on one unless you really love the design. I use a basic $15 one I found on sale. However, do spend money on good chalk. FrictionLabs chalk ($15-25) actually does stay on your hands longer than the cheap blocks, which means less time chalking up and more time climbing. It sounds like marketing hype until you try it on a humid day. When you’re ready to buy, check out sites like Decathlon or specialized climbing shops through retail portals—they often have bundles that can save you $50 or more on a full setup.
Lastly, get a helmet. I know, they aren’t ‘cool’ in the gym, but if you are climbing outside, wear one. The Black Diamond Half Dome ($65) is the most common helmet in the world for a reason. It’s a hard shell that can take a beating. Falling is part of the sport, but a rock falling on your head shouldn’t be the end of your climbing career. I’ve seen enough close calls to know that $65 is a very small price to pay for your brain.
