
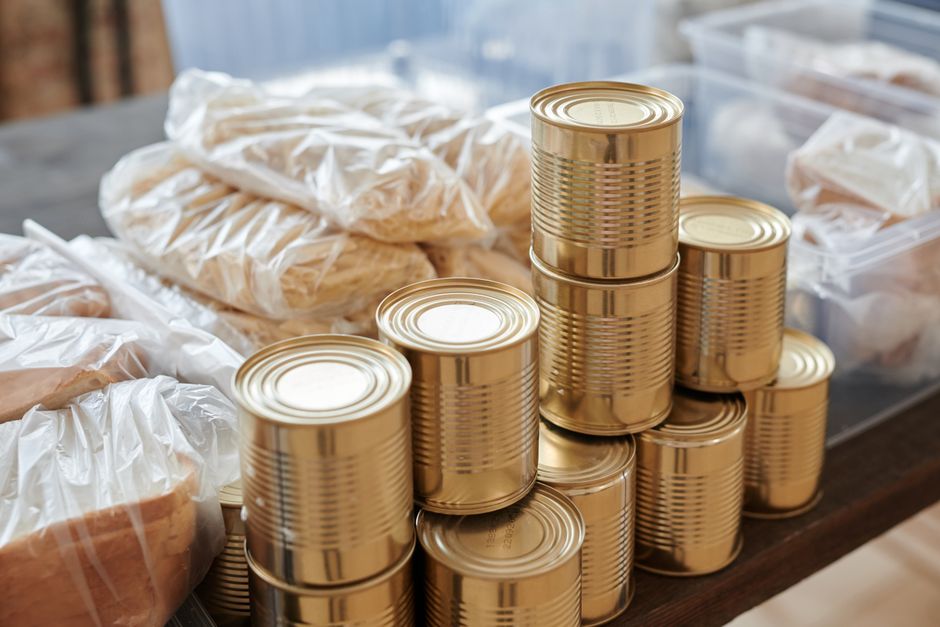
The pantry had the familiar problem: unopened pasta behind three half-empty bags, cereal boxes leaning into the door, and a can of tomatoes that expired because nobody could see it. I had already tried matching baskets and a few attractive labels, but the order disappeared after one busy grocery trip. The fix was not a larger shopping list or a perfect container collection. I changed where food lived, how much each shelf could hold, and the small return habit that happened after every meal.
The real pantry problem was a bad return path
The shelf was not the system
A tidy pantry fails when putting an item away takes more effort than leaving it on the counter. That was my first mistake. I grouped food by appearance, so tall boxes sat beside short cans and flexible bags collapsed into empty gaps. The arrangement looked fine for one afternoon, but it gave every item a different return path. A system that lasts needs one obvious place for each type of food, enough room to put it back with one hand, and a clear view of what needs using soon.
Every item needed a home and a limit
I assigned each shelf a job: breakfast, cooking staples, snacks, baking, and backstock. Then I set a physical limit for each zone. If the snack bin was full, I stopped buying snacks until something left it. That rule mattered more than any label because it stopped the pantry from growing past its usable capacity. The best pantry system is a traffic system: food comes in, moves forward, gets used, and leaves without blocking the next item.
Assign pantry zones before buying containers
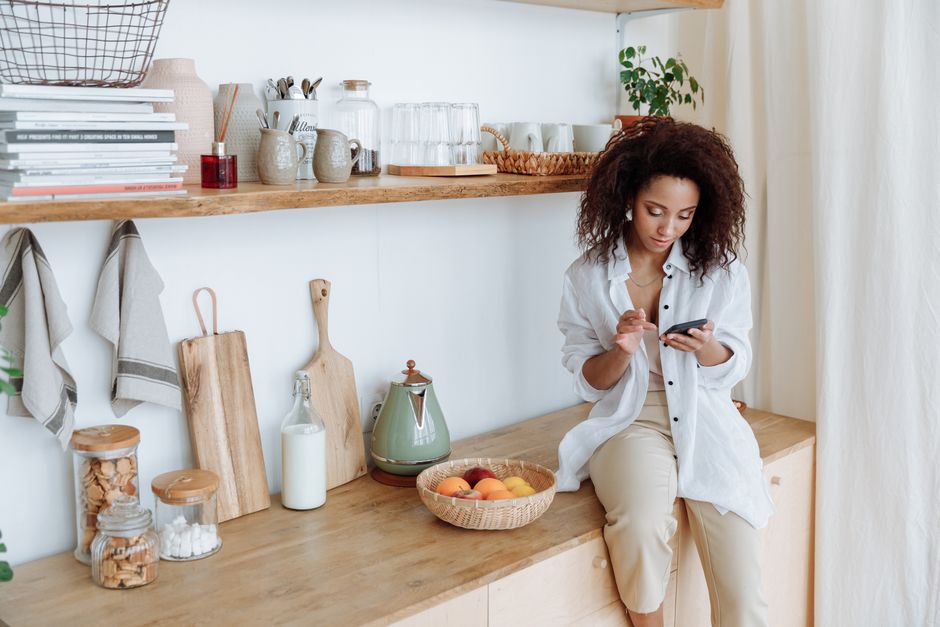
Store by job, not by package shape
Start with the way food gets used. Put breakfast items near the easiest reach, cooking staples between waist and eye level, and rarely used baking supplies higher up. Keep heavy cans and bulk bags low. Reserve the deepest shelf for backstock, not daily ingredients. This reduces the common mistake of buying containers first and then forcing the pantry to fit them.
| Zone | Typical contents | Best shelf position | Simple rule |
|---|---|---|---|
| Daily breakfast | Cereal, oats, coffee, tea | Eye to shoulder height | Keep one open package visible |
| Cooking staples | Rice, pasta, flour, spices | Waist to eye height | Group by cooking task |
| Snacks | Bars, crackers, dried fruit | Easy child or guest reach | Use one fixed bin |
| Backstock | Extra cans, unopened bags | Lowest or deepest shelf | Refill the front zone first |
| Use-soon items | Open bags, short-dated food | Front edge | Finish before opening another |
Choose containers that fit the shelf
Measure the inside of the shelf, including height below hinges and the width of the door opening. Leave at least 1 inch of clearance so a bin can slide out without scraping. For loose dry goods, the OXO Good Grips POP Container Big Square Medium measures about 6.25 by 6.3 by 9.9 inches and holds 4.4 quarts. It suits flour, sugar, oats, or pasta when the shelf has enough height. For packets and small bags, use a low open bin instead of a tall canister. A container that makes access harder is the wrong container, even if it looks better.
The 45-minute reset that made the system stick
Empty one shelf at a time
Do not remove the whole pantry unless you have several free hours and a clear floor. A full empty-out creates a large sorting pile that is easy to abandon. I used one shelf, a trash bag, a donation box, and a marker. The sequence below took about 45 minutes for a medium pantry:
- Remove every item from one shelf and wipe the surface with a damp cloth.
- Check dates, damaged packaging, stale smells, and duplicate open packages.
- Put food into three groups: use soon, keep, and discard or donate.
- Combine identical open foods only when the dates and storage instructions match.
- Place the most-used items at the front and the heaviest items below them.
- Write the opening month on foods that are easy to forget, such as flour or nuts.
- Take a quick phone photo of the finished shelf before moving to the next one.
Label the handoff point
Labels should describe the job of a space, not create a catalog of every item. I used labels such as breakfast, snacks, pasta and rice, baking, and backstock. That made it possible to put away groceries when tired or distracted. I did not decant every food. Cans stayed in their original labels, and unopened boxes stayed intact. Decant only foods that benefit from visibility or a tighter seal. The IKEA KUGGIS box in the 7 by 10.25 by 6 inch size works better for grouped packets and small backup items than for food that needs to be poured out daily. The goal is a faster return, not a showroom.
Why the one-in, one-out rule beats a perfect pantry
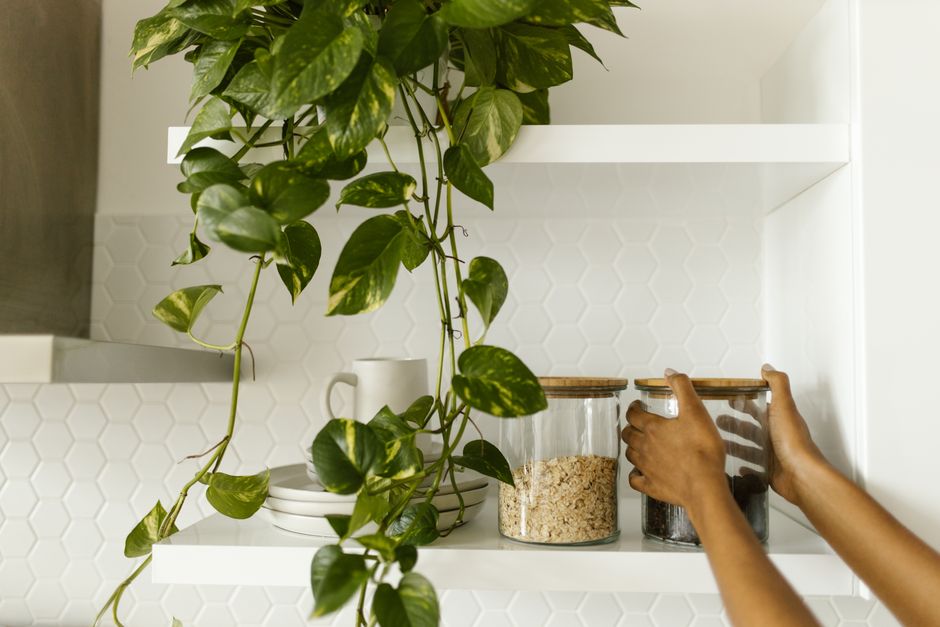
Set a visible capacity limit
Most pantry clutter is not caused by poor sorting. It comes from buying more than the shelves can hold. A zone with unlimited capacity quietly becomes a storage unit. A zone with a fixed boundary gives you useful information: if the cereal bin is full, the household has enough cereal. If the can shelf is packed two rows deep, buying another promotion is not saving money; it is delaying the problem.
I set limits with the shelf itself. One open bin held snacks. One row held canned beans. One narrow section held sauces. Backstock had to stay behind a visible divider. When a category reached its boundary, I added the item to the shopping list only if the last one had been opened or used. This removed the guesswork that often leads to duplicates.
Build the refill loop
The pantry stayed organized because restocking became part of using food. When I opened the last jar of tomato sauce, I moved one jar from backstock to the front and added sauce to the list. When I emptied a container, I washed it before the next grocery trip. When a package did not fit its assigned space, I treated that as a design problem rather than pushing it into a random corner.
This loop also exposed bad purchases. A bulk bag may cost less per ounce, but it is a poor choice when it cannot fit the shelf, goes stale before use, or forces other food behind it. A smaller package can be the better buy. The same applies to containers: a set of twelve matching boxes creates waste if the pantry only needs four. Buy storage after measuring demand, not before.
Pantry organization questions that changed my routine
Should every dry good go into a clear container?
No. Clear containers help with flour, rice, oats, pasta, and other loose foods that disappear inside bags. They add work to foods that already have clear packaging. Cans, jars, boxed crackers, and unopened snacks can stay in their original packaging. Decanting everything creates extra washing, extra labels, and more chances to lose cooking instructions or allergy information.
How do I stop deep shelves from becoming a black hole?
Use pull-out bins for small items and keep heavy backstock behind a short front row. Do not stack more than two layers high unless the lower layer is identical and rarely used. For a deep shelf, a bin should be narrow enough to pull out with one hand. If you must unload five items to reach one can, the zone is too deep for daily food.
What should I do with food that has no clear category?
Create one temporary use-soon zone instead of inventing a permanent miscellaneous shelf. Put unusual ingredients there with a visible date and plan one meal around them. If the same item appears repeatedly, give it a proper home. If it does not, stop buying it on impulse. This kept small specialty ingredients from spreading across three shelves.
My strongest rule is simple: the pantry should show what needs using, not hide it behind a neat front row. A little visual imperfection is useful when it prevents waste.
The storage tools I would buy again
Best for loose staples
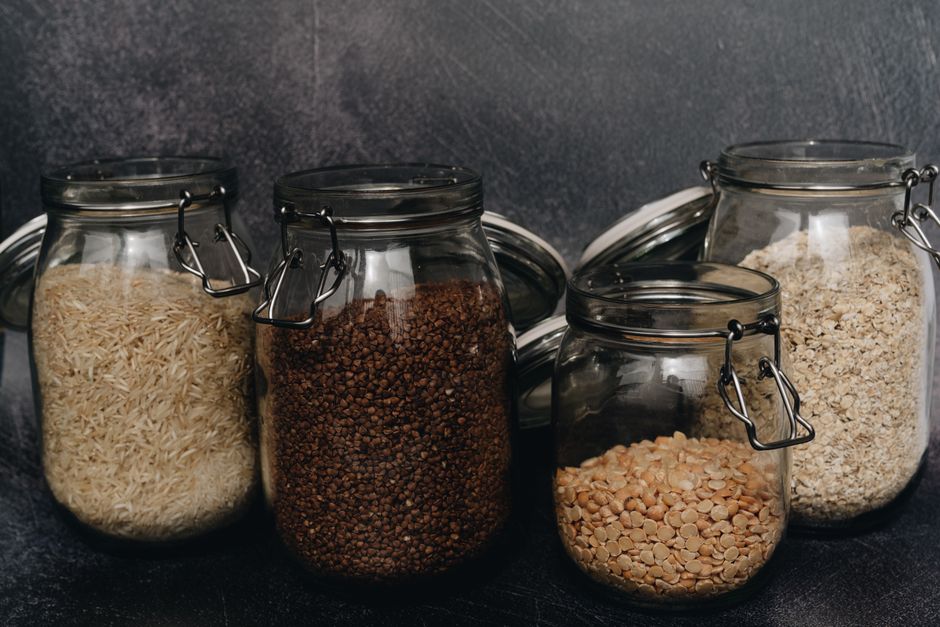
For flour, sugar, oats, and rice, I prefer containers with a wide opening and a seal that closes without a struggle. The Rubbermaid Brilliance Pantry container, model 1994228, measures about 7.9 by 5.4 by 9.4 inches and holds 16 cups. Its clear sides make the remaining amount easy to judge, and the rectangular footprint wastes less shelf space than a round jar.
Best for small categories
For tea, seasoning packets, baking decorations, and snack bars, open bins beat airtight canisters. They keep related items together without forcing you to transfer every package. The IKEA KUGGIS box works well for low-volume backup items, while the OXO POP container is the stronger choice when you scoop from the same ingredient several times a week. Neither product fixes an overcrowded shelf. The shelf limit still does that work.
The system I kept for a year was not built around matching containers. It was built around short return paths, visible limits, and one weekly five-minute check. These are the choices I would make again:
| Pantry need | Best choice | Why it wins |
|---|---|---|
| Loose flour, sugar, or oats | Rubbermaid Brilliance 16-cup, 1994228 | Clear, rectangular, 7.9 by 5.4 by 9.4 inches |
| Frequently scooped dry goods | OXO Good Grips POP 4.4-quart | Push-button lid and about 6.25 by 6.3 by 9.9 inches |
| Packets and small backstock | IKEA KUGGIS box | Low, stackable storage for grouped items |
| Mixed original packages | One open shelf bin | Fastest access and no needless decanting |
