
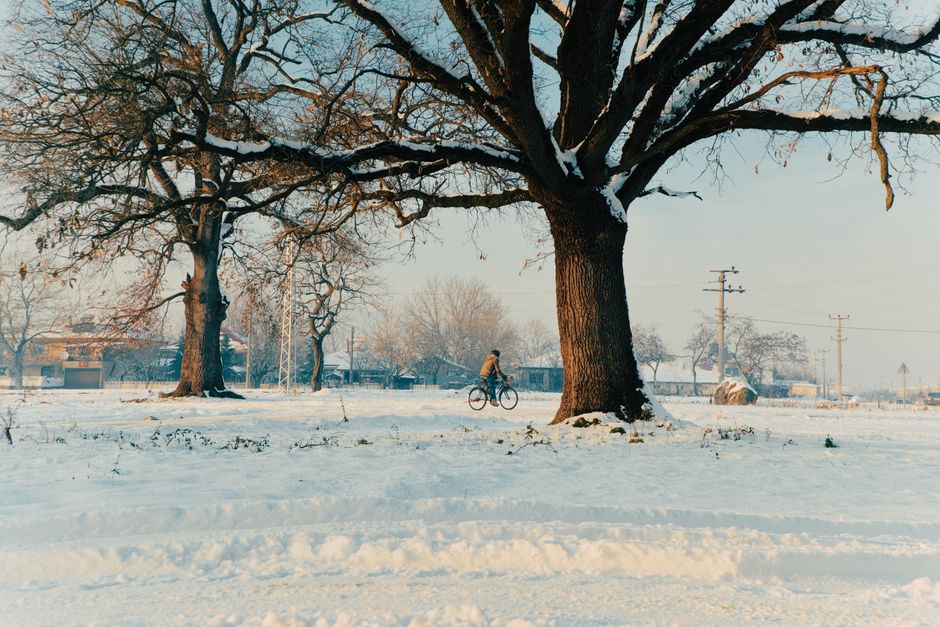
How do you stay warm on a winter bike ride without starting cold, sweating through your jersey, and freezing ten minutes later? The answer is not one thick jacket. It is a layering system that moves moisture away from your skin, blocks moving air, and gives your hands enough insulation without ruining brake control.
Why winter cycling layers fail when the system traps sweat
Winter cycling creates a strange heat problem. Your bike moves cold air across your chest at speed, but your legs and torso still produce a large amount of heat on climbs. A jacket that feels comfortable at the start can become a damp sauna after thirty minutes. Once that sweat cools, the same jacket becomes a cold, heavy shell.
The first layer manages moisture. The middle layer stores some warm air. The outer layer controls wind and rain. These jobs overlap, but they are not interchangeable. Cotton absorbs sweat and stays wet. A thick fleece may feel warm at a café stop but can overheat you on a climb. A waterproof shell can block rain while holding vapor against your jersey if its vents and fit do not match your effort.
Start with skin temperature, not the forecast
Plan for the first fifteen minutes of riding. You should feel slightly cool while standing outside because your body will heat up once you pedal. For a steady ride near 40°F, many riders need a long-sleeve base layer, a light insulating jersey, and a wind-resistant shell. Near freezing, add insulation to the torso and hands before adding bulk everywhere.
Match insulation to effort
Hard climbs need breathable layers and easy access to vents. Slow commutes need more insulation because the body produces less heat. The best winter system uses pieces you can open, remove, or pack rather than one heavy garment that only works at one speed. Moisture control comes before maximum warmth; a slightly lighter dry layer beats a thick wet one.
Which winter cycling layers belong in each temperature range?
The table below gives a useful starting point for dry conditions. Wind, rain, pace, and personal cold tolerance can shift the choice by one layer, but the basic pattern remains reliable: keep the fabric next to your skin thin enough to dry, then add wind protection before adding excessive bulk.
| Temperature | Torso system | Leg and hand system | Main adjustment |
|---|---|---|---|
| 45–55°F | Short-sleeve base, jersey, light wind vest | Warmers and full-finger gloves | Open the vest on climbs |
| 35–45°F | Long-sleeve base, thermal jersey, wind shell | Thermal tights and insulated gloves | Use vents before removing a layer |
| 25–35°F | Merino or synthetic base, thermal layer, windproof jacket | Fleece-lined tights, lobster gloves | Protect the chest and fingers first |
| Below 25°F | Warm base, insulating mid-layer, weatherproof shell | Winter tights, liners, lobster gloves, shoe covers | Lower speed increases insulation needs |
Why wind changes the answer
A 35°F ride with a strong headwind can feel colder than a calm 25°F ride. Air pressure also exposes gaps at the neck, wrists, and waist. A close-fitting collar, long cuffs, and a jacket that covers the lower back often add more comfort than another thick torso layer.
Use the first ten minutes as a test
Ride easy for ten minutes, then check your chest and underarms. Damp fabric means you need more ventilation or a lighter layer. Cold skin with dry fabric means you need insulation. This test gives a better answer than copying another rider’s exact kit.
How to build a winter cycling layering system step by step
- Set the ride type. Mark the route as hard, steady, or slow. A fast road ride needs more ventilation; a stop-and-go commute needs more insulation.
- Pick the base fabric. Choose merino for odor control and steady warmth. Choose polyester for faster drying, lower cost, and repeated hard efforts. Avoid cotton for rides long enough to create sweat.
- Add insulation only where heat escapes. Put warmth on the chest, back, and arms first. Do not automatically add a thick layer to every part of the body.
- Choose wind protection. A vest works for mild conditions. A windproof jacket works better below 40°F or on exposed roads. A waterproof shell belongs in sustained rain, not as the default layer for every dry ride.
- Build the glove system separately. Use a thin liner for mild cold, an insulated glove for normal winter conditions, and a lobster glove or overmitt when wind overwhelms individual fingers.
- Check the openings. Seal the neck, wrists, waist, and ankles. Cold air entering through a cuff can make a warm jacket feel useless.
- Pack one emergency change. A dry base layer weighs little and can rescue a ride after heavy rain, a mechanical stop, or an unexpectedly slow return.
Fit the shell over your riding position
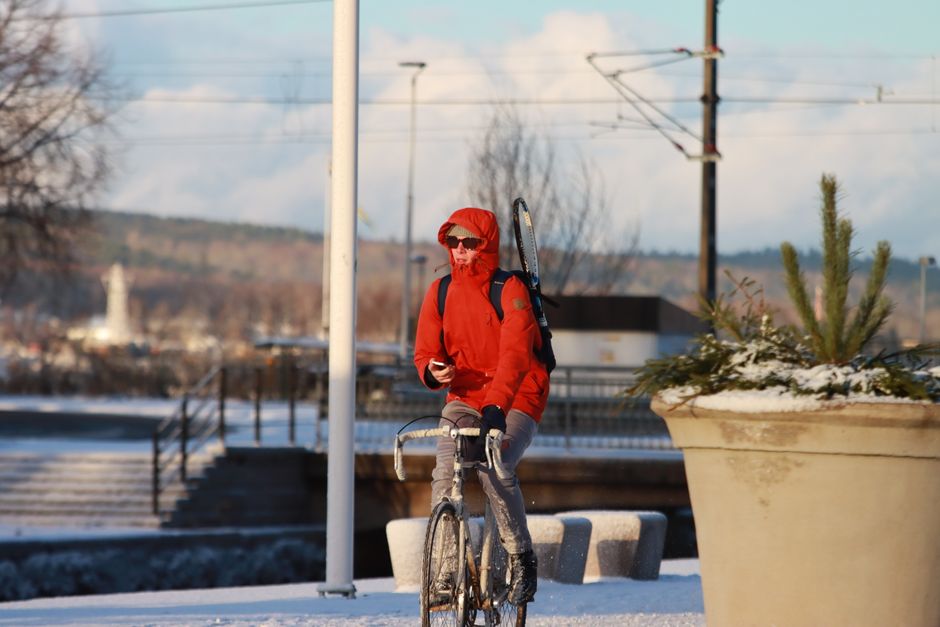
Try the jacket while leaning over the bars. The sleeves should cover the wrists, the rear hem should cover the lower back, and the shoulders should move without pulling the collar open. A jacket that fits only while standing will expose skin on the bike.
Vent before you feel wet
Open the front zip at the first hard climb, not after sweat has soaked the base layer. Close it before the descent. This small timing change keeps the insulation dry and lets the same clothing handle a wider temperature range.
My product picks: spend money on the base, shell, and hands
My strongest recommendation is to buy a dependable shell and gloves before chasing an expensive mid-layer. For a versatile base, the Smartwool Classic Thermal Merino 250 Crew costs about $115, uses 250 g/m² merino, and suits steady rides below 45°F. It is the best choice for riders who value warmth and odor control over the fastest drying time.
For hard training or wet commutes, the Patagonia Capilene Midweight Crew costs about $69 and uses recycled polyester that dries faster than heavy merino. Pick it when you sweat heavily or wash your kit after every ride. The Castelli Perfetto RoS 2 Jacket costs about $280 and combines a wind-resistant front with breathable stretch panels. It is my top torso pick for fast rides in cold, changeable weather, but it is not a full rain jacket.
Hands need a clear verdict too. The Pearl Izumi AmFIB Lobster Gloves cost about $85 and separate the fingers enough for control while keeping the outer fingers warm. For colder, slower rides, the 45NRTH Sturmfist 5 costs about $100 and adds more insulation and weather protection. Choose the Pearl Izumi for regular road cycling; choose the 45NRTH when warmth matters more than delicate shifting feel.
When not to buy the warmest option
Do not buy the thickest glove or jacket if your rides include long climbs. Excess insulation can create sweat that later turns into cold. A lighter shell plus a packable vest often gives better control than one extremely warm jacket.
Where the budget should go first
If you can buy only two pieces, choose a windproof jacket and reliable gloves. A basic synthetic base layer can work well, but numb fingers and a wind-soaked chest can end a ride quickly.
Winter cycling glove questions have practical answers
Are lobster gloves warmer than five-finger gloves?
Usually, yes. Lobster gloves group fingers together so they share heat, while still leaving enough separation for braking and shifting. They work best below roughly 40°F, especially on descents. Their trade-off is reduced dexterity, so test the brake levers before riding into traffic.
Should a base layer fit tightly?
It should sit close to the skin without squeezing your chest or restricting your shoulders. Loose fabric creates damp folds and lets warm air escape. A close fit also prevents the base layer from riding up under a cycling jacket.
Do you need a waterproof cycling jacket?
Buy one if rain is likely to last longer than a short shower. For dry winter rides, a breathable wind shell often performs better because it releases more vapor. A waterproof jacket becomes the right choice when staying dry matters more than maximum breathability, such as a commute with no indoor backup.
Why do my hands sweat inside winter gloves?
The glove may be too warm for the effort, or the cuff may prevent vapor from escaping. Start with a thinner liner, open the cuff during climbs, and keep a warmer pair for descents. Wet insulation loses much of its value.
The winning system keeps you dry before it tries to make you hot
Winter cycling layering becomes easier once the goal changes from feeling warm at the doorstep to staying dry across the whole route. Start with a base layer that matches your sweat rate, add insulation for your speed, then use a shell to block wind. Give your hands their own plan instead of treating gloves as a final accessory.
Before the next cold ride, dress slightly cool, open the shell early on the first climb, and protect the chest, wrists, and fingers from moving air. That approach beats piling on thick clothing. The rider who leaves the house asking how to stay warm without sweating can return with a dry base layer, responsive hands, and enough comfort left for the final miles.
